
The Metallurgical Challenge: Why Brass Rejects Standard Flux
Brass is an incredibly versatile alloy, prized in everything from musical instruments and marine hardware to custom electronics enclosures and plumbing fixtures. However, for beginners stepping up from basic copper or tin-plated wires, brass can feel like an impenetrable fortress. You apply your standard rosin-core solder, heat the joint, and the solder simply balls up and rolls off. The culprit is not your soldering iron; it is the lack of an appropriate brass soldering flux.
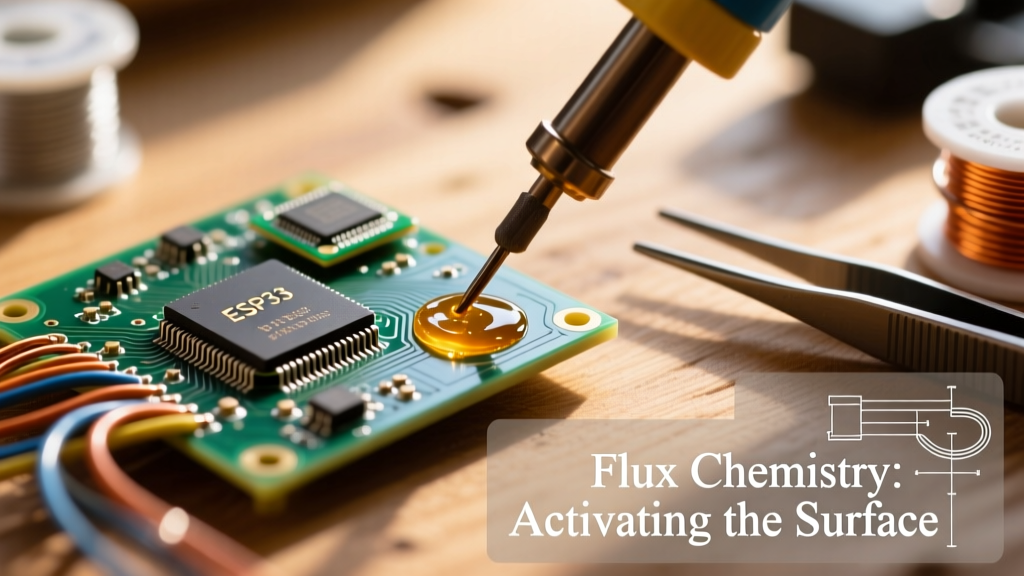
Brass is primarily an alloy of copper and zinc. While copper is relatively easy to solder, zinc is highly reactive. When heated, the zinc in the brass rapidly migrates to the surface and oxidizes, forming a tough, microscopic layer of zinc oxide. Standard mildly activated rosin (RMA) fluxes are simply too weak to dissolve this zinc oxide barrier. To achieve a reliable metallurgical bond, you must upgrade to a chemically aggressive flux designed specifically for yellow metals.
The Zinc Factor and Thermal Conductivity
Beyond the chemical barrier, brass presents a thermal challenge. With a thermal conductivity of roughly 109 W/m·K, brass acts as a massive heat sink. If you use a low-wattage pencil iron, the heat will dissipate into the bulk of the metal before the flux can activate and the solder can melt. As of 2026, most modern soldering stations handle this beautifully, provided you are using a high-thermal-mass tip (like a 1/4-inch chisel or bevel) and a temperature-controlled station set between 360°C and 380°C (680°F - 716°F).
Comparison Matrix: Top Brass Soldering Flux Profiles
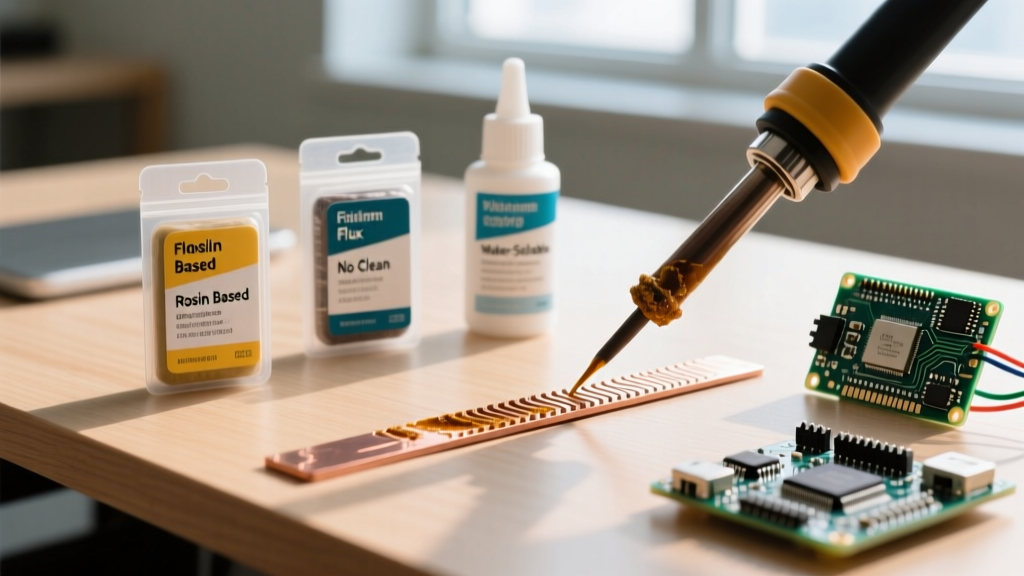
Selecting the correct flux depends entirely on your application. Using an overly aggressive acid flux on delicate electronics will guarantee long-term corrosion, while using a mild no-clean flux on a thick brass plumbing fitting will result in a cold, brittle joint. Below is a breakdown of the most effective flux chemistries for brass.
| Flux Type | Active Ingredients | Best Application | Cleaning Required? | Example Product & Est. Cost (2026) |
|---|---|---|---|---|
| Liquid Acid | Zinc Chloride, Ammonium Chloride | HVAC, Plumbing, Heavy Mechanical | Yes (Neutralize & Rinse) | Harris Stay-Clean (~$14 / 4oz) |
| Acid Paste | Zinc Chloride, Petroleum Base | Vertical joints, Marine hardware | Yes (Neutralize & Rinse) | Superior Flux #30 (~$18 / 1lb) |
| Mild Organic | Organic Acids, Glycols | Light electrical, RC models, Jewelry | Yes (Isopropyl Alcohol) | LA-CO Oatey (~$12 / 4oz) |
| Rosin (RMA) | Pine Rosin, Mild Activators | Pre-tinned brass, PCB components | No (or optional) | Kester 186 (~$22 / 1gal) |
Expert Insight: Never use plumbing paste fluxes (like Tinning Flux) on electrical brass terminals. The water-soluble salts will absorb atmospheric moisture and create a conductive, corrosive bridge that will short-circuit your project within weeks.
Step-by-Step: Soldering Brass Like a Pro
Follow this exact workflow to ensure flawless wetting and a structurally sound joint. This method assumes you are using a liquid or paste acid-based flux and a silver-bearing or high-tin solder alloy.
- Mechanical Preparation: Brass oxidizes in the air. Use a Scotch-Brite pad or 400-grit sandpaper to abrade the joint area until it shines brightly. Do not touch the cleaned metal with your bare fingers; skin oils will contaminate the surface.
- Chemical Degreasing: Wipe the abraded area with 99% Isopropyl Alcohol (IPA) and a lint-free cloth. Allow it to flash off completely.
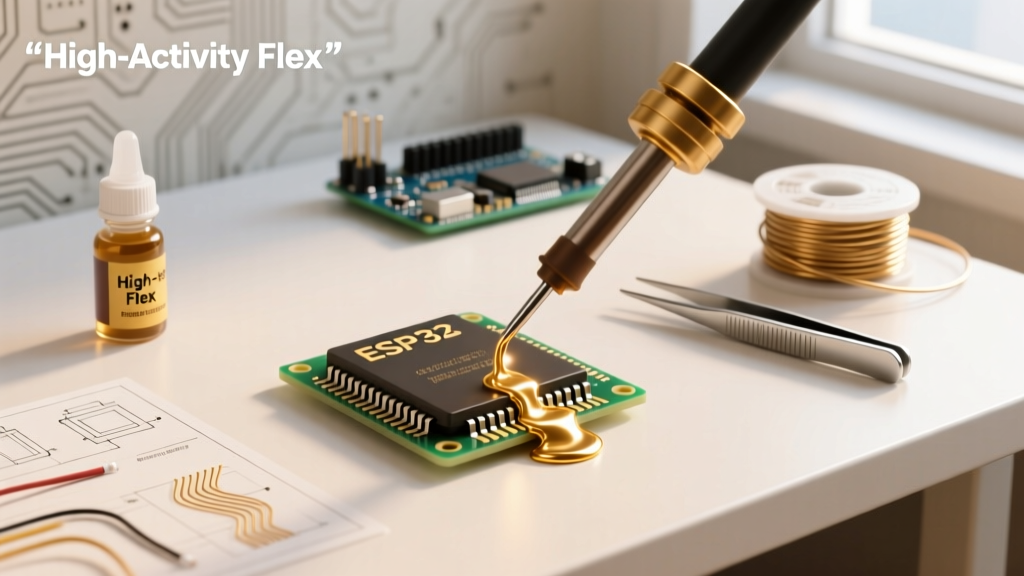
- Pre-Heat Flux Application: Apply a generous coat of your chosen brass soldering flux before introducing heat. The flux will act as a thermal blanket and prevent flash-oxidation as the metal warms up.
- Thermal Loading: Apply your 60W+ soldering iron (or a micro-torch for pieces thicker than 3mm) to the brass. Hold the iron at a 45-degree angle to maximize surface contact. Wait 3 to 5 seconds for the flux to bubble and activate.
- Solder Feed: Touch your solder wire (e.g., 95/5 Tin/Antimony or Harris Stay-Brite 8 Silver-bearing) to the brass, not the iron tip. If the brass is hot enough and the flux has done its job, the solder will instantly melt and capillary into the joint.
- Neutralization and Cleaning: Acid fluxes are highly corrosive. Once the joint cools, create a paste of baking soda and distilled water. Apply it to the joint to neutralize the residual zinc chloride (you will see it fizz as it releases CO2). Scrub with a brass wire brush and rinse with hot water.
Troubleshooting Common Brass Soldering Failures
Even with the right materials, beginners frequently encounter edge cases. Here is how to diagnose and fix them:
- Failure Mode: Solder 'Balls Up' and Refuses to Wet
Diagnosis: The brass was not hot enough, or the zinc oxide layer was too thick for the flux to penetrate.
Solution: Remove the heat, let the part cool, and re-sand the area. Increase your iron temperature by 20°C and ensure you are using a chisel tip for maximum thermal transfer. - Failure Mode: Black, Crusty Residue Forms Instantly
Diagnosis: You have carbonized the flux. Acid fluxes burn and lose their chemical efficacy if subjected to temperatures exceeding 425°C (800°F) for prolonged periods.
Solution: Lower your iron temperature. Apply the iron, feed the solder within 2 seconds, and remove the heat immediately. Work faster, not hotter. - Failure Mode: The Joint Cracks Upon Cooling
Diagnosis: You are likely using a high-lead solder or a eutectic alloy that is susceptible to thermal shock, or the part moved during the plastic phase.
Solution: Switch to a 95/5 Tin/Antimony alloy, which offers superior tensile strength and vibration resistance for brass fittings. Clamp the workpiece securely before heating.
Health and Safety: Avoiding Metal Fume Fever
When working with brass, safety extends beyond avoiding burns. Because brass contains significant amounts of zinc (typically 20% to 45%), overheating the metal can cause the zinc to vaporize. When zinc vapor reacts with oxygen, it forms zinc oxide particulates. Inhaling these fine particulates can lead to a condition known as Metal Fume Fever, characterized by flu-like symptoms, chills, and respiratory irritation.
According to guidelines published by the National Institute for Occupational Safety and Health (NIOSH), adequate ventilation is non-negotiable when brazing or high-temperature soldering zinc-bearing alloys. Always use a localized fume extractor positioned within six inches of the workpiece. Furthermore, the American Welding Society (AWS) strongly recommends the use of N95 or P100 respirators when local exhaust ventilation is insufficient to capture heavy metal oxides.
By respecting the metallurgy of brass, selecting the correct aggressive flux, and adhering to strict thermal and safety protocols, you will transform one of the most frustrating soldering tasks into a highly rewarding and reliable process.
For further reading on industry-standard soldering requirements and flux classifications, refer to the IPC Standards Library, specifically the J-STD-004 requirements for flux testing and corrosion resistance.