
The Physics of Paste Flux: Why It Outperforms Liquids for SMD
When executing precision surface-mount device (SMD) rework or hand-assembling fine-pitch PCBs, liquid flux often falls short. It wicks away from the joint, evaporates too quickly under hot air, and fails to provide the mechanical 'tack' needed to hold microscopic components in place. This is where soldering paste flux becomes indispensable. Unlike its liquid counterpart, paste flux is a thixotropic gel. This means it exhibits shear-thinning properties: it flows smoothly when pushed through a syringe needle, but immediately regains its viscous, gel-like structure once deposited on the PCB pad.
This unique rheology provides two critical benefits. First, it acts as a temporary adhesive, holding components like 0402 resistors or fine-pitch QFPs firmly in place before reflow. Second, its high solids content ensures that the flux remains active throughout the entire thermal profile of the reflow process, preventing oxidation right up until the solder alloy liquefies. In this comprehensive tutorial, we will break down the exact methodology for selecting, applying, and cleaning soldering paste flux to achieve IPC-compliant joints.
Selecting the Right Soldering Paste Flux (2026 Market Guide)
Not all paste fluxes are created equal. The IPC J-STD-004 standard categorizes fluxes by their chemical composition and activity levels. Choosing the wrong chemistry can lead to catastrophic field failures, such as electrochemical migration (dendrite growth) or severe corrosion. Below is a comparison of the three primary paste flux chemistries available on the market today.
| Flux Type | Chemistry / IPC Code | Best Application | 2026 Top Model & Price | Cleanup Required? |
|---|---|---|---|---|
| No-Clean | Synthetic Resin / ROM0 | Standard SMD rework, BGA reballing, consumer electronics. | Amtech NC-559-V2-TF (~$26 / 10cc) | No (unless aesthetic or conformal coating is needed) |
| Water-Soluble | Organic Acid / OAH | Heavy oxidation removal, aerospace, high-reliability medical. | MG Chemicals 8341 (~$22 / 10g jar) | Yes (Mandatory DI water or ultrasonic cleaning) |
| Rosin Mildly Activated (RMA) | Natural Rosin / ROM1 | Vintage electronics restoration, heavy-duty through-hole. | Chip Quik RMAPASTE (~$14 / 10g jar) | Recommended (IPA or specialized solvent) |
Expert Insight: For 90% of modern DIY and professional SMD rework, a high-quality No-Clean tacky flux like Amtech NC-559-V2-TF is the optimal choice. It offers an extended tack time (up to 48 hours before reflow) and leaves a clear, non-conductive residue that passes standard SIR (Surface Insulation Resistance) testing.
Essential Tooling for Precision Application
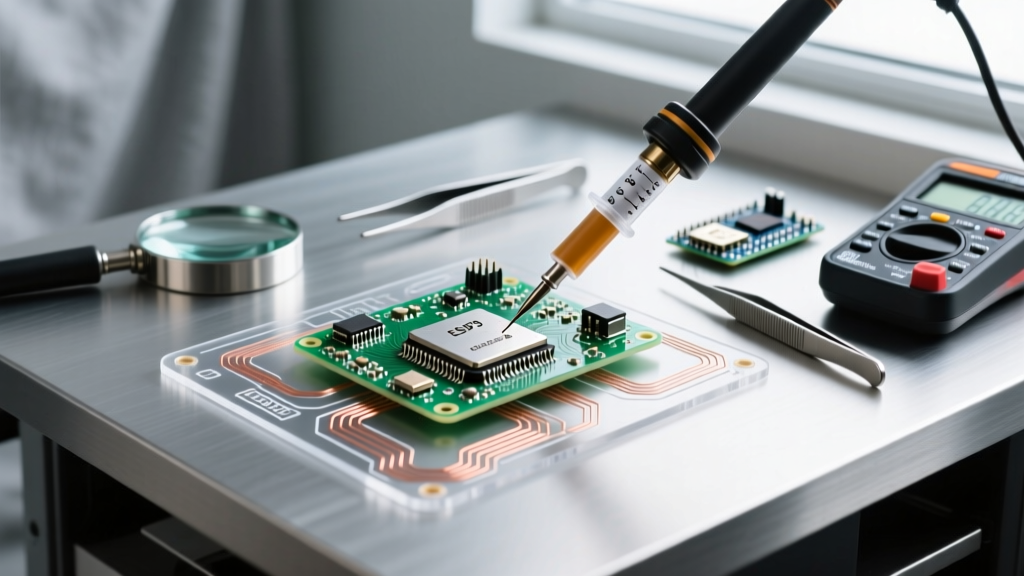
Before applying the soldering paste flux, ensure your workstation is equipped with the following precision tools. Attempting to apply paste flux with a standard toothpick or cotton swab will result in uneven coverage and potential pad contamination.
- Dispensing Syringes: 3cc or 5cc Luer-lock syringes. Avoid 10cc for fine-pitch work, as the larger barrel diameter requires excessive thumb pressure, leading to sudden 'blobs' of flux.
- Blunt-Tip Needles: 22-gauge (pink) for standard SOIC/QFP pads, and 25-gauge (red) or 27-gauge (clear) for 0402/0201 components and BGA stenciling.
- Flux Spreader: A dedicated PTFE (Teflon) or fiberglass flux spatula. PTFE is preferred as the flux will not adhere to it.
- Prep Solvents: 99% Isopropyl Alcohol (IPA) and lint-free polyester wipes (e.g., Kimwipes).
- ESD-Safe Tweezers: Fine-tip Dumoxel or titanium tweezers for component placement.
Step-by-Step Tutorial: Applying and Reflowing with Paste Flux
Step 1: Substrate Preparation and Deoxidation
Paste flux cannot compensate for severe physical contamination like skin oils or conformal coating remnants. Begin by scrubbing the target PCB area with a lint-free wipe saturated in 99% IPA. If the pads show visible oxidation (a dull, greyish hue), use a fiberglass scratch pen gently, followed by another IPA wipe. Allow the board to air dry for 30 seconds. Never apply paste flux over damp IPA, as the trapped alcohol will boil during reflow, causing solder splatter.
Step 2: Dispensing the Correct Volume
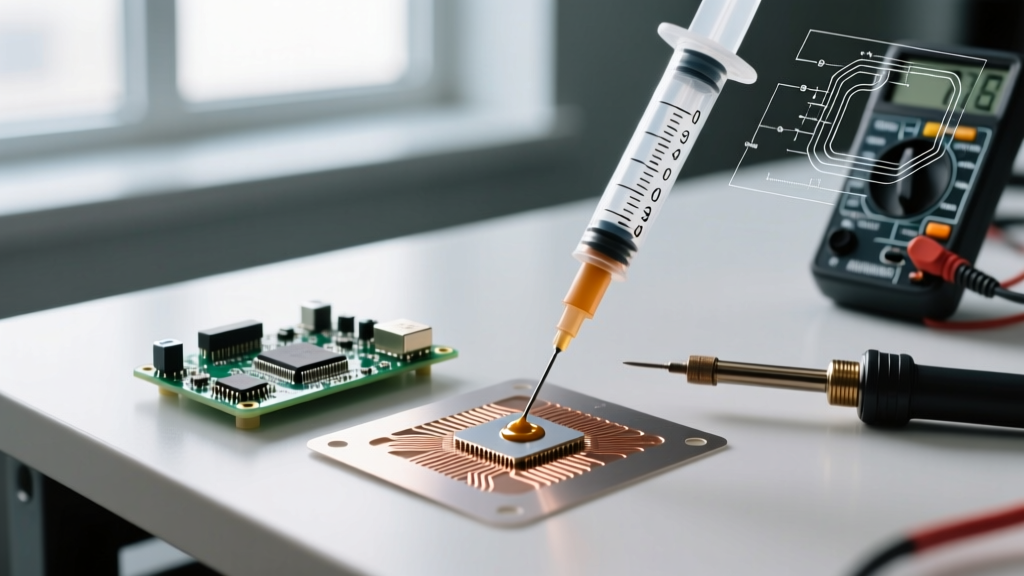
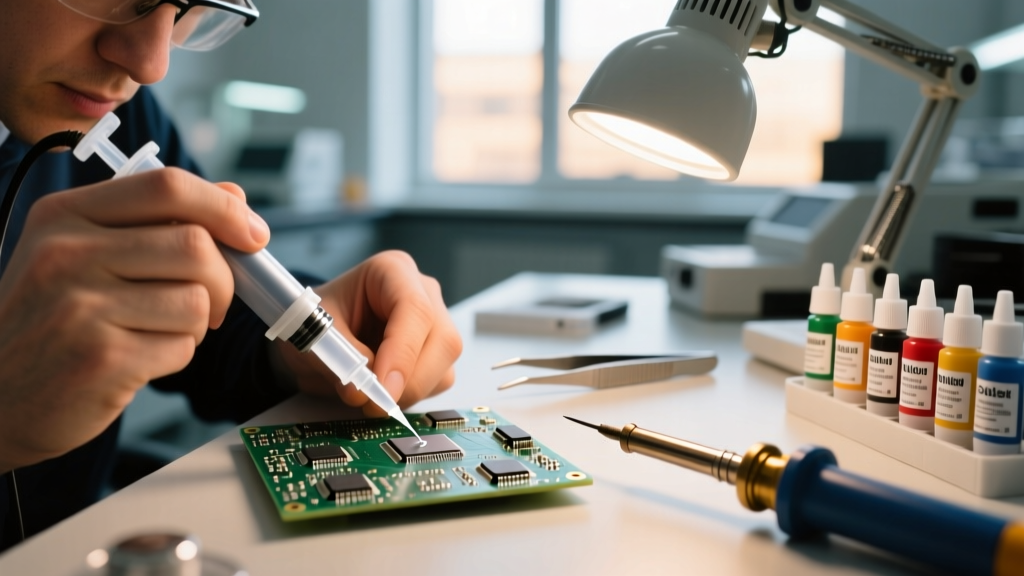
Load your syringe with the No-Clean soldering paste flux. For a standard 0.5mm pitch SOIC-8 chip, you only need a bead approximately 1.5mm wide and 4mm long. Position the 22-gauge blunt tip at a 45-degree angle, barely touching the PCB surface. Apply steady, gentle pressure to the plunger. The goal is to lay down a continuous, unbroken ribbon of flux across the pads. If you are working on a QFN or BGA, apply a small 'pea-sized' dot to the center of the footprint and let the spreading tool do the work.
Step 3: Spreading and Tackifying
Using your PTFE spatula, gently spread the flux to cover the entire copper pad area. You want a thin, translucent film—roughly 0.1mm thick. If the flux is too thick, it will boil violently when hit with hot air, displacing your components. Once spread, wait 60 to 90 seconds. This allows the volatile solvents in the flux to slightly off-gas, increasing the 'tackiness' of the gel.
Step 4: Component Placement
Using your ESD-safe tweezers, pick up the SMD component. Align the pins with the pads and press down gently into the soldering paste flux. You should feel a distinct 'snap' or resistance as the component seats into the tacky gel. Verify alignment under a digital microscope or magnification lamp. The paste flux will hold the part firmly in place, even if the board is bumped lightly.
Step 5: Thermal Profiling and Reflow
Set your hot air rework station (e.g., Quick 861DW) to a moderate airflow (40-50 L/min) to prevent blowing the component off the pads. Set the temperature to 350°C for lead-free (SAC305) solder, or 320°C for tin-lead (Sn63/Pb37).
According to guidelines referenced by Indium Corporation, flux activation typically occurs between 150°C and 180°C. Move the hot air nozzle in slow, concentric circles about 1.5 inches above the component. Watch for the 'shimmer' effect: as the flux reaches its activation temperature, it will turn from opaque to highly transparent and glossy. Seconds later, the solder will melt, and surface tension will pull the component perfectly into alignment.
Troubleshooting Matrix: Diagnosing Paste Flux Failures
Even with the best soldering paste flux, technique errors can cause distinct failure modes. Use this diagnostic matrix to correct your process.
| Failure Mode | Visual Symptom | Root Cause | Corrective Action |
|---|---|---|---|
| Solder Balling / Splatter | Tiny spheres of solder scattered around the pads. | Flux applied too thickly; trapped solvents boiling explosively. | Reduce flux volume. Allow 60s tack time before applying heat. Pre-heat board to 100°C. |
| Tombstoning | One side of a 2-terminal component lifts vertically. | Uneven flux application causing asymmetric wetting forces. | Ensure flux is spread perfectly evenly across both pads. Use a lower airflow setting. |
| Charred / Blackened Residue | Flux residue turns dark brown or black and becomes crusty. | Excessive heat or prolonged exposure to hot air burning the rosin/synthetic base. | Reduce hot air temp by 20°C. Increase airflow to transfer heat faster and reduce dwell time. |
| Bridging (Shorts) | Solder flows between adjacent fine-pitch pins. | Flux exhausted before reflow completed; pads oxidized. | Add a micro-drop of fresh liquid flux over the bridge and re-heat with a soldering iron to draw it away. |
Post-Reflow Cleanup and IPC Compliance
A common misconception is that 'No-Clean' soldering paste flux never needs to be removed. While the residue is technically non-corrosive and electrically insulating under normal conditions, it can interfere with automated optical inspection (AOI), bed-of-nails testing, and the adhesion of conformal coatings. Furthermore, in high-voltage or high-humidity environments, even no-clean residues can absorb moisture and facilitate leakage currents.
For high-reliability assemblies, NASA Electronic Parts and Packaging (NEPP) workmanship standards mandate the complete removal of flux residues. To clean No-Clean paste flux:
- Apply a generous amount of 99% IPA or a dedicated aerosol flux cleaner (e.g., Chemtronics Flux-Off) to the area.
- Agitate the residue using a clean, stiff-bristled ESD-safe brush (like a hog hair brush) to break up the hardened rosin/synthetic matrix.
- Immediately wipe the area with a fresh lint-free wipe to absorb the dissolved flux. Do not let the solvent evaporate on the board, or the flux will redeposit as a sticky film.
- Inspect under UV light or a polarized microscope to ensure no white, powdery residue remains in the crevices beneath the component.
For water-soluble fluxes, IPA is ineffective. You must use heated deionized (DI) water or an ultrasonic cleaner operating at 40kHz to properly remove the organic acid activators, as outlined in the IPC J-STD-004 cleanliness requirements.
Frequently Asked Questions (FAQ)
Can I mix liquid flux and soldering paste flux?
It is not recommended. Liquid fluxes contain high levels of volatile solvents that can break down the thixotropic structure of the paste flux, turning it into a runny mess that loses its component-tacking abilities.
Does soldering paste flux expire?
Yes. Unopened, most paste fluxes have a shelf life of 12 to 24 months when stored in a cool, dark place (ideally between 10°C and 25°C). Once opened and exposed to air and temperature cycling, the solvents will slowly evaporate, causing the paste to stiffen and lose its tackiness. If your paste flux feels hard or separates into a clear liquid and a solid lump, it has expired and should be replaced.
Why is my paste flux turning white after cleaning?
This 'white bloom' occurs when moisture (either from the air or from low-purity IPA) reacts with the activated flux residues. To fix this, apply a few drops of fresh, unactivated liquid flux over the white area, reheat gently with an iron to re-dissolve the residue, and immediately wipe it away with high-purity (99.9%) IPA.