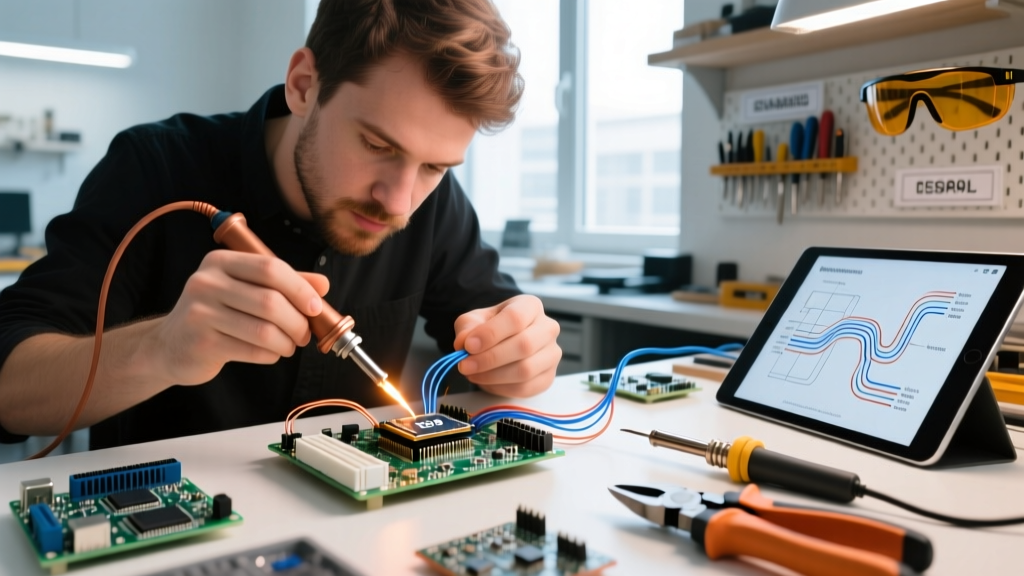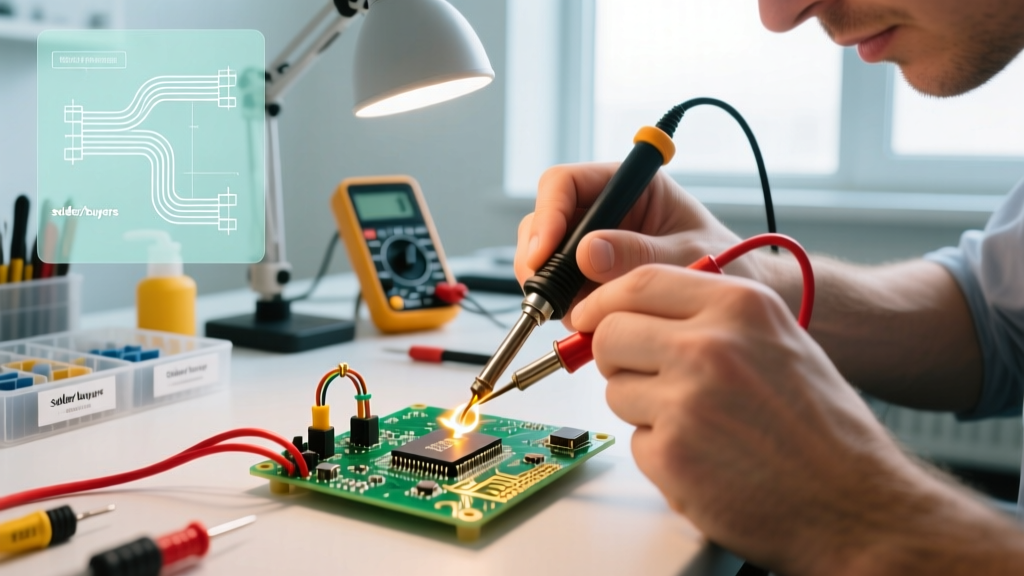

The Economics of XLR Cable Soldering in 2026
For audio engineers, live sound technicians, and home studio enthusiasts, the debate between rolling your own cables and buying off-the-shelf is eternal. However, the economic landscape of 2026 has shifted dramatically. With global copper prices remaining high and supply chain adjustments affecting premium audio brands, the retail cost of factory-terminated microphone cables has surged. A standard 10-foot Mogami Gold Studio cable now routinely retails for over $45, while mid-tier options like Pro Co Excellines hover around $25.
This reality makes XLR cable soldering not just a rite of passage for audio techs, but a vital cost-saving measure. But is DIY always cheaper? To answer this, we must look beyond the per-foot cost of bulk wire and analyze tooling amortization, material tiers, time investment, and failure rates. This comprehensive cost analysis breaks down the exact financials of building your own XLR cables versus buying premade alternatives in 2026.
Raw Material Cost Breakdown: Wire and Connectors
The foundation of any DIY cable build is the raw materials. In the professional audio space, you are primarily choosing between standard twin-axial cable and 'Star Quad' configurations, which offer superior electromagnetic interference (EMI) rejection. According to Sweetwater's balanced audio cable guide, Star Quad cables utilize four conductors twisted together, effectively canceling out noise induced by external magnetic fields.
Premium vs. Budget Component Pricing
Let us examine the exact 2026 retail pricing for the most popular bulk cables and XLR connectors used in professional environments.
| Component Category | Brand / Model | Specification | 2026 Unit Cost |
|---|---|---|---|
| Bulk Wire (Premium) | Mogami 2534 | Star Quad, Neglex OFC | $1.85 / ft |
| Bulk Wire (Standard) | Canare L-4E6S | Star Quad, Braided Shield | $1.15 / ft |
| Bulk Wire (Classic) | Belden 8412 | Twin-Axial, Rubber Jacket | $1.45 / ft |
| Connector (Premium) | Neutrik NC3MX-B / NC3FX-B | Silver Contacts, Black Shell | $4.30 each |
| Connector (Budget) | Amphenol AC3M / AC3F | Silver Contacts, Zinc Shell | $2.50 each |
| Consumables | Kester 275 Solder + Heat Shrink | Lead-Free SAC305, 3:1 Shrink | ~$0.15 / cable |
Based on this matrix, a 10-foot DIY XLR cable using industry-standard Canare L-4E6S wire and premium Neutrik connectors costs exactly $20.65 in raw materials. If you opt for Amphenol connectors to build a budget snake, that cost drops to $17.05.
Tooling Amortization: The Hidden Upfront Cost
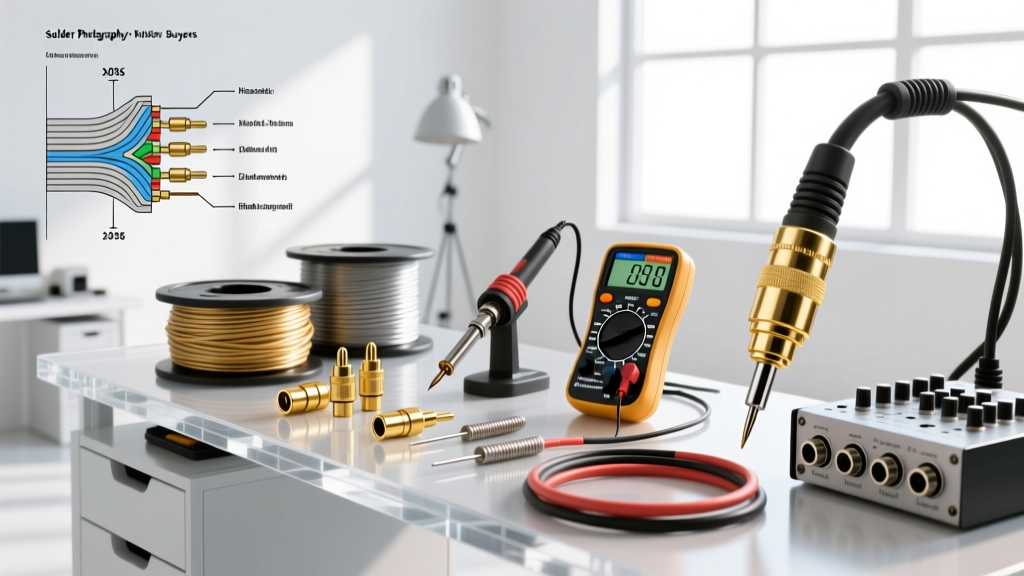
The most common flaw in DIY cost analysis is ignoring the initial capital expenditure (CapEx) required for proper tooling. You cannot reliably solder XLR cables with a cheap, unregulated 60-watt hardware store iron. Proper thermal recovery is required to flow solder onto heavy ground lugs without creating cold joints.
- Soldering Station: The Weller WE1010NA or Hakko FX-888D remain the gold standards for DIY and mid-level pro techs in 2026, retailing between $110 and $120.
- Wire Strippers: Precision is mandatory to avoid nicking the fine copper stranding. The Knipex 12 62 180 multi-stripper costs roughly $55.
- Flush Cutters & Helpers: Hakko CHP Micro-Shears and a Panavise or 'helping hands' jig add another $35.
Total Tooling Investment: ~$205.00
To find your true break-even point, we must amortize this $205 tooling cost against the savings per cable. If you save an average of $12 per cable by building your own (compared to buying mid-tier premade cables), you must build 17 cables before your DIY operation turns a net profit. For a home studio needing six mic cables, buying premade is actually cheaper. For a live sound rig requiring a 32-channel snake and 15 monitor lines, the DIY route yields massive dividends.
The 2026 Price Matrix: DIY vs. Premade
How do the costs scale as cable length increases? The longer the cable run, the more heavily the DIY advantage compounds, as premium manufacturers charge exponential markups for longer factory runs.
| Cable Length | DIY (Canare + Neutrik) | Premade Mid-Tier (Pro Co) | Premade Premium (Mogami Gold) | Net Savings (DIY vs Premium) |
|---|---|---|---|---|
| 10 Feet | $20.65 | $22.00 | $45.00 | $24.35 |
| 25 Feet | $37.90 | $40.00 | $85.00 | $47.10 |
| 50 Feet | $66.65 | $65.00 | $160.00 | $93.35 |
| 100 Feet | $124.15 | $110.00 | $310.00 | $185.85 |
Note: Mid-tier premade cables become slightly cheaper than DIY at the 50-foot and 100-foot marks due to massive factory bulk discounts on PVC and copper, but they utilize inferior connectors and standard twin-axial wire rather than Star Quad.
Technical Execution and Failure Modes
A cable that fails on stage costs far more than its material value; it costs reputation and gig revenue. Understanding the failure modes of XLR cable soldering is critical to ensuring your DIY investment actually lasts. The Shure XLR wiring standard dictates the universal AES pinout: Pin 1 for Ground/Shield, Pin 2 for Hot (+), and Pin 3 for Cold (-).
Common DIY Failure Modes
- Cold Solder Joints on Pin 1: The ground lug on an XLR connector acts as a massive heat sink. If your iron lacks thermal recovery, the solder will paste over the lug without metallurgically bonding, leading to intermittent hum and crackling.
- Solder Wicking: Allowing molten solder to wick up into the stranded wire insulation creates a rigid, brittle point exactly where the cable flexes. Over time, this stiff section will snap. Solution: Use precise tinning and keep the heat shrink sleeve positioned to cover the transition zone.
- Star Quad Grounding Errors: When wiring Star Quad cable (like Canare L-4E6S), the four inner conductors must be paired correctly. The two blue wires are soldered to Pin 2, the two white wires to Pin 3, and the braided shield to Pin 1. Failing to twist and combine the pairs properly defeats the EMI-rejection geometry of the cable.
Pro Tip for 2026: Always use a digital multimeter in continuity mode to test Pin 1 to the connector shell, and Pin 2/3 to the opposite end's Pin 2/3 before applying the final heat shrink and boot. Troubleshooting a shorted shield after the boot is crimped is a guaranteed way to waste $8 in materials.
The 'Time is Money' Factor
Material costs are only half the equation. Labor time must be factored into your cost analysis.
- Beginner Tech: 15–20 minutes per cable. (Includes stripping, untangling Star Quad braids, tinning, soldering, and testing).
- Experienced Tech: 4–6 minutes per cable using an assembly-line approach (strip all wires first, tin all pins, solder, assemble).
If you value your time at $30/hour, a beginner spends $10 in 'labor' per cable, erasing the financial advantage of DIY for short runs. However, for professionals building stage snakes, the assembly-line method drops the labor cost to under $3 per cable, making DIY overwhelmingly profitable.
Decision Framework: When to Solder and When to Buy
Use this rapid decision matrix to determine your purchasing strategy for your next audio project:
Buy Premade When:
- You need fewer than 10 cables under 20 feet in length.
- You do not own a temperature-controlled soldering station and do not plan to do future electronics repair.
- You require 50+ foot runs where factory-extruded molded boots offer superior physical strain relief for heavy stage dragging.
DIY XLR Cable Soldering When:
- You are building a custom patch bay or studio wall box requiring exact, non-standard lengths (e.g., 3.5 feet) to avoid cable clutter.
- You need the superior EMI rejection of Star Quad wire paired with premium Neutrik connectors, which is a rare and expensive combination in the premade market.
- You are building a multi-channel snake. Buying bulk 100ft spools and a 16-channel XLR breakout box yields savings of over $200 compared to a factory-loomed snake.
Final Verdict
In 2026, XLR cable soldering remains a highly cost-effective skill, provided you approach it with an understanding of economies of scale. The upfront cost of quality tooling and the learning curve of Star Quad preparation mean that DIY is not inherently cheaper for the casual user needing a single replacement mic cable. However, for studio build-outs, live sound rigs, and custom patching, the ability to marry premium Mogami or Canare wire with rugged Neutrik connectors at half the retail price of boutique brands makes DIY cable fabrication an essential, money-saving competency for every serious audio professional.