
The Thermal Mass Challenge in Ring Assemblies
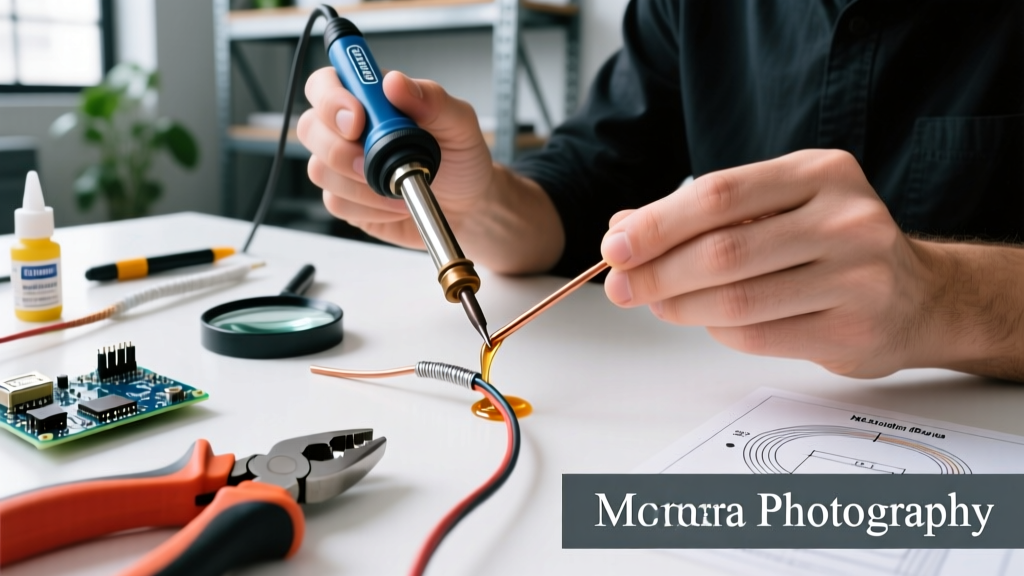
Whether you are building a custom DIY slip ring for a robotics gimbal, repairing a squirrel-cage rotor end-ring, or assembling heavy-duty RF coaxial connectors, getting copper rings soldered together is one of the most thermally demanding tasks in electronics. Unlike standard PCB through-hole components, solid copper rings act as massive heat sinks. They pull thermal energy away from your soldering iron tip at an alarming rate, frequently resulting in cold joints, oxidized filler metal, or burnt adjacent insulation.
Expert Insight: 'The biggest mistake DIYers make when joining heavy copper rings is relying on raw iron temperature. Cranking a standard iron to 450°C won't overcome the thermal mass; it will just oxidize your tip and burn your flux before the base metal reaches the alloy's liquidus point. You need high thermal recovery and the right tip geometry.' — Master Motor Rewinder & RF Assembly Technician
In this 2026 expert roundup, we consulted with motor repair specialists, RF engineers, and micro-soldering technicians to bring you the definitive guide on the tools, metallurgy, and techniques required for getting rings soldered together with aerospace-level reliability.
Expert Tool Roundup: Soldering Stations for Heavy Copper
To successfully sweat heavy copper rings, your soldering station must deliver high continuous wattage and feature tips with substantial thermal mass. We evaluated the top three stations recommended by industry professionals.
| Station Model | Power Output | Recommended Tip Geometry | 2026 Est. Price | Best Application |
|---|---|---|---|---|
| JBC CD-2BQE | 130W | C245-764 (Spoon/Bevel) | $585 | Curved slip rings & stator rings |
| Hakko FX-951 | 70W | T15-D24 (Heavy Chisel) | $295 | Flat bus rings & grounding lugs |
| Weller WT1012 | 90W | RT4 (Ultra Chisel) | $135 | Light-gauge RF connector rings |
1. JBC CD-2BQE (The Professional's Choice)
When professionals need to ensure heavy copper rings are soldered together without cold joints, the JBC CD-2BQE is the undisputed champion. Its 130W cartridge system heats up in under two seconds and maintains aggressive thermal recovery. The secret weapon here is the C245-764 Spoon Tip. The concave shape of the spoon tip perfectly cradles the convex outer diameter of a copper ring, maximizing surface area contact and facilitating rapid heat transfer into the workpiece.
2. Hakko FX-951 (The Reliable Mid-Tier)
For DIYers building flat copper bus rings for custom battery packs or busbars, the Hakko FX-951 remains a staple. While its 70W output is lower than the JBC, pairing it with a heavy T15-D24 chisel tip provides enough thermal mass for rings up to 12 AWG equivalent thickness. It struggles slightly with thick, curved stator rings, but for flat ring-to-ring lap joints, it is exceptionally reliable.
3. Weller WT1012 (The Budget-Conscious DIYer)
If you are soldering thin brass or copper rings for RC motor commutators or lightweight RF shields, the Weller WT1012 offers excellent value. Using the RT4 chisel tip, you can achieve solid joints on rings under 2mm thick. However, experts warn that attempting to solder heavy industrial slip rings with this station will result in excessive dwell times, violating IPC standards for thermal exposure.
Metallurgy Matters: Alloys and Fluxes for Rings
Getting your rings soldered together flawlessly requires more than just a good iron; it requires the right chemical and metallurgical consumables. Copper oxidizes rapidly at high temperatures, which prevents solder wetting.
- Kester 186 RMA Flux (Rosin Mildly Activated): This is the industry standard for heavy copper. The mild activators strip away copper oxide at high temperatures, allowing the solder to flow into the microscopic grain structure of the ring. Do not use no-clean flux for heavy ring assemblies; it lacks the thermal stamina required.
- Kester 245 (Sn63/Pb37): For DIY and non-RoHS applications, this eutectic leaded alloy is preferred. It transitions from solid to liquid instantly at 183°C (361°F), eliminating the plastic (pasty) phase and reducing the risk of disturbed joints while the heavy rings cool.
- Indalloy 121 (Sn96.5/Ag3.0/Cu0.5): If your project requires lead-free compliance or higher operating temperatures (like under-hood automotive slip rings), this SAC305 variant provides excellent shear strength and wetting on heavy copper, though it requires an iron temperature of at least 350°C (662°F).
Step-by-Step: Getting Your Rings Soldered Together
According to the IPC J-STD-001 standards for soldered electrical assemblies, heavy thermal mass components require strict process controls to prevent insulation damage and ensure metallurgical bonding. Follow this expert-approved workflow:
- Mechanical Preparation: Copper rings often have a mill scale or anti-corrosion coating. Use a fiberglass scratch pen or 400-grit sandpaper to brighten the mating surfaces of both rings immediately before soldering.
- Chemical Activation: Apply a generous coat of Kester 186 RMA liquid or tack flux to both mating surfaces. Do not rely on the flux core inside your solder wire; heavy rings require external flux to prevent oxidation during the prolonged heating phase.
- Pre-Heating (The Secret Step): Place the rings on a PTC pre-heater or hot plate set to 120°C (248°F). Pre-heating reduces the thermal delta ($\Delta T$) between your iron and the workpiece, allowing your iron to focus on bringing the joint to liquidus rather than boiling off the flux.
- Pre-Tinning: Apply a small amount of solder to each ring individually. The flux will boil, and the solder should flash and wet the copper instantly. If it balls up, stop, clean, and re-flux.
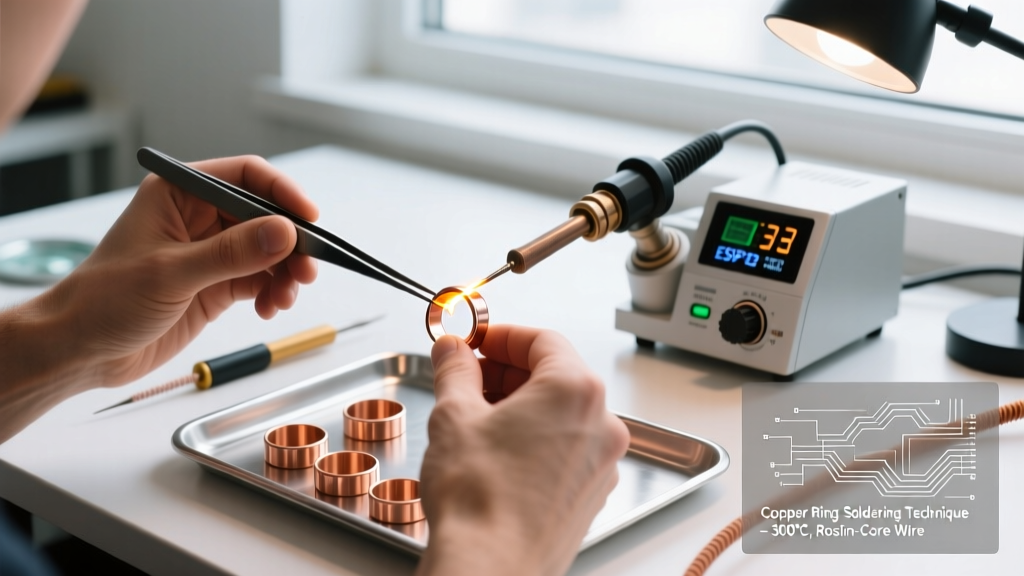
- Sweating the Joint: Align the pre-tinned rings. Apply your iron (with a fresh coat of solder on the tip for thermal coupling) directly to the joint. The pre-tinned layers will melt and fuse together in 2 to 4 seconds. Remove the iron and hold the rings perfectly still until the alloy solidifies.
Troubleshooting Common Failure Modes
Even with the right tools, heavy copper can be unforgiving. Here is how to diagnose and fix the most common issues when getting rings soldered together.
Cold Joints (Grainy or Dull Appearance)
Cause: The base metal never reached the liquidus temperature of the alloy. The solder merely melted on the surface of the iron and transferred as a paste to the ring.
Fix: Increase your tip size, utilize a pre-heater, or switch to a higher-wattage station like the JBC CD-2BQE. Never compensate for a cold joint by leaving the iron on the part for 10+ seconds; this will destroy your tip and burn the flux.
Solder Wicking and Starved Joints
Cause: Capillary action pulls the molten solder away from the joint and down the sides of the ring or into adjacent wire strands.
Fix: Use a higher-viscosity tack flux (like Amtech NC-559-V2-TF) which holds the solder in place during the liquid phase. Apply heat directly to the center of the lap joint rather than the edges.
Insulation Burn-Back
Cause: Prolonged dwell times cause heat to travel down the copper ring and melt adjacent PTFE, Kapton, or enamel insulation.
Fix: The EASA AR100 standard for motor repair strictly warns against excessive heat that can anneal copper or damage winding insulation. Use aluminum heat-sink clips (alligator clips) on the ring between the joint and the insulation to absorb and dissipate traveling thermal energy.
FAQ: Expert Answers on Ring Soldering
Can I use a butane torch instead of a soldering iron for thick copper rings?
While a micro-torch (like the Blazer GB2001) can easily melt solder on thick stator rings, experts strongly advise against it for precision electronics or slip rings. Torches create localized hot spots that can warp the ring's concentricity, destroy nearby bearing grease, and oxidize the copper far beyond the joint area, making future rework impossible.
What is the maximum acceptable dwell time for heavy ring joints?
According to NASA's NEPP soldering guidelines and IPC standards, the maximum dwell time for heavy mass terminals should not exceed 5 seconds per attempt. If the joint does not flow within 5 seconds, remove the iron, allow the part to cool to room temperature, clean the oxidized flux residue with isopropyl alcohol, re-flux, and try again with a larger tip or pre-heating.
Should I use silver-bearing solder for mechanical strength?
Yes. If the rings soldered together will be subjected to high rotational vibration (such as in a DIY alternator or high-RPM slip ring), using an alloy with a 2% to 4% silver content (like Sn62/Pb36/Ag2) significantly increases the shear strength and fatigue resistance of the fillet compared to standard tin-lead alloys.