
The Physics of Desoldering: Why Heat Control Matters
Knowing how to remove soldered copper pipe without destroying the fitting or starting a wall fire requires an understanding of metallurgy. The core challenge is thermal differential. Standard 50/50 lead-tin solder melts between 361°F and 421°F, while modern lead-free solder (95/5 tin-antimony) requires 430°F to 470°F to liquefy. Copper, however, does not melt until 1,984°F.
The danger zone is annealing. When copper is heated above 700°F, its crystalline structure changes, causing it to lose tensile strength and become soft, brittle, and prone to pinhole leaks under pressure. According to the Copper Development Association, excessive heat also burns away the flux, leaving behind a corrosive residue that prevents future solder adhesion. Therefore, the goal of any desoldering method is to hit 450°F uniformly across the fitting without pushing the surrounding pipe past 700°F.
4 Methods to Remove Soldered Copper Pipe Compared
Whether you are remodeling a bathroom or repairing a burst line, choosing the right extraction method depends on your budget, workspace constraints, and fire risk tolerance. Below, we compare the four primary techniques used by master plumbers in 2026.
1. MAP-Pro Torch and Channel Locks (The Traditional Route)
The most common method utilizes a high-intensity torch, such as the Bernzomatic TS8000 (approx. $55), fueled by a MAP-Pro cylinder. MAP-Pro burns at roughly 3,730°F, providing the rapid, concentrated heat needed to overcome the thermal mass of a water-filled or damp pipe.
- Pros: Inexpensive upfront cost; extremely fast (15-30 seconds per joint); works on all pipe diameters.
- Pros: Allows you to save and reuse the existing copper fittings.
- Cons: High fire risk; requires a dedicated fire watch and heat shields (fiberglass mats); produces toxic fumes if old leaded flux is burned.
2. Flameless Induction Heating (The High-Tech Pro Route)
Induction heaters use high-frequency magnetic fields to generate heat directly within the metal. While tools like the Mini-Ductor Venom ($400-$500) are legendary for removing rusted steel bolts, copper presents a unique challenge. Because copper is non-ferrous and highly thermally conductive, standard induction coils struggle to heat it efficiently.
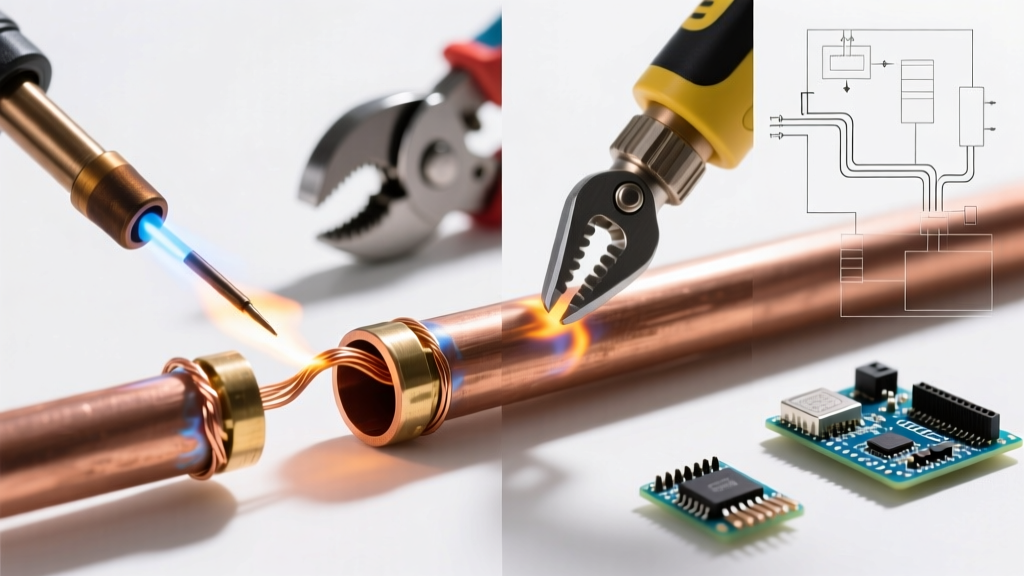
To desolder copper with induction, professionals use a specialized 'bare wire wrap' technique, wrapping a high-frequency copper coil tightly around the fitting. It is highly effective in tight joist bays where a torch flame would ignite dry wood, but the learning curve and equipment cost make it a strictly commercial option.
3. Mechanical Cut and Push-to-Connect (The No-Heat Bypass)
If you cannot safely use heat, the modern alternative is to cut the pipe out entirely and transition to push-to-connect fittings like SharkBite 2XL Max ($12-$18 per fitting) or use a Milwaukee M12 Copper ProPress tool ($1,500+ for the kit).
- Pros: Zero fire risk; no toxic fumes; ideal for live-line emergencies where draining the system completely is impossible.
- Cons: You destroy the existing fitting; push-to-connect fittings require perfectly deburred, clean pipe and take up more physical space inside walls; significantly higher material cost per joint.
4. High-Wattage Heat Gun (The Low-Risk Struggle)
Using a heavy-duty heat gun, such as the Milwaukee M18 Heat Gun ($199), is a flameless way to melt solder. However, heat guns max out around 1,000°F at the nozzle, and ambient air is a poor thermal conductor.
This method is only viable for 1/2-inch copper lines in highly fire-restricted spaces. On 3/4-inch or 1-inch lines, the residual water inside the pipe acts as a massive heat sink, often making it impossible to reach the solder's melting point before the heat gun's internal thermal fuse trips.
Head-to-Head Comparison Matrix
| Method | Est. Tool Cost | Speed per Joint | Fire Risk | Best Use Case |
|---|---|---|---|---|
| MAP-Pro Torch | $55 - $80 | 20 - 40 seconds | High | Open basements, new rough-ins, fitting salvage |
| Induction Heater | $400 - $600 | 45 - 90 seconds | Very Low | Tight joist bays, commercial retrofit |
| Cut & Push-Fit | $12 - $18/joint | 2 - 3 minutes | None | Emergency repairs, damp lines, historic homes |
| High-Temp Heat Gun | $150 - $200 | 3 - 8 minutes | Low | Small 1/2-inch lines near flammable materials |
Step-by-Step: The Torch Twist Technique Done Right
If you opt for the traditional torch method, precision is everything. Follow this exact sequence to avoid ruining the fitting or causing a steam explosion.
- Drain and Vent: Shut off the water and open the lowest faucet in the house. Critical: Open a vent line above your work area. Trapped water will turn to steam, causing severe burns or blowing molten solder across the room.
- Clean the Exterior: Use emery cloth to remove surface oxidation. Dirty copper absorbs heat unevenly.
- Apply Tinning Flux: Brush a thin layer of Oatey No. 95 Tinning Flux ($12) over the joint. This lowers the surface tension and aids in thermal transfer.
- Heat the Fitting, Not the Pipe: Apply the MAP-Pro flame to the middle of the fitting (the elbow or tee), keeping the torch moving. Do not aim at the pipe or the solder will melt on the outside while remaining frozen inside the capillary gap.
- Test with Solder: After 15 seconds, touch a piece of lead-free solder wire to the seam. If it flashes to liquid instantly, the joint is ready.
- The Twist and Pull: Grip the pipe with Channel Lock pliers. Apply a gentle twisting motion while pulling outward. The capillary action will break, and the pipe will slide out.
- Wipe and Clean: While the fitting is still hot, wipe the inside with a damp rag to remove excess solder, then use a wire brush attachment on a drill to prep it for the new pipe.
Critical Safety and Failure Modes
Warning: The National Fire Protection Association (NFPA) reports that plumbing torches are a leading cause of residential fires during renovations. Always use a flame-retardant cloth shield behind the pipe and maintain a 30-minute fire watch with a pressurized water extinguisher after the torch is turned off.
Edge Case: Pre-1986 Homes and Lead Toxicity
Homes built before 1986 frequently utilized 50/50 lead-tin solder. When heated, this solder can release lead particulates and toxic fumes. The Environmental Protection Agency (EPA) mandates strict ventilation and PPE when disturbing lead. If you are desoldering vintage lines, wear a P100 respirator and consider the mechanical cut-and-press method to avoid vaporizing lead entirely.
Failure Mode: Solder Starvation
A common DIY mistake is failing to clean the inside of the salvaged fitting. If a layer of old, oxidized solder remains inside the cup, the new pipe will not seat fully, and the new flux cannot penetrate the old alloy. This results in a 'cold joint' that will inevitably leak under 60 PSI of municipal water pressure.
Frequently Asked Questions
Can I use a propane torch instead of MAP-Pro?
Yes, but it is not recommended for pipes larger than 1/2-inch. Standard propane burns cooler and lacks the aggressive BTU output required to overcome the heat-sink effect of residual moisture in larger copper lines. MAP-Pro is the industry standard for a reason.
Will heating the pipe ruin the copper?
Not if done correctly. Copper anneals (softens) at around 700°F. Because solder melts at roughly 450°F, you have a 250-degree safety window. If the copper turns cherry red or blackens heavily, you have overheated it, compromised its structural integrity, and must cut that section out and replace it.
How do I remove a fitting that is stuck after heating?
If the fitting won't twist off, the solder inside has likely oxidized and fused, or the pipe was slightly flared during initial installation. Apply more flux, reheat for another 10 seconds, and use two wrenches—one to hold the fitting stationary and one to twist the pipe. Never use brute force while the copper is hot, as annealed copper will easily tear or crimp.