
The Paradox of Wood Soldering: A Decision Framework
When makers and engineers search for wood soldering, they are usually colliding with a fundamental materials science paradox: wood is an organic, thermally degradable insulator, while soldering requires high-heat metallic fusion. Standard electronics soldering irons operate between 300°C and 400°C (572°F–752°F), a temperature range that will instantly scorch, char, and eventually ignite organic timber substrates.
Therefore, true "wood soldering" in an electrical context does not mean fusing solder directly to wood fibers. Instead, it refers to a specialized decision framework encompassing three distinct disciplines:
- Embedded Electronics: Routing conductive pathways into wood using low-temperature alloys and copper foil.
- Pyrography (Wood Burning): Repurposing thermal soldering tools for artistic surface carbonization.
- Friction Wood Welding: An industrial/academic process of melting wood lignin (often confused with soldering by beginners).
This guide provides the exact technical parameters, material selections, and thermal limits required to successfully integrate electronics into wooden enclosures, furniture, and art pieces in 2026, without destroying your substrate.
The Thermal Reality Check: Wood vs. Solder Alloys
Before selecting a method, you must understand the thermal thresholds of your materials. According to the USDA Forest Products Laboratory Wood Handbook, wood undergoes thermal degradation starting around 200°C (392°F), with spontaneous ignition risks climbing rapidly past 250°C (482°F) depending on moisture content and species density.
| Material / Alloy | Melting / Ignition Point | Application in Wood Substrates |
|---|---|---|
| Sn42Bi58 (Tin-Bismuth) | 138°C (280°F) | Optimal. Safe for proximity to raw wood; minimal scorch risk. |
| Sn60Pb40 (Leaded) | 188°C (370°F) | Moderate Risk. Requires fast dwell times and sealed wood surfaces. |
| SAC305 (Lead-Free) | 217°C (423°F) | High Risk. Will scorch unsealed wood; requires thermal barriers. |
| Pine / Oak Timber | ~250°C - 300°C (Ignition) | Charring begins at ~200°C. Moisture content dictates exact threshold. |
Path 1: Embedding Electronics in Wood (The Maker's Method)
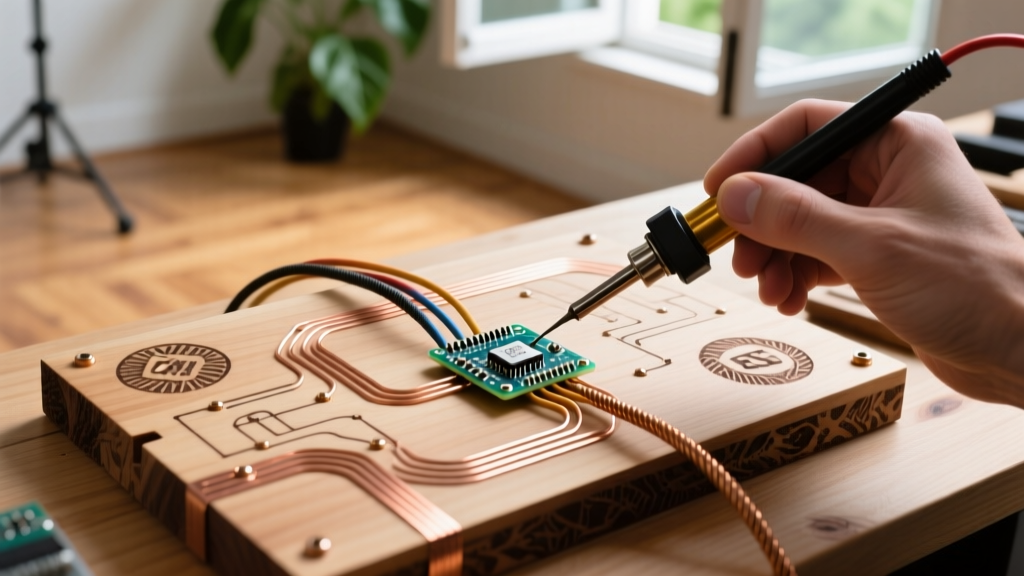
If your goal is to embed LEDs, capacitive touch sensors, or microcontrollers (like an ESP32) into a wooden business card, lamp, or dashboard, you cannot use standard through-hole soldering. You must use a hybrid approach combining CNC routing, copper foil tape, and low-temperature solder paste.
Step 1: Substrate Preparation and Sealing
Raw wood is porous and will absorb liquid flux, leading to dielectric breakdown and sticky, un-solderable residues.
- Sand the wood to 320-grit for a glass-smooth finish.
- Seal the surface with a thin coat of water-based polyurethane or shellac. This creates a thermal and chemical barrier that prevents flux absorption and delays heat transfer into the wood fibers.
Step 2: Creating Conductive Pathways
Do not attempt to paint conductive ink directly onto wood; the resistance will be too high for anything beyond a single LED. Instead, use 3M 1181 Copper Foil Tape. Unlike standard copper tape, the 1181 features a conductive acrylic adhesive, allowing electricity to pass through the tape and into components placed on top of it.
Pro Tip: For longer runs, use a Dremel with a 1/16" end mill to route a shallow channel (0.5mm deep), lay down 28AWG silicone wire, and cover it with the copper tape. This prevents the tape from peeling off due to wood expansion and contraction with humidity changes.
Step 3: Low-Temperature Component Attachment
To attach surface-mount LEDs or battery contacts without burning the wood or melting the tape's adhesive (which fails around 150°C), use Sn42Bi58 (Tin-Bismuth) solder paste, such as Chip Quik SMD291AX.
- Dispense a micro-dot of solder paste onto the copper tape pad.
- Place the SMD component using tweezers.
- Use a precision hot-air rework station (e.g., Quick 861DW) set to 160°C with low airflow, or a precision iron like the Pinecil V2 set to 160°C with a micro-pencil tip.
- The solder will reflow in 2–3 seconds. Remove heat immediately to prevent the copper tape adhesive from outgassing and lifting the trace.
Expert Warning: Never use standard rosin-core solder wire on copper tape over wood. The flux requires too much thermal energy to activate, which will transfer through the copper and scorch the wood beneath the tape, causing the adhesive to fail and the trace to lift.
Path 2: Pyrography (Wood Burning with Soldering Irons)
Many users searching for "wood soldering" are actually looking to do pyrography—burning designs into wood using a soldering iron. While dedicated pyrography pens (like the Walnut Hollow Versa-Temp) are ideal, a high-wattage electronics soldering station can be repurposed if you understand thermal mass.
The Thermal Mass Problem
Standard 40W–60W soldering irons (like the classic Weller WES51) are designed to transfer heat to highly conductive metals (copper pads and component leads). Wood is a thermal insulator. When you press a standard iron tip to wood, the tip's temperature drops rapidly, and the iron's heating element struggles to recover, resulting in uneven, blotchy burn marks.
Optimizing an Electronics Iron for Wood
- Tip Selection: Use a heavy, chisel-style tip (e.g., Weller ETA or a generic 3.2mm chisel). The extra brass mass acts as a thermal battery, sustaining heat longer against the insulating wood.
- Temperature Settings: Set your station to 380°C (716°F). This seems high, but the insulating nature of wood means the actual interface temperature drops significantly upon contact.
- Wood Selection: Use tight-grained, light-colored woods like Basswood, Maple, or Birch. Pine contains resin pockets that will melt, boil, and create unpredictable, jagged burn lines.
Path 3: Friction Wood Welding (The Academic Misnomer)
In materials science literature, you may encounter the term "wood soldering" or "friction wood welding." This is an industrial process where two pieces of wood are rubbed together at high frequencies (using specialized linear friction welding machinery). The friction generates enough heat to melt the lignin (the natural polymer binding wood fibers), fusing the two pieces together without glue or nails. This cannot be replicated with a DIY soldering iron or electronics tools.
Crucial Safety Protocols: Fumes and Particulates
Soldering on or near wood introduces severe respiratory hazards that standard electronics workstations are not equipped to handle. When rosin-based flux aerosolizes and mixes with vaporized wood resins and microscopic charred particulates, it creates a highly toxic smoke.
According to NIOSH (National Institute for Occupational Safety and Health), soldering fumes contain colophony (rosin), which is a known respiratory sensitizer and can cause occupational asthma. When combined with pyrolyzed wood compounds (like formaldehyde and carbon monoxide from charring), the risk multiplies.
Mandatory Extraction Setup
Do not rely on a standard desktop fan. You must use a localized fume extractor equipped with a HEPA filter and an activated carbon bed (such as the Hakko FA-400 or a DIY inline duct fan with a carbon scrubber). Position the extraction hood no more than 4 inches from the soldering/wood-burning interface to capture the thermal plume before it reaches your breathing zone.
Decision Matrix: Which Method Should You Choose?
| Project Goal | Recommended Technique | Required Tools & Materials |
|---|---|---|
| Embedding LEDs/Sensors in Furniture | Copper Foil + Sn42Bi58 Paste | CNC/Dremel, 3M 1181 Tape, Pinecil V2, Polyurethane sealant. |
| Decorative Art / Signage | Pyrography (Thermal Carbonization) | High-wattage station (70W+), Chisel tip, Basswood, Fume extractor. |
| Structural Wood Joinery | Traditional Woodworking / Glue | Wood glue, clamps. (Friction welding is not viable for DIY). |
| Capacitive Touch Wood Interfaces | Embedded Copper Mesh + MPR121 | 28AWG wire, routing tools, MPR121 breakout board, thin wood veneer. |
Frequently Asked Questions (FAQ)
Can I use standard 60/40 solder wire on copper tape over wood?
It is highly discouraged. Standard Sn60Pb40 requires tip temperatures around 350°C to activate the rosin flux and wet the joint. This thermal energy will easily transfer through the thin copper tape, scorch the wood beneath, and cause the tape's adhesive to outgas, resulting in a lifted trace and a failed circuit. Always use low-temperature Sn42Bi58 solder paste.
Why is my solder balling up and refusing to stick to the copper tape?
Copper foil tape oxidizes rapidly when exposed to air, especially if it has been sitting in a maker space for months. Before soldering, lightly wipe the copper tape with a fiberglass scratch pen or a Q-tip dipped in isopropyl alcohol to remove surface oxidation. If using solder paste, ensure the flux in the paste is fresh; expired paste loses its chemical ability to strip oxidation.
Does wood moisture content affect embedded electronics?
Yes. Wood is hygroscopic; it absorbs and releases moisture based on ambient humidity. If you embed electronics into "green" or un-kiln-dried wood, the wood will shrink as it dries, potentially snapping delicate solder joints or pulling copper traces apart. Always use kiln-dried lumber (moisture content below 8%) for electronic embedding projects.