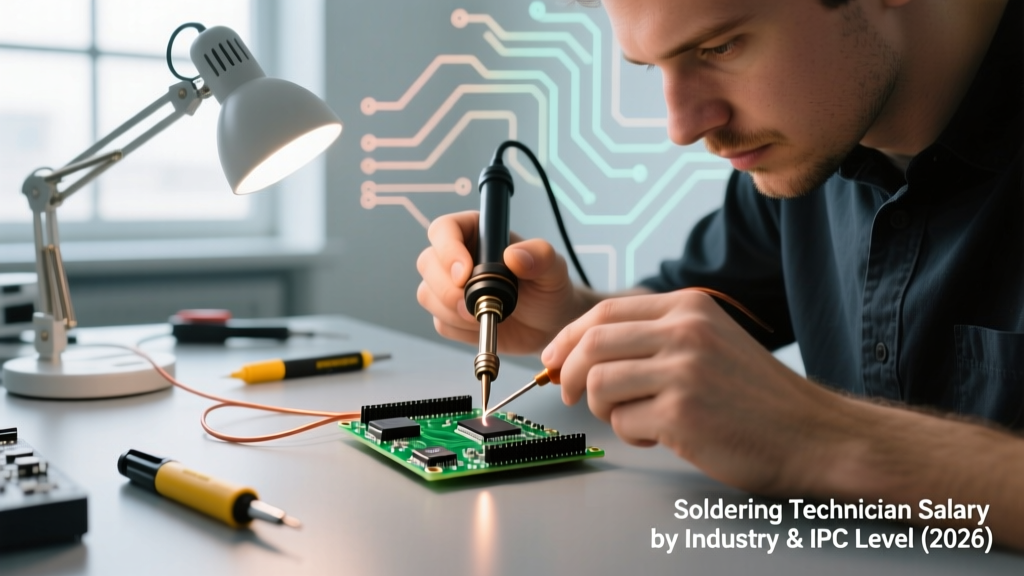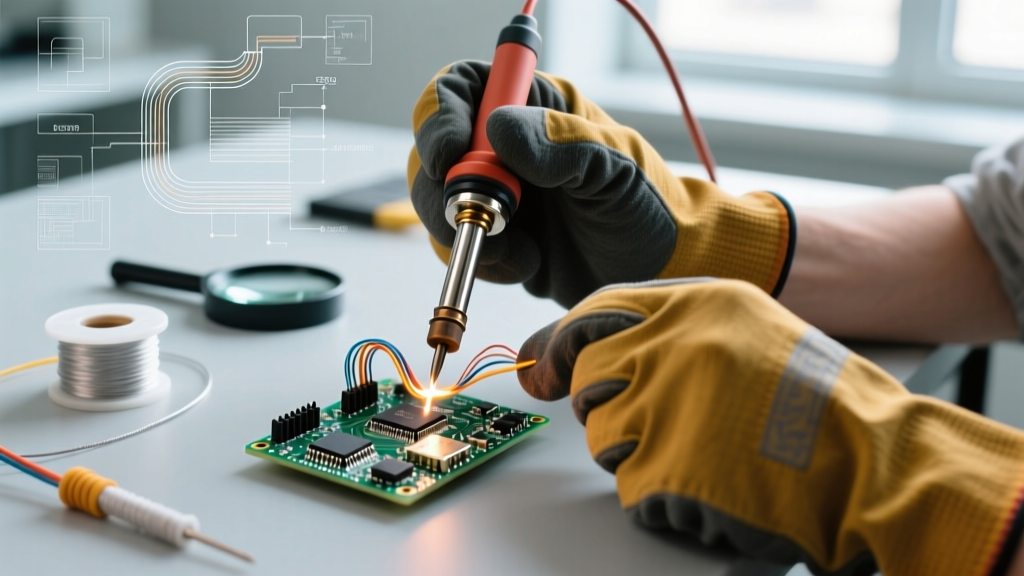

So, What's Soldering? (And Why Safety Dictates the Process)
When beginners ask, 'what's soldering?' they are usually looking for a simple definition: the process of joining two or more metal items by melting and putting a filler metal (solder) into the joint, where the filler metal has a lower melting point than the adjoining metal. Unlike welding, which melts the base metals, soldering relies on capillary action and metallurgical bonding at temperatures typically below 450°C (842°F).
However, defining the process is only half the battle. The real question for any DIYer, electronics technician, or hobbyist should be: what are the hidden hazards of soldering? The volatilization of chemical fluxes, the presence of heavy metals, and the extreme thermal gradients involved mean that a proper safety protocol is not optional—it is the foundation of the craft. In this guide, we break down the exact safety best practices, specific gear requirements, and thermal management techniques you need to maintain a safe workspace in 2026.
The Hidden Hazards: Flux Fumes and Thermal Breakdown
The most significant danger in soldering doesn't come from the metal alloy itself, but from the flux core inside the solder wire. When heated, flux vaporizes to clean the oxidation off the copper pads. If you are using rosin-based (colophony) flux, this vapor is a known respiratory sensitizer.
'Repeated exposure to rosin (colophony) fumes can cause occupational asthma. Once sensitized, even minute exposures can trigger severe respiratory distress.' — UK HSE's guidance on colophony
Furthermore, if you are working with specialized wires insulated with PTFE (Teflon), excessive heat can cause thermal breakdown. When PTFE exceeds 350°C, it begins to off-gas toxic fluorocarbon compounds, which can cause polymer fume fever—a severe, flu-like respiratory condition.
Essential Safety Gear Matrix
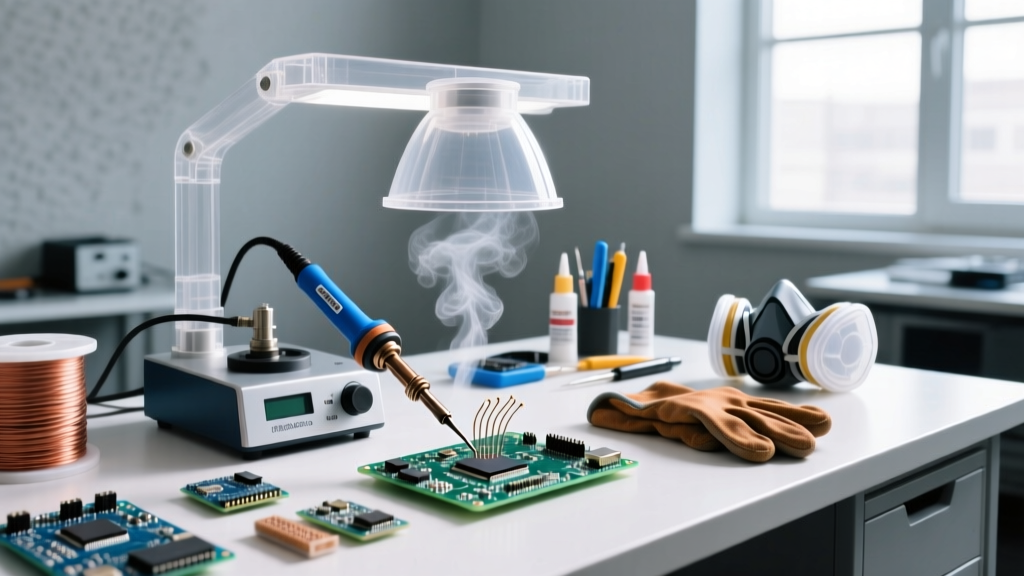
Building a safe soldering station requires targeted investments. Below is a breakdown of the mandatory and situational safety gear required for a modern electronics workbench, complete with 2026 market pricing.
| Equipment Category | Recommended Model | Avg. Cost | Necessity Level |
|---|---|---|---|
| Fume Extractor (Benchtop) | Hakko FA-400 (Carbon Filter) | $55 | Mandatory |
| Fume Extractor (Pro/HEPA) | Metcal BVX-100 | $620 | Mandatory (Daily Use) |
| Thermal Mat | Kaisi 300x400mm Silicone | $18 | Mandatory |
| Safety Eyewear | Uvex Astrospec 3000 | $12 | Mandatory |
| Hand Protection | Kimberly-Clark Purple Nitrile | $15 / box | Situational (Lead) |
| ESD Wrist Strap | Velleman Anti-Static Strap | $8 | Situational (CMOS) |
Fume Extraction: Don't Skip the Most Critical Step
Many hobbyists rely on small desk fans to blow smoke away. This is a critical failure in safety protocol. Blowing flux fumes into the ambient room air merely dilutes them temporarily; it does not remove the sub-micron particulates or volatile organic compounds (VOCs).
Ambient Carbon Filters vs. Source-Capture HEPA
For occasional weekend projects (under 5 hours a week), a benchtop activated carbon filter like the Hakko FA-400 is sufficient. The activated carbon traps the bulk of the rosin VOCs, while the physical mesh catches larger particulates. However, the carbon filters (typically $12-$15 per replacement) must be swapped every 40 to 50 hours of active soldering time, or they become completely saturated and ineffective.
For professionals or heavy DIYers, a source-capture system like the Metcal BVX-100 or BOFA AD Oracle 250 is required. These systems use a multi-stage filtration process: a pre-filter for large debris, a HEPA filter for 99.97% of particulates down to 0.3 microns, and a deep-bed activated carbon layer for gas-phase VOCs. The extraction arm must be positioned exactly 2 to 4 inches from the solder joint to ensure the thermal plume carries the fumes directly into the hood.
Thermal Safety and Burn Prevention
Soldering irons operate between 300°C and 420°C. A split-second lapse in concentration can result in third-degree burns. But thermal safety goes beyond just avoiding the iron tip.
Managing Thermal Mass and Workpiece Burns
A common beginner mistake is touching the component or PCB pad immediately after soldering. Copper and brass components possess high thermal mass and can retain temperatures exceeding 150°C for several seconds after the iron is removed. Always use hemostats or tweezers to hold components, and never use your fingers to stabilize a wire while applying heat.
Proper Temperature Profiling
Running your iron at maximum temperature 'to melt solder faster' is a recipe for burnt flux, degraded PCB pads, and accelerated tip oxidation. Follow these baseline profiles:
- Sn63/Pb37 (Leaded Eutectic): Melts at 183°C. Set your station (e.g., Hakko FX-888D or Pinecil V2) to 315°C - 330°C.
- SAC305 (Lead-Free): Melts at 217°C. Set your station to 350°C - 380°C.
- Heavy Ground Planes: Increase temperature by 20°C or switch to a wider chisel tip to increase thermal transfer area, rather than cranking the heat to 450°C.
Lead vs. Lead-Free: Handling and Hygiene
While the electronics industry has largely shifted to RoHS-compliant lead-free alloys, leaded solder (Sn63/Pb37) remains popular in hobbyist and aerospace sectors due to its superior wetting characteristics and lower melting point. Lead is a cumulative toxic metal that affects the nervous system.
According to OSHA's Lead Safety Guidelines, ingestion and inhalation of lead dust are the primary vectors for exposure. Soldering itself does not vaporize lead (lead boils at 1,749°C), but handling leaded solder wire transfers microscopic lead dust to your fingers.
Strict Hygiene Protocols for Leaded Solder
- Never eat or drink at your soldering workstation. Lead dust easily transfers from fingers to food or the rim of a coffee mug.
- Wash hands thoroughly with cold water and soap immediately after soldering. (Warm water opens pores, potentially allowing trace lead absorption through micro-abrasions on the skin).
- Use dedicated nitrile gloves if you are doing high-volume through-hole soldering with leaded wire.
- Clean your workspace weekly using a HEPA-filtered vacuum or wet-wiping method. Dry dusting merely kicks lead particulates back into the air.
Step-by-Step Safe Soldering Workflow
To build muscle memory that prioritizes safety, adopt this standardized workflow for every session:
- Inspect Gear: Check the iron cord for fraying. Ensure the fume extractor fan is spinning and the filter is not clogged.
- Secure the Workpiece: Use a PCB vise or 'helping hands' tool. Never hold the PCB in your lap or with your bare hands.
- Power Up & Position: Turn on the iron and place it securely in its weighted, heat-resistant holster. Ensure the holster is at least 12 inches away from any flammable materials or solvent bottles (like isopropyl alcohol).
- Tin the Tip: Apply a small amount of solder to the tip immediately upon reaching temperature to prevent oxidation.
- Execute Joint: Apply iron to pad and lead, feed solder, remove solder, remove iron. Total time per joint should be 2 to 4 seconds.
- Power Down: Turn off the station immediately when the session ends. Do not leave a hot iron unattended, even for a 'quick break.'
Frequently Asked Questions
Is soldering smoke just water vapor?
No. This is a dangerous myth. The smoke generated during soldering is atomized flux and volatilized chemical compounds. While it may look like steam, it contains rosin acids, activators, and potentially harmful VOCs that must be filtered.
Do I need safety glasses if I'm just soldering small wires?
Yes. Flux splatter is a common occurrence, especially when using acidic fluxes or when moisture is trapped under a component. A tiny droplet of boiling flux can easily cause severe corneal burns. Polycarbonate safety glasses like the Uvex Astrospec are non-negotiable.
Where can I find industry standards for soldering safety?
The IPC J-STD-001 standard outlines the requirements for soldered electrical and electronic assemblies, including extensive sections on material handling, cleanliness, and operator safety protocols regarding chemical exposure and thermal management.