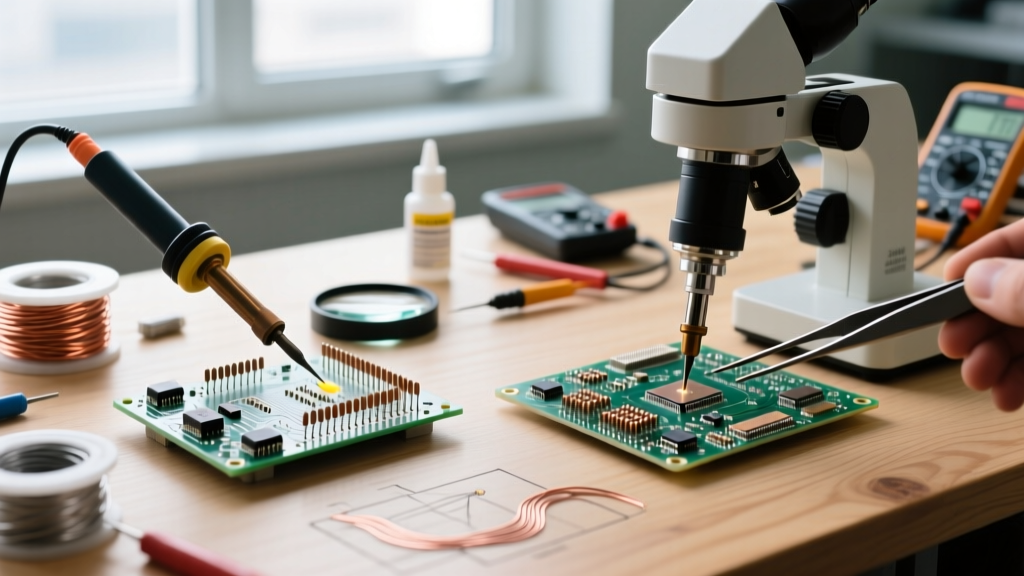

What Is Soldering Wick? The Physics of Capillary Desoldering
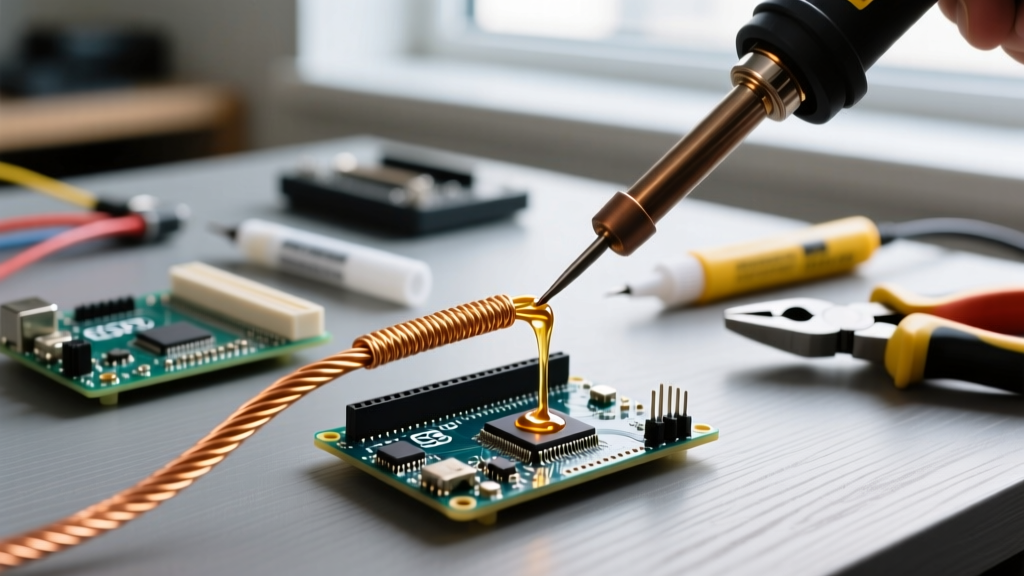
When electronics engineers and PCB rework technicians ask, "what is soldering wick," they are inquiring about a precisely engineered copper braid designed to remove molten solder via capillary action. Also known as desoldering braid, this consumable tool is a staple in any serious soldering arsenal. At its core, soldering wick relies on the same physics that draws water up a paper towel, but applied to liquid metal alloys.
According to IPC standards for electronic assemblies, proper solder removal is critical to prevent thermal damage to the PCB substrate and component pads. The wick is typically woven from high-purity, oxygen-free copper wire strands. This copper is then pre-coated with a chemical flux—either rosin-based (RMA) or no-clean—to break down metal oxides and lower the surface tension of the molten solder, allowing it to flow into the microscopic gaps between the copper strands.
Expert Roundup: Braid Widths, Flux Types, and Market Leaders
To truly understand how to leverage this tool, we consulted with senior IPC-certified rework technicians to break down the variables that matter. The two primary decisions you must make are the braid width and the flux chemistry.
Flux Chemistry: Rosin vs. No-Clean
- Rosin (RMA - Rosin Mildly Activated): Offers superior wetting and faster solder uptake due to aggressive oxide cleaning. However, it leaves a sticky, conductive residue that must be cleaned with isopropyl alcohol (IPA) or a dedicated PCB cleaner to prevent dendritic growth.
- No-Clean: Leaves a minimal, non-conductive, and optically clear residue. Preferred for high-density interconnect (HDI) boards and BGA rework where cleaning under components is impossible. Uptake speed is marginally slower than RMA but safer for modern micro-electronics.
Comparison Matrix: Selecting the Correct Braid Width
| Braid Width | Target Application | Component Examples | Expert Recommendation |
|---|---|---|---|
| 1.0mm - 1.5mm | Precision micro-soldering | 0201/0402 SMDs, QFN pads, fine-pitch flex cables | Use with micro-pencil tips (e.g., Hakko T18-I) at 320°C. |
| 2.0mm - 2.5mm | General purpose PCB rework | SOIC, TSSOP, 0805/1206 passives, DIP IC pins | The most versatile size. Keep a 5ft spool of Chemtronics 80-2002-01 on hand. |
| 3.0mm - 3.5mm | Heavy thermal mass joints | Through-hole connectors, large ground planes, power lugs | Requires a heavy chisel tip (e.g., Weller RT8) and 380°C to overcome thermal dissipation. |
| 5.0mm+ | BGA pad cleanup and SMD pad salvage | BGA footprints, large RF shield grounding pads | Essential for site dressing before BGA reballing. |
Bench Insights: Top Soldering Wick Brands Evaluated
In our market evaluation, three brands consistently meet the rigorous demands of professional rework labs and advanced DIYers.
"The secret to flawless desoldering isn't just heat; it's the freshness of the flux coating. Oxidized wick is useless. Always buy smaller spools if you are a hobbyist, and store them in airtight, UV-blocking bags." — Senior Rework Engineer, Aerospace PCB Division
- Chemtronics (Soder-Wick): The industry benchmark. Their No-Clean #2 (2.5mm) wick (Part #80-2002-01) retails around $8.50 for a 5-foot spool. It features an exceptionally flat weave that maximizes surface contact with the PCB pad.
- Goot (CP Series): A Japanese favorite, particularly the CP-206 (Rosin, 1.5mm). Priced around $6.00, Goot's wick is renowned for its rapid capillary action and low-spatter flux formulation, making it ideal for leaded solder rework under microscopes.
- MG Chemicals (80-0112 Series): A highly cost-effective alternative, offering excellent thermal conductivity. Their 2.0mm rosin wick is a favorite among high-volume repair shops due to its bulk pricing (under $30 for multi-packs).
Step-by-Step Expert Technique for Flawless Desoldering
Misusing wick is the leading cause of lifted pads and scorched FR4 substrates. Follow this exact procedure endorsed by NASA NEPP soldering guidelines for high-reliability assemblies:
- Prep the Iron: Use a chisel or bevel tip. A conical tip lacks the thermal mass and surface area required to heat the braid and the pad simultaneously. Set temperature to 350°C for lead-free (SAC305) or 320°C for Sn63/Pb37.
- Apply Fresh Flux (Optional but Recommended): Even though the wick is pre-fluxed, applying a drop of tacky flux (e.g., Amtech NC-559-V2-TF) to the joint guarantees oxide breakdown.
- Position and Heat: Place the clean, unused section of the wick directly over the solder joint. Press the soldering iron tip on top of the wick. Never drag the iron directly on the bare PCB pad.
- The 3-Second Rule: Allow the heat to transfer through the copper braid into the solder. You will see the solder melt and instantly wick upward into the braid (the braid will turn silver). This should take 1 to 3 seconds.
- Simultaneous Removal: Remove the iron and the wick at the exact same time. If you remove the iron first, the wick will freeze to the pad, and pulling it will rip the copper trace off the board.
- Clean the Tip and Inspect: Wipe your iron tip on a brass sponge. Inspect the pad under magnification to ensure no micro-bridges remain.
Common Failure Modes and Troubleshooting
Why is the solder not wicking?
If the solder remains on the pad and refuses to enter the braid, you are likely experiencing one of three failure modes:
- Oxidized Braid: The copper has turned dark brown or black, and the flux has evaporated. Fix: Cut off the ruined section and expose fresh, bright copper.
- Insufficient Thermal Mass: You are using a micro-pencil tip on a ground plane joint. The PCB is acting as a massive heatsink, pulling heat away faster than the iron can supply it. Fix: Switch to a wider chisel tip or use a pre-heater beneath the PCB.
- Wrong Tip Geometry: Using a pointed tip creates a single point of contact rather than a broad thermal bridge. Fix: Switch to a hoof/bevel tip to maximize the contact area between the iron, the wick, and the pad.
Why did the PCB pad lift?
Pad lifting occurs when the adhesive bonding the copper to the FR4 substrate degrades due to excessive thermal dwell time. According to Chemtronics technical data, keeping dwell times under 4 seconds per joint drastically reduces the risk of delamination. If you must apply heat longer, allow the board to cool for 30 seconds before attempting a second pass.
Expert FAQ: Soldering Wick vs. Desoldering Pumps
Can I clean and reuse solder-filled wick?
No. Once the copper strands are saturated with solder and the flux is exhausted, the capillary structure is permanently filled. Attempting to "clean" it with heat will only oxidize the copper, rendering it useless. Always cut off the used section with flush cutters.
When should I use a desoldering pump (solder sucker) instead?
Desoldering pumps are superior for removing bulk solder from large through-hole vias and heavy wire connections. However, pumps lack the precision required for surface-mount (SMD) pads and will often fail to clear the microscopic corners of QFP or SOIC pins. Expert consensus dictates using a pump for bulk removal, followed by wick for the final site dressing and pad flattening.