
The Hidden Hazards of Soldering a Pipe
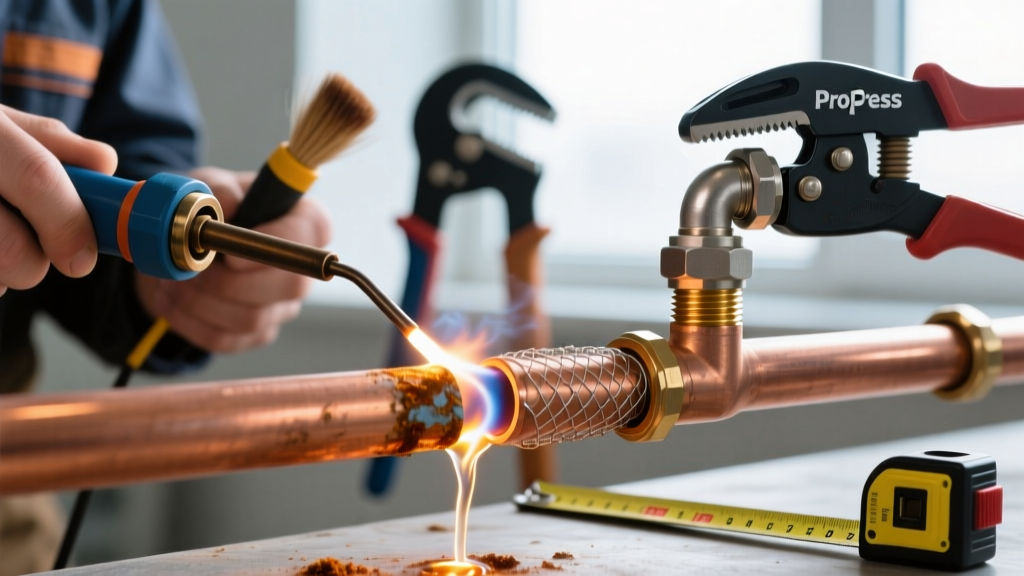
When soldering a pipe, plumbers and DIYers are managing an open flame that can reach 3,730°F (2,054°C) alongside toxic chemical fluxes and pressurized water systems. While sweating copper joints is a foundational plumbing skill, the intersection of extreme heat, combustible building materials, and volatile chemicals creates a high-risk environment. According to OSHA's Hot Work guidelines, plumbing torch operations are a leading cause of structural fires in residential and commercial renovations. This guide details the exact safety protocols, personal protective equipment (PPE), and thermal management techniques required to solder copper piping safely and effectively in 2026.
Essential PPE: Beyond Basic Safety Glasses
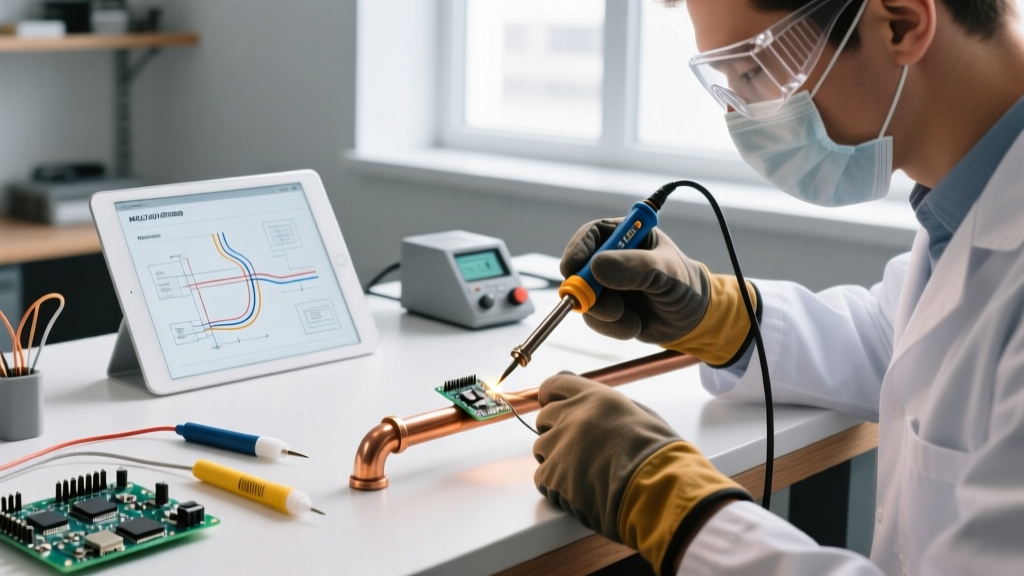
Standard DIY safety glasses are insufficient for the thermal and chemical hazards of pipe soldering. You must upgrade your PPE to meet industrial standards:
- Eye Protection: Use ANSI Z87.1+ rated safety glasses with side shields. When using MAP-Pro gas, the intense blue-white flame produces higher UV radiation than standard propane. Consider a Shade 3.0 welding goggle if you are sweating multiple joints in a confined space to prevent arc-flash-style eye fatigue.
- Hand Protection: Discard synthetic or nitrile gloves. You need split-cowhide leather welding gloves (e.g., Lincoln Electric KH630, approx. $25). Leather insulates against the radiant heat of the copper pipe, which can remain above 400°F for several minutes after the torch is removed.
- Respiratory Protection: Flux fumes contain zinc chloride, rosin, and sometimes mild acids. In poorly ventilated crawl spaces or enclosed wall cavities, wear a half-face respirator equipped with P100 particulate and organic vapor (OV) cartridges (e.g., 3M 6281, approx. $35).
Fire Prevention: Managing the 3,700°F Torch Flame
The most common failure mode when soldering a pipe inside an existing wall is igniting the wooden studs or drywall paper behind the copper. Copper is an exceptional thermal conductor; heat travels rapidly down the pipe and can ignite framing lumber inches away from the joint.
Thermal Shielding Equipment
Never rely on a makeshift piece of sheet metal. Invest in purpose-built fire shields:
- Silicone-Coated Fiberglass Cloths: Products like the Sellstrom 40100 Flame Shield ($20) can withstand continuous temperatures up to 1,000°F. Wrap these around joists or studs immediately adjacent to your work area.
- Steel Backing Plates: For tight joist bays, use a spring-loaded steel heat shield (e.g., Oatey Safe-T-Solder, $15) that clamps directly behind the pipe to block direct flame impingement on wood.
- Intumescent Fire Stop: If you are penetrating a fire-rated wall, you must seal the penetration afterward with intumescent caulk (e.g., 3M Fire Barrier Sealant CP 25WB+, $12/tube), which expands when exposed to heat to maintain the wall's fire rating.
Step-by-Step Fire Safe Soldering Protocol
- Drain and Dry: Water inside the pipe acts as a heat sink, preventing the solder from melting and forcing you to overheat the joint. Use a water vacuum or pipe freezing kit to ensure the line is bone dry.
- Pre-Position Shields: Clamp your steel backing plates and drape fiberglass cloths before igniting the torch.
- The Damp Rag Technique: Keep a 100% cotton rag soaked in water in your non-dominant hand. Immediately after the solder flows, wipe the joint to cool it and stop the capillary action. This also prevents heat from migrating down the pipe to nearby valves or plastic fittings.
- Mandatory Fire Watch: OSHA and the NFPA require a minimum 60-minute fire watch after hot work ceases. Use a thermal imaging camera (like the FLIR ONE Gen 3, $250) to scan the surrounding framing for hidden hotspots before leaving the site.
Chemical Safety: Flux Fumes and Lead-Free Solder
Modern plumbing codes strictly prohibit lead-based solder on potable water lines. You must use EPA's Lead-Free Plumbing requirements compliant alloys, typically 95/5 (Tin/Antimony) or 97/3 (Tin/Copper). These alloys melt at higher temperatures (approx. 452°F / 234°C) than legacy 50/50 lead/tin solder, requiring more aggressive fluxes and longer heat application.
Expert Warning: Never use plumbing acid flux (zinc chloride) on electrical wires or electronics. Conversely, never use electronic rosin-core solder on plumbing. Plumbing flux is highly corrosive and will destroy copper wire stranding, while rosin flux lacks the chemical strength to clean oxidized copper pipes, resulting in immediate joint failure.
Apply a thin, even layer of water-soluble paste flux (e.g., Oatey No. 5, $8 per 8oz tub) using an acid brush. CDC NIOSH soldering safety guidelines emphasize that heating flux past its active temperature range (around 400°F) causes it to carbonize and release acrid, lung-irritating smoke. Always keep your face out of the direct plume of the vaporizing flux.
Tool Selection: Torches and Gas Cylinders
Choosing the right heat source is a critical safety decision. Under-heating a joint leads to cold solder connections and pinhole leaks; over-heating burns the flux and oxidizes the copper, creating a structural weak point.
| Gas Type | Flame Temp (Air) | Best Application | Recommended Torch Model | Approx. Cost |
|---|---|---|---|---|
| Propane | 3,600°F (1,982°C) | 1/2' and 3/4' copper pipe, quick repairs | Bernzomatic ST2200 | $35 |
| MAP-Pro | 3,730°F (2,054°C) | 3/4' to 1.25' pipe, cold environments | Bernzomatic TS8000 | $65 |
| Oxy-Acetylene | 5,600°F (3,093°C) | 2'+ main lines, underground service | Victor Edge Series | $350+ |
For standard residential rough-in, the Bernzomatic TS8000 paired with a yellow MAP-Pro cylinder is the industry standard. Its turbo-blast trigger provides a concentrated, high-velocity flame that heats the fitting quickly without lingering and scorching the surrounding area. Always use a striker (flint lighter) to ignite the gas; never use a standard cigarette lighter, which places your hand dangerously close to the initial gas burst.
Troubleshooting Common Safety-Related Joint Failures
Safety shortcuts directly correlate with plumbing failures. Review this matrix to diagnose issues stemming from poor thermal or chemical management.
| Failure Mode | Visual Symptom | Root Cause (Safety/Process Error) | Corrective Action |
|---|---|---|---|
| Cold Joint | Solder sits on the outside like a bead; dull gray finish. | Under-heating due to fear of burning nearby wood. Capillary action fails. | Use proper heat shields. Apply flame to the fitting, not the pipe. Heat until flux bubbles, then touch solder to the opposite side. |
| Burnt Flux | Black, crusty residue inside the joint; solder refuses to flow. | Over-heating. The torch was held in one spot too long, carbonizing the flux. | Disassemble with a heat gun or torch, clean with emery cloth, re-flux, and re-solder using a sweeping flame motion. |
| Pinhole Leaks | Micro-drops of water weeping from the joint edge after pressurization. | Moisture in the line turned to steam during soldering, blowing microscopic holes in the cooling solder. | Ensure lines are fully drained. Open a downstream valve to relieve vacuum and steam pressure during heating. |
Expert FAQ on Pipe Soldering Safety
Can I solder a pipe near PEX or CPVC fittings?
No. You must maintain a minimum clearance of 18 inches between an open soldering flame and any plastic (PEX, CPVC, or PVC) piping or plastic-lined transition fittings. If you must connect copper to PEX in a tight space, use a ProPress mechanical press fitting or a SharkBite push-to-connect coupling instead of sweating the joint.
How do I safely handle a MAP-Pro cylinder?
MAP-Pro cylinders operate at higher pressures than standard propane. Store them upright in a well-ventilated area, never in a sealed vehicle trunk or a basement where heavier-than-air gas can pool and create an explosion hazard. Always disconnect the torch head from the cylinder when transporting it to prevent accidental valve depression.
What is the safest way to clean up flux residue?
Water-soluble plumbing fluxes are highly corrosive. Once the joint has cooled below 100°F, wipe the exterior with a damp rag to prevent the flux from eating through the copper over time. For interior lines, flush the system with cold water for at least 5 minutes before connecting the line to potable water fixtures or water heaters.