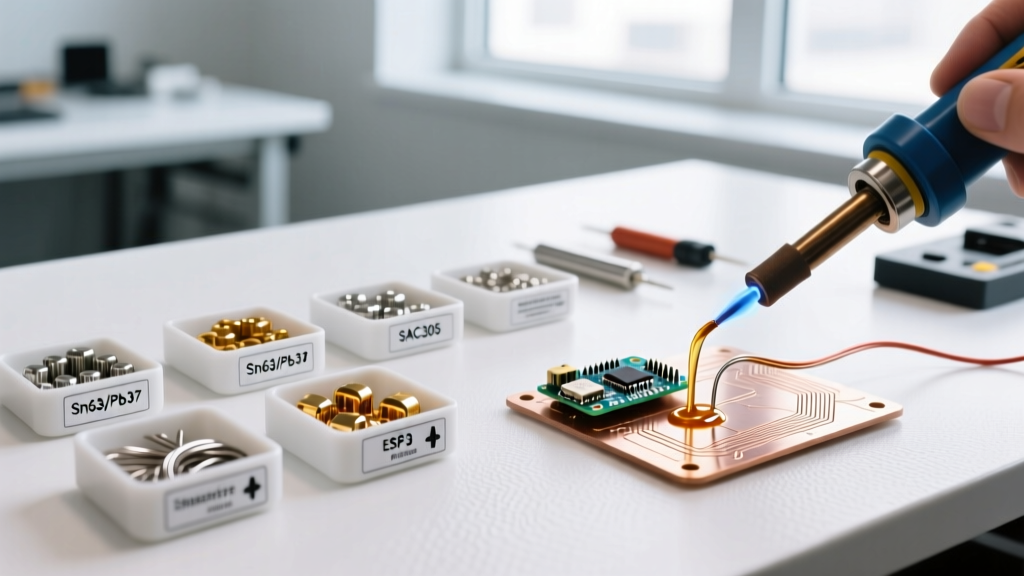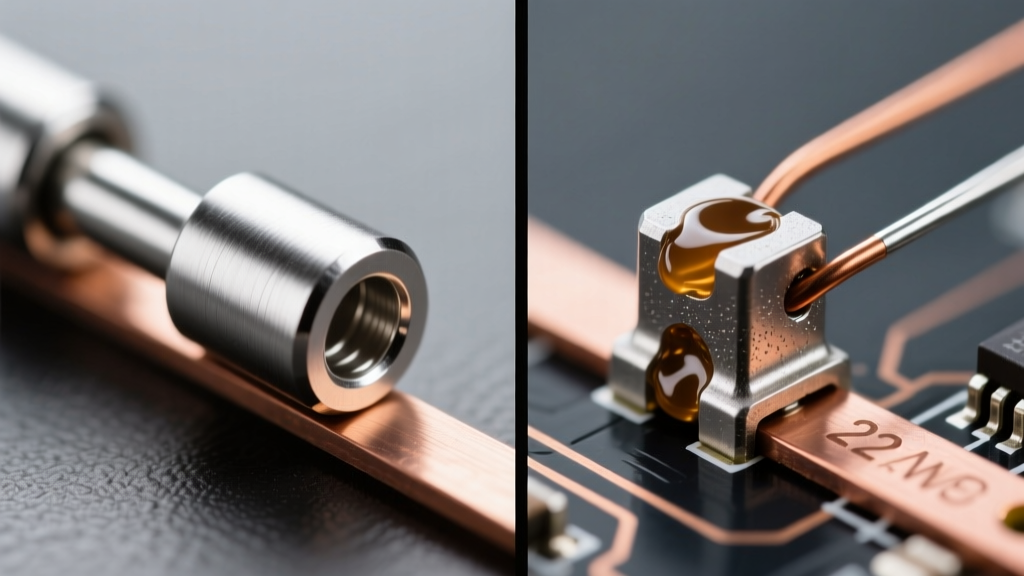

The Mechanics of Sweat Soldering vs. Traditional Lap Soldering
When joining flat metal surfaces—whether for heavy-duty electrical busbars, RF shielding enclosures, or precision sheet metal fabrication—engineers and technicians typically choose between two primary soldering methods: sweat soldering (also known as close soldering) and traditional edge-fed lap soldering. While both methods rely on capillary action and metallurgical bonding, their execution, structural integrity, and failure profiles differ drastically.
Sweat soldering involves pre-tinning both mating surfaces with a thin, uniform layer of solder, applying flux, clamping the pieces tightly together, and then applying heat to the exterior of the joint until the internal solder reflows. Traditional lap soldering, conversely, involves overlapping the bare metals, applying flux, and feeding solder wire into the edge of the joint, relying entirely on capillary action to draw the molten alloy inward.
Industry Standard Note: According to the NASA Workmanship Standard NASA-STD-8739.3, voiding and flux entrapment in lap joints are primary causes of thermal and electrical degradation. Sweat soldering significantly mitigates these risks by allowing flux to volatilize before the joint is closed.
Head-to-Head Comparison Matrix
To understand which method yields a superior joint, we must evaluate them across critical engineering metrics. The following matrix compares sweat soldering, traditional edge-fed lap soldering, and mechanical riveting for 16oz copper sheets.
| Feature | Sweat Soldering | Traditional Edge-Fed Lap | Mechanical Riveting |
|---|---|---|---|
| Shear Strength (PSI) | 3,500 - 4,200 | 1,800 - 2,400 | 2,100 - 2,800 |
| Internal Void Percentage | < 5% | 15% - 30% | N/A (Air gaps present) |
| Thermal Conductivity | Excellent (Continuous alloy) | Moderate (Interrupted by voids) | Poor (Point contact only) |
| Electrical Resistance | Ultra-Low | Low to Moderate | Moderate to High |
| Aesthetic Finish | Seamless, no external fillet | Visible external solder bead | Visible hardware heads |
| Setup & Execution Time | High (Multi-step prep) | Low (Single-step feed) | Moderate (Drilling required) |
Step-by-Step Execution: The Sweat Soldering Process
Achieving the maximum shear strength of 4,200 PSI requires meticulous surface preparation and thermal management. Here is the professional-grade procedure for sweat soldering copper busbars using Sn63/Pb37 eutectic solder.
- Surface Preparation: Abrade both mating surfaces with 400-grit silicon carbide paper to remove copper oxide. Wipe with 99% isopropyl alcohol. Do not touch the surfaces with bare skin afterward.
- Pre-Tinning: Apply a thin layer of Kester 951 rosin flux. Using a Weller WE1010NA (70W) iron with a 1/4-inch chisel tip set to 315°C (600°F), melt 0.032-inch diameter Sn63/Pb37 solder across both surfaces. The goal is a uniform coating no thicker than 0.005 inches.
- Flux Reapplication: Once cooled and cleaned, apply a fresh, thin layer of highly active flux (such as Harris Stay-Clean zinc chloride for non-electronic plumbing/HVAC applications, or Kester 951 for electronics). This flux will facilitate the final reflow and prevent re-oxidation.
- Clamping: Align the tinned surfaces and clamp them using C-clamps or heavy-duty binder clips. The target clamping pressure is 2 to 5 PSI. Excessive pressure will squeeze out all the molten solder, resulting in a starved, brittle joint.
- Thermal Reflow: Apply heat to the exterior of the top workpiece. For large busbars, a Bernzomatic TS8000 torch using MAP-Pro gas is ideal. For precision RF shielding, use a Weller WEP90 hot air station set to 300°C with a 10mm nozzle. Heat until you see a microscopic flash of liquid solder squeezing out the edges, indicating complete internal reflow. Remove heat immediately.
Critical Failure Modes and Edge Cases
Even experienced technicians encounter failures when sweat soldering. Understanding these edge cases is vital for quality control:
- Flux Entrapment and Outgassing: If the joint is heated too rapidly, the flux boils and turns to gas before it can escape the perimeter. This creates internal blowholes, reducing the effective bonding area by up to 40%. Always apply heat gradually, starting at the center and moving outward to push gases to the edges.
- Thermal Warping: Sheet metal thinner than 24-gauge (0.020 inches) is highly susceptible to warping when clamped and heated. To prevent this, use a heavy aluminum heat sink plate beneath the bottom workpiece to distribute thermal mass evenly.
- Starved Joints: As mentioned, over-tightening clamps forces the molten alloy out of the joint interface. The resulting metal-to-metal contact without a solder interlayer yields a joint weaker than a simple mechanical press-fit.
2026 Tooling and Material Costs
When planning a production run or a high-end DIY build, budgeting for the correct metallurgy and thermal tools is essential. As of early 2026, market pricing for professional-grade sweat soldering supplies has stabilized:
- Solder Alloys: Standard Sn63/Pb37 eutectic wire remains cost-effective at roughly $28 per pound. Lead-free SAC305 (Sn96.5/Ag3.0/Cu0.5), required for RoHS-compliant electronics, has stabilized around $45 per pound due to normalized silver markets.
- Fluxes: Kester 951 liquid rosin flux retails for approximately $22 per pint. Harris Stay-Clean zinc chloride (for heavy copper/brass) is highly economical at $18 per gallon.
- Thermal Tools: The Weller WE1010NA digital station (excellent for pre-tinning small components) retails for $115. For heavy busbar reflow, the Bernzomatic TS8000 trigger-start torch costs around $75, with MAP-Pro cylinders averaging $14 each.
For comprehensive guidelines on flux selection and metallurgical compatibility, the Copper Development Association (CDA) provides exhaustive documentation on preparing copper alloys for soldered joints.
Decision Framework: When to Choose Which Method?
Choosing between sweat soldering and traditional lap soldering should not be a matter of preference, but of engineering requirements.
Choose Sweat Soldering When:
- Maximum Shear Strength is Required: The joint will experience heavy lateral or shear forces (e.g., structural sheet metal brackets, heavy battery busbars).
- Thermal and Electrical Continuity is Critical: You are building RF shielding cans, high-current DC distribution blocks, or heat sinks where internal voids would cause localized hot spots or signal leakage.
- Aesthetics Matter: The joint must be invisible or flush, with no external solder fillets or beads.
Choose Traditional Edge-Fed Lap Soldering When:
- Speed and Low-Cost Production are Priorities: You are assembling low-stress enclosures or simple wire-to-pad connections where a 2,000 PSI shear strength is more than adequate.
- Access is Limited: You cannot physically clamp the joint or apply heat to the broad face of the workpiece due to spatial constraints.
- Disassembly is Anticipated: Edge-fed joints with higher void percentages and localized fillets are generally easier to desolder with standard wicking tools compared to the massive thermal mass of a fully sweat-soldered plane.
Expert FAQ
Can I sweat solder lead-free (SAC305) alloys?
Yes, but it requires stricter thermal management. SAC305 melts at 217°C - 220°C (compared to 183°C for Sn63/Pb37). You must increase your hot air or iron temperature by roughly 30°C to 40°C to ensure proper wetting. Additionally, SAC305 has a narrower plastic (pasty) range, meaning it transitions from solid to liquid very quickly, reducing the window for clamping adjustments.
Why did my sweat soldered joint crack upon cooling?
This is almost always caused by moving the joint while the solder is in its 'pasty' or semi-solid phase, or by differential thermal contraction. If one piece of metal is significantly thicker than the other, it will cool at a different rate, introducing immense internal shear stress that fractures the brittle eutectic structure before it fully solidifies. Always allow the assembly to cool naturally to room temperature before releasing the clamps.
For deeper insights into advanced soldering metallurgy and defect analysis, refer to the technical resources available via Kester's engineering documentation on flux chemistry and wetting dynamics.