
The Metallurgical Hurdle: Why Stainless Steel Resists Solder
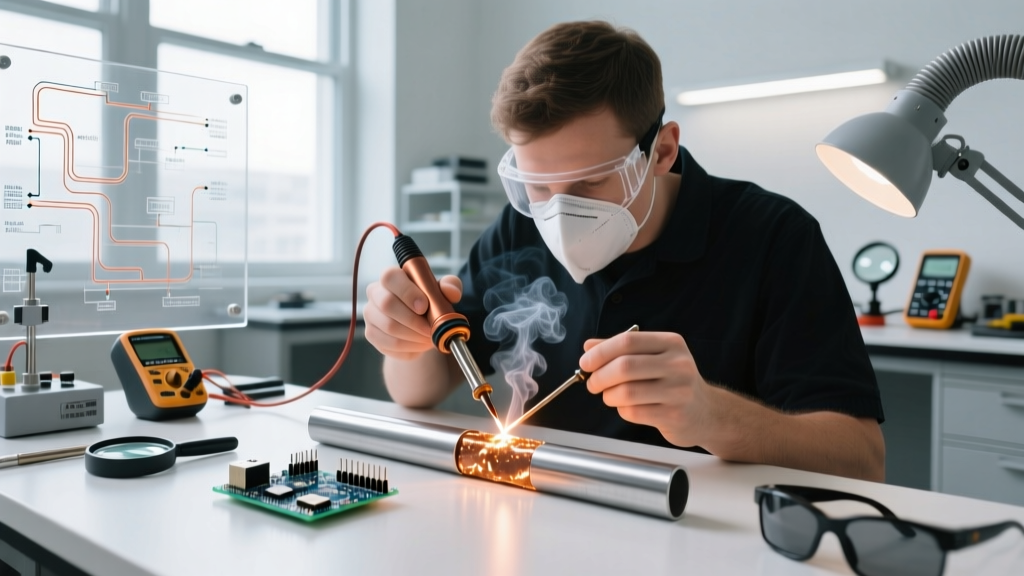
Silver soldering stainless steel is widely considered one of the most unforgiving tasks in metal fabrication and HVAC repair. Unlike copper or brass, stainless steel alloys (particularly the ubiquitous 304 and 316 grades) are engineered to resist corrosion. They achieve this through a passive, invisible layer of chromium oxide that forms instantly when the metal is exposed to oxygen. When you attempt to silver solder stainless steel, this chromium oxide layer acts as an impenetrable barrier, preventing the molten silver alloy from wetting the base metal.
To overcome this, standard soft soldering techniques and basic rosin or zinc-chloride fluxes are entirely useless. You must deploy high-temperature fluoride-based fluxes and precise heat management to dissolve the oxide layer before the silver alloy flows. To break down the exact science and field-tested methods for 2026, we convened a panel of three experts: an HVAC refrigeration fabrication lead, a senior metallurgical engineer, and a custom architectural metalworker.
"The biggest mistake amateurs make is treating stainless steel like mild steel or copper. If your heat input is too slow, the chromium oxide layer actually thickens before your flux can activate, resulting in a joint that looks like it has solder on it but has zero mechanical adhesion."
— Dr. Aris Thorne, Metallurgical Engineer
Expert Panel: Recommended Silver Alloys & Fluxes
Selecting the right consumable is non-negotiable. Standard white brazing flux burns off and loses its chemical activity around 1100°F (593°C), which is far too low for stainless steel. Furthermore, the push toward cadmium-free alloys in 2026 has changed the pricing and flow characteristics of high-silver solders.
| Product / Consumable | Specification / Composition | Active Temp Range | 2026 Est. Cost | Expert Verdict |
|---|---|---|---|---|
| Harris Black Flux | Potassium fluoroborate base | 1100°F - 1600°F | $25 / 1 lb jar | Mandatory. The fluoride content is required to etch the chromium oxide layer on stainless alloys. |
| Safety-Silv 45 | 45% Ag, 30% Cu, 25% Zn (Cd-Free) | 1225°F - 1375°F | ~$135 / troy oz | Best for capillary joints. Excellent flow, but high silver content makes it expensive for large structural fills. |
| Stay-Silv 15 | 15% Ag, 80% Cu, 5% Zn | 1275°F - 1475°F | ~$45 / troy oz | Best for fillet joints. Thicker flow, requires higher heat, but highly cost-effective for heavy HVAC brackets. |
| Lucas-Milhaupt Easy-Flo 3 | 50% Ag, 15.5% Cu, 16.5% Zn, 18% Cd | 1160°F - 1205°F | ~$90 / troy oz | Avoid if possible. Contains cadmium. While it flows beautifully at low temps, OSHA regulations make it a liability. |
According to the Occupational Safety and Health Administration (OSHA), cadmium vaporizes at brazing temperatures and poses severe respiratory and systemic toxicity risks. Our panel unanimously recommends sticking to cadmium-free alloys like Safety-Silv 45 or Stay-Silv 15, utilizing Black Flux to compensate for the slightly higher melting points.
Step-by-Step Joint Preparation (The Make-or-Break Phase)
Even the best fluoride flux will fail if the joint is contaminated with machining oils or embedded carbon steel particles. Follow this exact preparation sequence:
- Mechanical Abrasion: Use 120-grit aluminum oxide sandpaper or a dedicated stainless steel wire brush. Never use a carbon steel wire brush; embedded carbon particles will cause localized galvanic corrosion (rust spots) within weeks.
- Solvent Degreasing: Wipe the abraded area with pure acetone. Isopropyl alcohol (even 99%) often contains trace water and leaves a residue that interferes with flux adhesion. Allow the acetone to flash off completely (approx. 45 seconds).
- Flux Application: Mix Harris Black Flux with a few drops of distilled water to create a thick paste. Apply it generously to both the male and female joint surfaces, as well as the surrounding 1/2-inch perimeter to prevent secondary oxidation.
- Pre-Heating the Filler Rod: Heat your silver solder rod slightly with the torch and dip it into the dry Black Flux powder so it adheres to the wire. This delivers flux directly into the joint capillary at the exact moment the alloy melts.
Torch Selection & Heat Management Strategies
Stainless steel is a poor conductor of heat compared to copper. This means heat does not dissipate quickly from the joint area, leading to a severe metallurgical risk known as sensitization (or carbide precipitation).
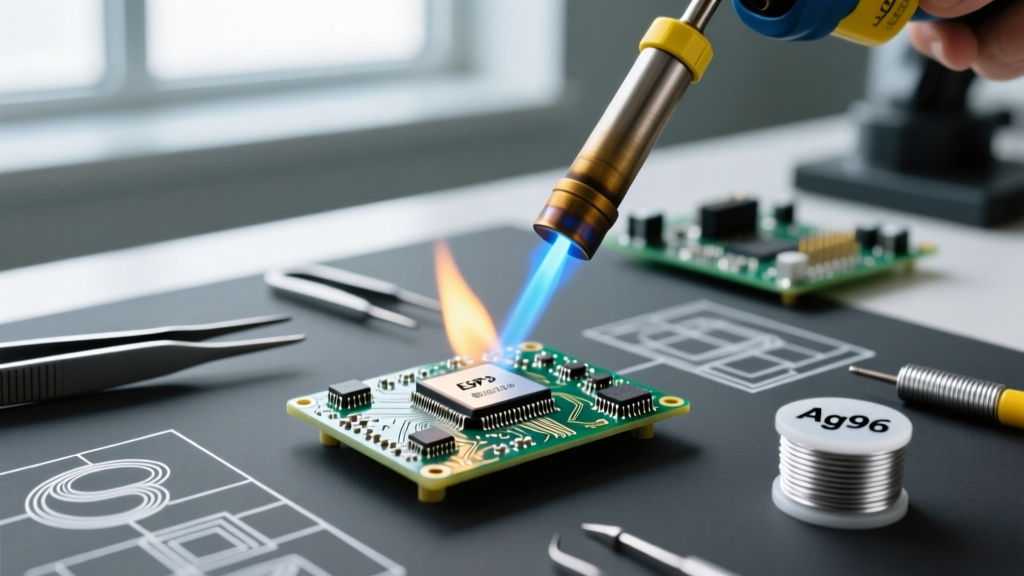
For torch selection, our HVAC fabrication expert strongly advises against standard MAP-Pro or propane torches for anything thicker than 1/16" (1.5mm) stainless steel. The slow heat input guarantees massive oxidation and sensitization. Instead, utilize an Oxy-Acetylene or Oxy-Propane rig with a neutral to slightly reducing flame. A multi-orifice rosebud tip is ideal for distributing heat evenly across a flange or bracket without melting the base metal.
Troubleshooting Common Failure Modes
When silver soldering stainless steel, visual cues tell you exactly what went wrong. Here is the expert diagnostic matrix:
- Failure Mode: The "Ball-Up" Effect.
- Symptom: The molten silver alloy forms perfect spheres on the stainless surface and refuses to flow into the joint.
- Cause: The chromium oxide layer was not fully dissolved. Either the flux burned off before the alloy reached flow temperature, or the base metal was contaminated with oil.
- Fix: Remove the heat, let it cool, re-abrade with aluminum oxide, and apply a heavier coat of fresh Black Flux.
- Failure Mode: Brittle, Cracking Joints.
- Symptom: The joint snaps under minor mechanical stress, revealing a dark, grainy fracture surface.
- Cause: Overheating the silver alloy. If you exceed 1450°F with a 15% silver alloy, the zinc and cadmium (if present) vaporize, leaving a porous, brittle copper-rich sponge.
- Fix: Use a larger torch tip to heat the surrounding base metal rather than playing the flame directly on the silver rod. Let the base metal melt the alloy via conduction.
- Failure Mode: Flux Inclusions (Slag Traps).
- Symptom: Joint leaks under pressure testing; cross-section shows glassy voids.
- Cause: Black Flux turns into a hard, glassy slag upon cooling. If the joint clearance is too tight (under 0.002"), the molten flux cannot be expelled by the capillary action of the silver.
- Fix: Maintain a joint clearance of 0.003" to 0.005" for optimal capillary flow and flux displacement, as recommended by the American Welding Society (AWS) brazing guidelines.
Frequently Asked Questions
Can I use standard plumbing solder (95/5 tin-antimony) on stainless steel?
No. Standard soft solders melt around 450°F to 500°F. At these temperatures, no commercially available flux can effectively break down the chromium oxide layer on stainless steel. Furthermore, the resulting joint would have virtually zero shear strength and would fail immediately under vibration or thermal cycling. You must use a silver-bearing alloy melting above 1100°F.
How do I clean the black glassy flux residue after soldering?
Fluoride-based black flux turns into a tenacious, glass-like slag once it cools. Mechanical removal is required. While hot (but below solder solidification temp), you can sometimes chip it off with a brass pick. Once cold, you must use a stainless steel wire wheel, glass bead blasting, or soak the part in a heated 10% citric acid solution for 30 minutes to dissolve the fluorides. Always consult the British Stainless Steel Association (BSSA) guidelines for post-braze pickling protocols to avoid pitting the base metal.
Is it safe to silver solder stainless steel components used in food processing?
Yes, but with strict caveats. You must use a cadmium-free, lead-free alloy (like Safety-Silv 45 or a specific NSF-approved silver brazing alloy). Additionally, the joint must be designed to be flush and crevice-free to prevent bacterial harboring, and the post-solder cleaning must completely remove all fluoride flux residues, which are toxic and highly corrosive if ingested or left to react with acidic foods.