
The Hidden Dangers Lurking in Online Soldering Images
As of 2026, the internet is saturated with high-resolution soldering images shared across DIY electronics forums, Pinterest boards, and YouTube thumbnails. While these macro shots and workspace photos are excellent for inspiration, they frequently normalize dangerous practices. Blindly replicating the setups seen in popular soldering images is a leading cause of DIY workshop fires, severe rosin-induced asthma, and catastrophic field failures in custom PCB assemblies.
At ElectricalFlux, we teach our readers to look beyond the shiny solder joint. A critical safety skill for any modern maker is the ability to visually audit soldering images for both immediate physical hazards and latent electrical defects. By applying the IPC-A-610 visual inspection standards and basic occupational safety frameworks, you can deconstruct any tutorial photo to ensure the methodology is safe, repeatable, and reliable.
Workspace Forensics: Auditing the Background
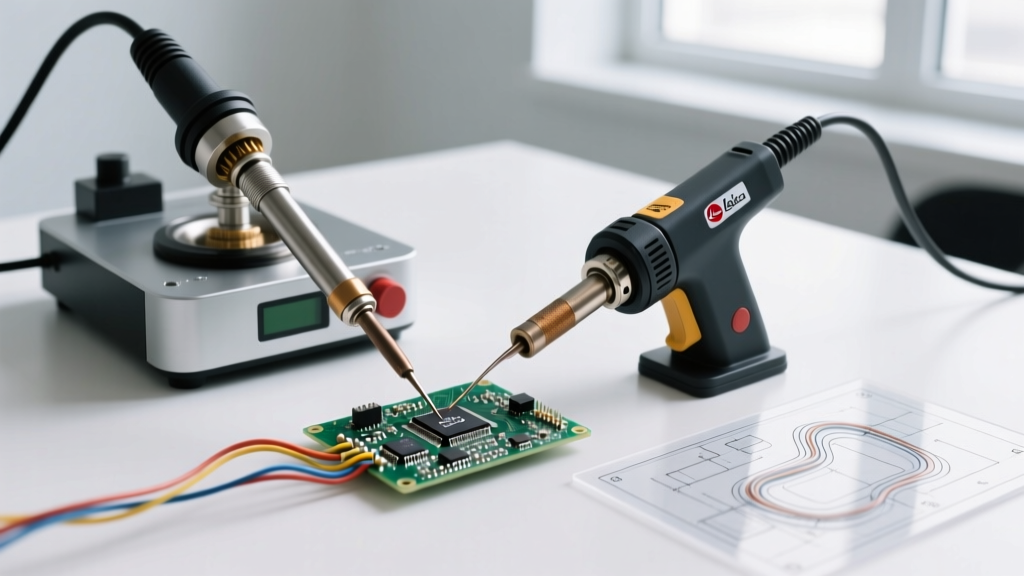
The most critical safety hazards in soldering images are rarely the subject of the photo; they are hidden in the background or periphery. When evaluating a reference image for your own workspace setup, conduct a strict perimeter audit.
1. The Flammable Workbench Syndrome
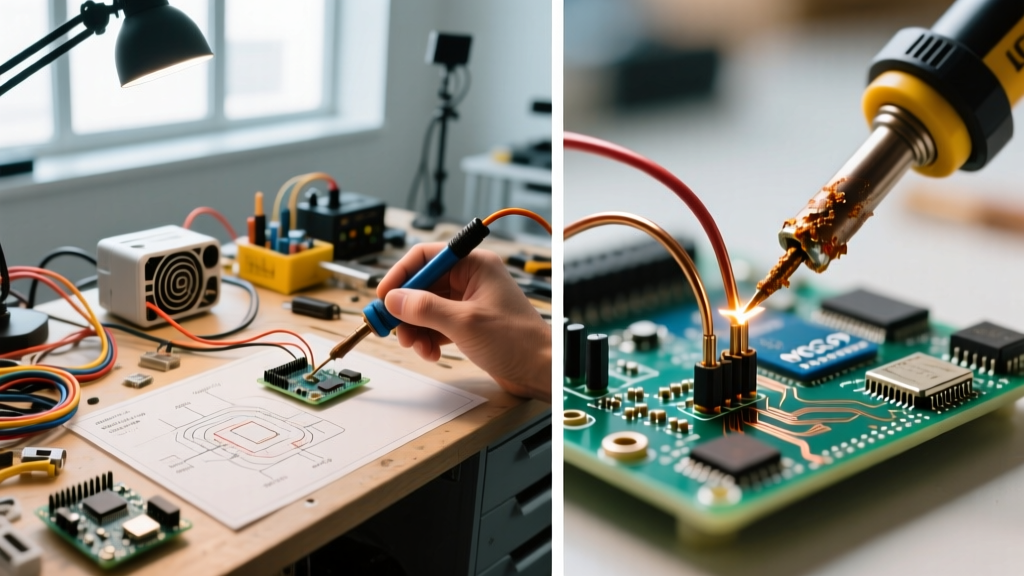
A staggering number of amateur soldering images feature a 400°C soldering iron resting on bare cardboard, unfinished pine, or paper schematics. FR4 fiberglass and high-temperature silicone mats are mandatory. If an image shows scorch marks on a wooden desk, it is documenting a failure, not a success. According to NFPA electrical safety guidelines, heat-producing tools left unattended on combustible surfaces are a primary vector for residential electrical fires.
2. Fume Extraction and Airflow Violations
Rosin-based flux fumes contain colophony, a known respiratory sensitizer. In many viral soldering images, you will see a generic USB desk fan blowing smoke directly across the user's face or into the room. This is a severe violation of HSE guidelines on rosin-based solder flux fume. Safe images will depict localized extraction arms (like the Hakko FA-400 or Weller WXAB) positioned exactly 2 to 4 inches from the soldering zone, utilizing HEPA and activated carbon filtration to capture particulates at the source.
3. Cord Management and Tripping Hazards
Trace the power cord of the soldering station in the image. Is it draped across the edge of the desk where a knee could catch it? A sudden yank can pull a 350°C iron directly onto the user's lap. Professional soldering images always show cords routed behind the workbench or secured with silicone cable ties.
Macro Photography and Joint Defect Identification
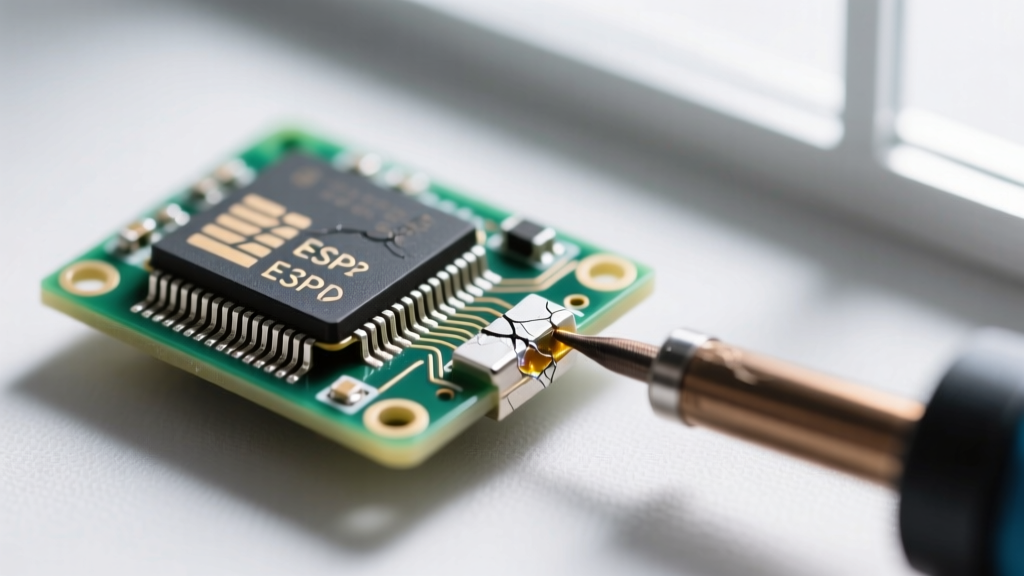
High-quality soldering images are invaluable for learning how to identify latent electrical hazards. A joint that looks 'good enough' to the naked eye often reveals catastrophic failure modes under 40x magnification. When analyzing macro soldering images, use an AmScope SE400-Z or a Plugable USB digital microscope to compare your own work against reference photos.
Expert Insight: Beware of the 'halo effect' in macro soldering images. Harsh LED ring lights can create reflective artifacts on flux residue that mimic the grainy appearance of a cold solder joint. Always cross-reference visual defects with physical probe testing.
| Defect Type | Visual Cue in Macro Images | Safety Consequence |
|---|---|---|
| Cold Solder Joint | Dull, gray, grainy, or bulbous appearance; poor wetting to the pad. | High electrical resistance leading to localized Joule heating, melting, and potential fire. |
| Solder Bridge | Visible metallic webbing or meniscus connecting adjacent IC pins. | Dead short circuit; can cause lithium battery thermal runaway or component explosion. |
| Disturbed Joint | Frosty, cracked, or wrinkled surface texture indicating movement during solidification. | Intermittent connections causing electrical arcing and signal degradation. |
| Pad Delamination | Visible gap or shadow between the copper pad and the FR4 substrate. | Mechanical failure under thermal cycling; exposed copper can short to chassis ground. |
Evaluating PPE and Tool Safety in Reference Photos
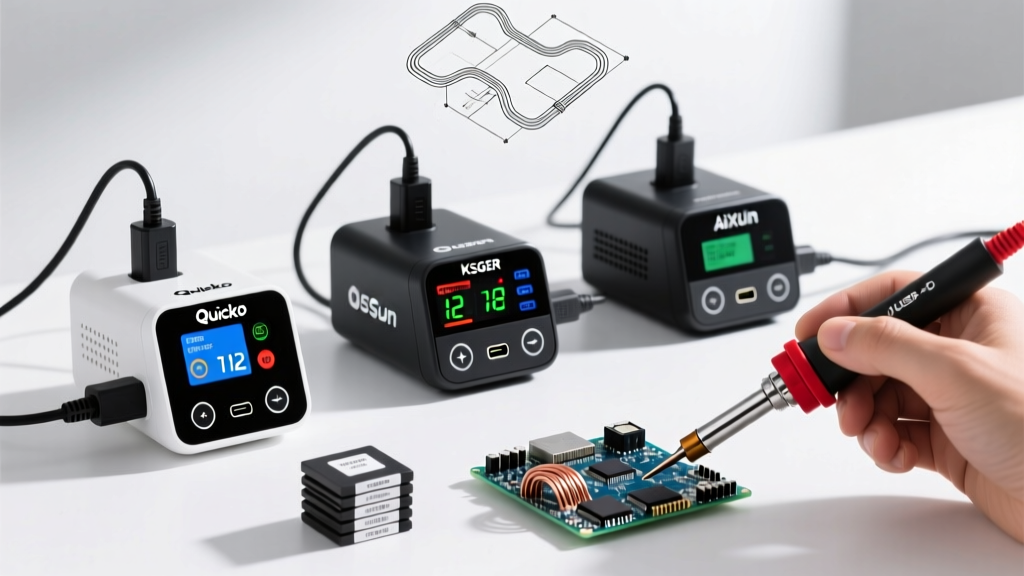
Not all soldering images are created equal, and many product reviews feature unsafe tool usage. When looking at images of soldering irons for purchase, pay close attention to the power supply and grounding.
- Grounding Verification: In regions with 120V mains, a safe soldering station image must show a three-prong grounded plug. Two-prong plugs on high-wattage stations (like counterfeit clones of the Hakko FX-888D) lack earth grounding, risking lethal mains voltage exposure if the internal heating element shorts to the tip.
- Tip Oxidation: Images showing heavily pitted, blackened, or scaled iron tips indicate poor temperature management. Running a tip at 450°C to compensate for poor thermal mass destroys the iron plating, leading to micro-particles flaking off into the joint and creating internal shorts.
- Eye Protection: While often omitted in casual photos, any image depicting the clipping of component leads or the use of aggressive desoldering wicks should feature ANSI Z87.1 rated safety glasses. Clipped wire leads can travel at over 50 mph, posing a severe puncture risk to the cornea.
Step-by-Step: The 5-Point Image Safety Audit
Before you replicate a wiring diagram, PCB layout, or workspace setup found in online soldering images, run it through this mandatory 5-point safety checklist:
- Surface Audit: Is the work surface non-combustible and ESD-safe? (Look for blue/green ESD mats with visible grounding snaps).
- Thermal Management: Is there a brass sponge or damp cellulose sponge visible? Dry sponges or steel wool (which can short live circuits) are immediate red flags.
- Chemical Handling: Are flux pens, isopropyl alcohol (IPA), and no-clean solvents stored away from the immediate heat zone? IPA vapors are highly flammable and should never be open near an active iron.
- Joint Wetting Analysis: Zoom in on the through-hole or SMD pads. Does the solder form a smooth, concave fillet with a contact angle of less than 90 degrees? Convex, ball-shaped joints indicate inadequate flux or insufficient heat transfer.
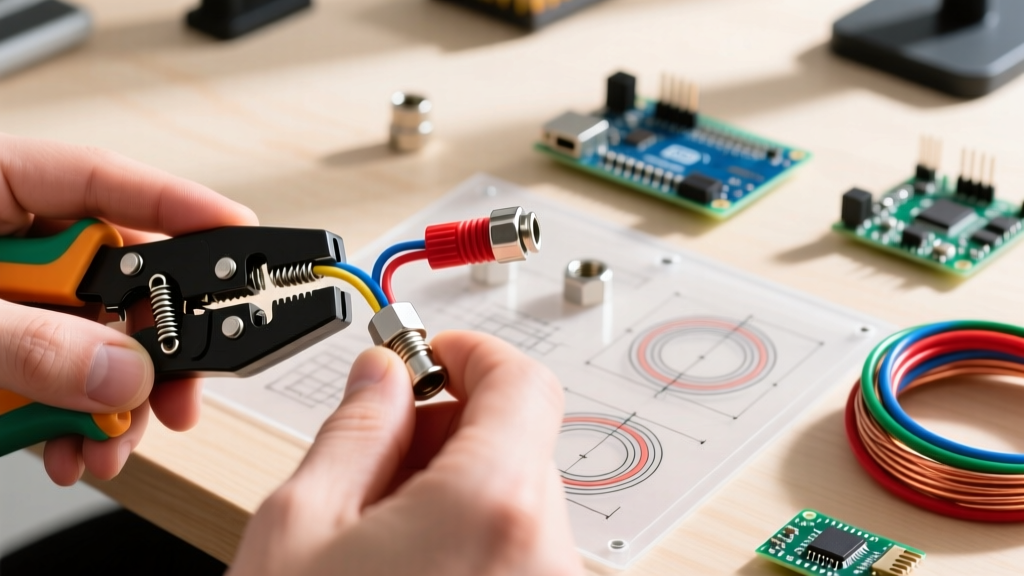
- Wire Stranding Integrity: If the image shows stranded wire, is it tinned properly? Frayed, 'bird-caged' copper strands poking out of a solder joint are prime candidates for short circuits and stray voltage arcing.
Conclusion: Trust, But Verify the Frame
Soldering images are powerful educational tools, but they require a critical, safety-first lens. By training your eye to spot missing fume extraction, improper grounding, flammable workspaces, and IPC-A-610 visual defects, you transform from a passive consumer of tutorials into a rigorous, safety-conscious engineer. Always prioritize verified occupational safety standards over the aesthetic appeal of a viral macro shot, and ensure your 2026 workshop is built on a foundation of verified, hazard-free practices.