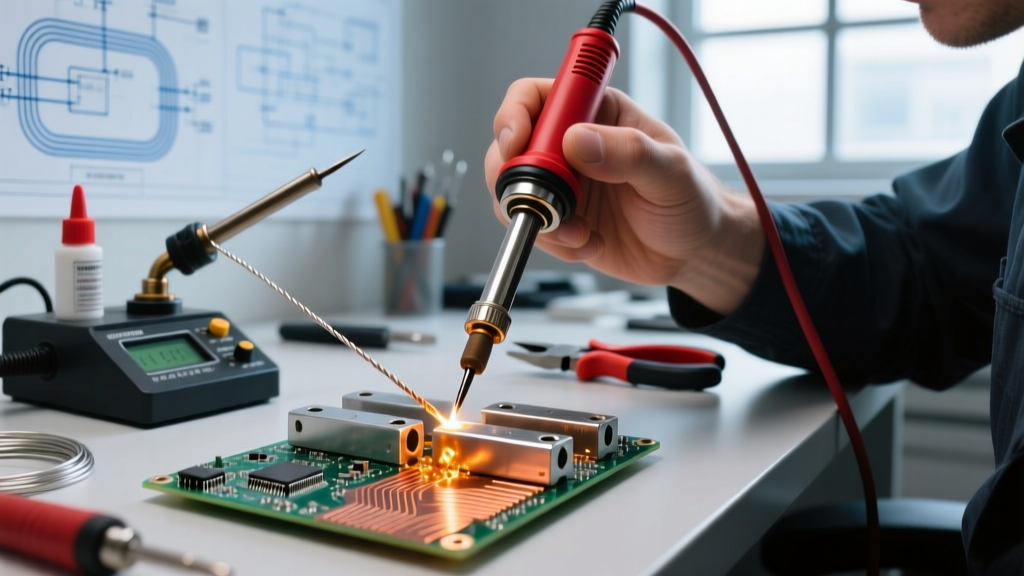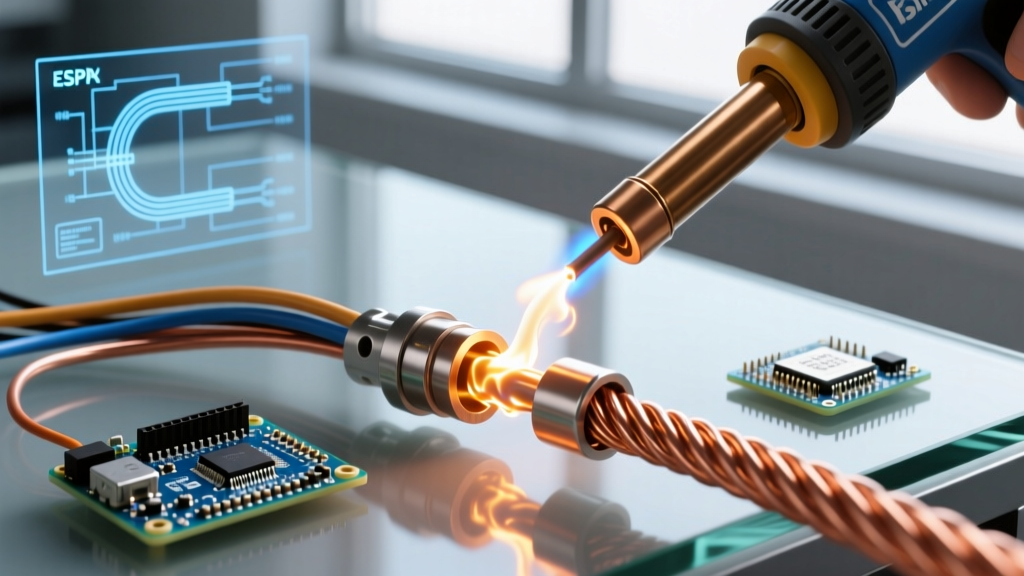

The Core Dilemma: Iron vs. Torch for High-Mass Joints
When building marine battery banks, installing high-current EV charging infrastructure, or repairing heavy industrial switchgear, standard 60W to 100W soldering irons hit a hard physical wall: thermal mass. A 4/0 AWG copper lug acts as a massive heatsink, pulling thermal energy away from the joint faster than an iron can supply it. The result is a classic cold joint—solder that blobs over the surface without forming a metallurgical intermetallic compound (IMC) layer.
This is where soldering with blow torch equipment transitions from a plumbing trick to an essential electrical engineering skill. However, applying 3,000°F+ flame to electrical components requires a strict decision framework. Apply too little heat, and the flux boils off before the copper reaches flow temperature. Apply too much, and you melt the insulation back up the wire or anneal the copper, reducing its mechanical strength.
The Torch Soldering Decision Matrix
Use the following framework to determine when a torch is required over a high-wattage iron (like a 300W Hakko FR-400) or an induction heating system.
| Application Scenario | Wire/Lug Size | Recommended Tool | Fuel / Power Source | Target Time-to-Flow |
|---|---|---|---|---|
| Automotive Audio / Light Marine | 4 AWG to 1/0 AWG | High-Wattage Iron or Small Butane Torch | 100W Iron / Standard Butane | 8 - 15 seconds |
| Heavy Marine / Solar Battery Banks | 2/0 AWG to 4/0 AWG | Precision Pencil Torch | High-Purity Butane (2,500°F) | 12 - 20 seconds |
| Industrial Switchgear / EV Lugs | 250 MCM and larger | Swirl Combustion Torch | MAP-Pro (3,730°F) | 20 - 45 seconds |
| PCB Ground Planes / Thick Traces | 2oz - 6oz Copper | Micro-Torch with Pinpoint Nozzle | Butane (Low flow setting) | 3 - 5 seconds |
Fuel Selection Framework: Butane vs. MAP-Pro
The most critical decision in soldering with blow torch setups is fuel selection. The fuel dictates your maximum flame temperature and BTU output, which directly impacts your thermal control.
High-Purity Butane (Max 2,500°F / 1,370°C)
Best for electrical work up to 1/0 AWG and delicate PCB ground planes. Butane torches (like the Blazer Big Shot GT-8000) offer precise flame adjustment and a cleaner burn, reducing the risk of carbon deposition on the copper. Because the temperature is lower, the risk of accidentally melting adjacent XLPE or THHN wire insulation is significantly reduced.
MAP-Pro (Max 3,730°F / 2,054°C)
Required for 2/0 AWG and larger, or when soldering massive copper busbars. MAP-Pro burns significantly hotter and transfers heat faster than propane. As of 2026, yellow MAP-Pro cylinders (e.g., Bernzomatic) remain the industry standard for heavy electrical joints. Never use standard blue propane for heavy electrical lugs; its lower flame temperature (3,450°F) and lower BTU output force you to hold the flame on the joint too long, guaranteeing insulation damage.
Expert Insight: According to Lincoln Electric's metallurgical guidelines, the base metal must reach the flow temperature of the filler alloy before the filler is applied. If you touch the solder to the flame instead of the copper, you create a "cold lap"—a catastrophic failure mode in high-vibration environments.
Step-by-Step Execution for High-Thermal-Mass Joints
Follow this strict sequence to ensure proper capillary action and IMC formation, adhering to the thermal profiles recommended in IPC J-STD-001 for heavy-duty connections.
- Mechanical Prep: Strip the wire and insert it into the lug. Crimp the lug using a hex-crimper (e.g., Temco TH382) to eliminate air gaps. Air gaps act as thermal insulators, preventing the solder from wicking to the center of the strand bundle.
- Flux Application: Apply a high-activity rosin paste flux (like Superior No. 30) to the exposed wire strands at the barrel entrance. Never use acid-based plumbing flux on electrical joints; it will cause galvanic corrosion and eventual open-circuit failure.
- Pre-Heating the Mass: Ignite your torch. Apply the flame to the middle of the lug barrel, keeping the flame moving in a circular pattern. Do not aim at the wire insulation.
- The Solder Test: After 10-15 seconds, touch your solid-core silver-bearing solder (e.g., Harris Stay-Brite) to the wire strands at the top of the barrel. If it melts instantly and wicks down into the barrel, the joint is at temperature.
- Capillary Fill: Remove the flame. Feed solder into the top of the barrel until a small bead forms at the bottom inspection hole. Let the joint cool naturally for 45 seconds before moving.
Critical Failure Modes and Edge Cases
Even experienced technicians encounter edge cases when soldering with blow torch equipment. Recognize these failure modes immediately:
- The Halo Effect (Insulation Melt): If the insulation shrinks back and melts, you heated the wire strands instead of the lug barrel. The copper wire conducted the heat backward. Fix: Use a heat-shield putty or a wet rag wrapped around the wire base to absorb stray thermal energy.
- Flux Boil-Off: If the flux bubbles violently and turns black before the solder flows, you exceeded 600°F too rapidly. The flux is destroyed, and the copper will oxidize instantly. Fix: Increase your distance from the joint and use a broader, softer flame setting.
- Solder Balling (Non-Wetting): The solder melts but rolls off the copper like water on a hot skillet. This indicates severe surface oxidation. Fix: The joint must be disassembled, mechanically abraded with 400-grit sandpaper, re-fluxed, and reassembled.
Essential Gear and 2026 Budget Breakdown
Building a reliable torch-soldering kit for heavy electrical work requires specific, high-quality tools. Avoid hardware-store generic pencil torches; they lack the thermal recovery rate needed for consecutive 4/0 AWG joints.
| Equipment Category | Specific Model Recommendation | Estimated 2026 Cost | Purpose |
|---|---|---|---|
| Precision Butane Torch | Blazer Big Shot GT-8000 | $65 - $75 | Up to 1/0 AWG, PCB work, tight spaces |
| Heavy-Duty MAP-Pro Torch | Bernzomatic TS8000 (Swirl Tip) | $70 - $85 | 2/0 AWG to 500 MCM lugs, busbars |
| Electrical Paste Flux | Superior No. 30 (RMA Paste) | $12 - $18 | Oxide removal, capillary wicking |
| Silver-Bearing Solder | Harris Stay-Brite (95% Sn / 5% Ag) | $40 - $55 | High tensile strength, vibration resistance |
| Thermal Shielding | Silicone Fiberglass Sleeving | $15 - $20 | Preventing the "Halo Effect" on insulation |
Safety and Compliance Considerations
Torch soldering introduces open flames and combustible gases into environments that often contain battery off-gassing (hydrogen) or flammable solvents. Always adhere to OSHA Standard 1910.252 regarding welding, cutting, and brazing operations. Ensure your workspace has active ventilation to clear rosin flux fumes, which contain colophony—a known respiratory sensitizer. Keep a Class B/C fire extinguisher within arm's reach, and never perform torch soldering on live circuits or actively charging lithium-ion battery banks.
By applying this decision framework, you can confidently select the correct thermal profile for any heavy-duty electrical joint, ensuring low-resistance, mechanically robust connections that will survive decades of high-current service and heavy vibration.