
There are few things more frustrating in electronics assembly than touching a hot iron to a PCB pad, only to watch the solder ball up and roll away. When soldering won't stick, it is rarely a defect in the solder itself; rather, it is a breakdown in the metallurgical, thermal, or chemical conditions required for proper wetting. Whether you are hand-soldering a prototype or reworking a dense surface-mount board, understanding the root cause of non-wetting is critical to preventing permanent pad damage.
The Metallurgy of Failure: Why Solder Refuses to Wet
Soldering is not a mechanical adhesive process like gluing; it is a metallurgical bond. For solder to 'stick,' the tin (Sn) in the solder alloy must react with the copper (Cu) of the pad or wire to form an intermetallic compound (IMC) layer, specifically Cu6Sn5. This reaction requires three simultaneous conditions:
- Absence of Oxidation: Copper oxidizes rapidly at high temperatures, forming a barrier (CuO or Cu2O) that the IMC cannot penetrate.
- Proper Thermal Transfer: The pad and the component lead must both reach the liquidus temperature of the solder alloy simultaneously.
- Flux Activation: The chemical flux must reach its activation temperature to dissolve oxides just milliseconds before the solder flows.
If any of these three pillars fail, you will experience either non-wetting (solder balls up and avoids the surface entirely) or de-wetting (solder initially coats the surface but then pulls back into islands, leaving a thin, oxidized film).
Diagnostic Matrix: Identifying Your Specific Failure Mode
Before adjusting your iron temperature, diagnose the exact visual symptom. Use this matrix to pinpoint the failure mode based on industry standards like the IPC J-STD-001 guidelines for soldered assemblies.
| Visual Symptom | Technical Term | Primary Culprit | Immediate Action |
|---|---|---|---|
| Solder forms perfect spheres, rolls off pad | Non-Wetting | Severe oxidation, missing flux, or wrong tip geometry | Apply fresh liquid/paste flux; switch to a chisel tip |
| Solder coats pad, then retracts into clumps | De-Wetting | Exhausted flux, contaminated surface, or overheated pad | Clean with 99% IPA; lower iron temp by 15°C |
| Dull, grainy, lumpy joint that moves | Cold Joint | Thermal starvation (ground plane stealing heat) | Pre-heat board; use a wider bevel tip for thermal mass |
| Solder sticks to iron tip, not the workpiece | Tip Transfer Failure | Oxidized iron tip or insufficient flux on workpiece | Retin tip immediately; apply flux to the PCB pad |
The Big Three Culprits (And How to Fix Them)
1. Thermal Starvation and Tip Geometry
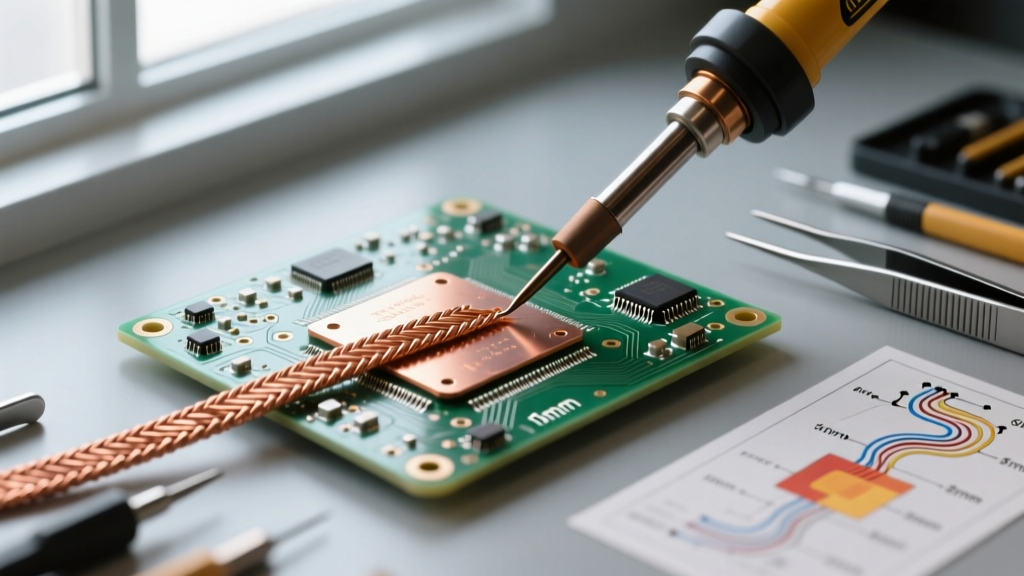
The most common reason soldering won't stick to large pads or ground planes is thermal starvation. A standard 0.5mm conical tip (like the Hakko T18-B) has a microscopic contact area. When it touches a large copper pour, the copper acts as a massive heat sink, dropping the tip temperature below the solder's melting point instantly.
The Fix: Abandon conical tips for through-hole and heavy SMD work. Switch to a chisel or bevel tip to maximize surface area contact. For a Hakko FX-888D, use the T18-D24 (2.4mm chisel) or T18-C2 (2mm bevel). For Weller WE1010 users, the RT4 (bevel) transfers up to 40% more thermal energy than the standard conical RT1. Furthermore, verify your temperature profiles. As of 2026, SAC305 (lead-free) remains the industry standard; it melts at 217°C–220°C, requiring an iron set to 350°C–380°C. If you are using Sn63/Pb37 (leaded, 183°C melt), set your iron to 320°C–340°C. Cranking the iron to 400°C+ will not transfer heat faster; it will only oxidize your tip and burn the flux instantly.
2. Flux Exhaustion and Oxidation Barriers
Flux is the unsung hero of the soldering process. According to SparkFun's comprehensive soldering tutorials, rosin-based fluxes activate around 150°C–200°C to strip away copper oxide. If you apply the iron and wait more than 3–5 seconds before feeding solder, the flux boils off, leaving the copper exposed to rapid high-temp oxidation. Once oxidized, the solder will not stick.
The Fix: Never rely solely on the flux core inside your solder wire, especially for rework. Introduce external flux. For general DIY and prototyping, a no-clean paste flux like MG Chemicals 8341 or a mildly activated rosin (RMA) liquid like Kester 186 provides the necessary chemical reserve. Apply a generous amount to the pad and lead before the iron touches the joint. If soldering won't stick on a second attempt, the old flux has turned into a carbonized, sticky residue. You must clean the area with 99% isopropyl alcohol (IPA) and a lint-free swab before reapplying fresh flux.
3. Surface Finish Degradation (ENIG vs. HASL)
The PCB surface finish dictates how easily solder wets the pad. HASL (Hot Air Solder Leveling) boards are already coated in solder, making wetting trivial. However, modern prototyping boards often use ENIG (Electroless Nickel Immersion Gold) or OSP (Organic Solderability Preservative).
Pro Warning: OSP is a microscopically thin organic layer that burns away upon first heating. If you heat an OSP pad and pull away without adding solder, the copper is now bare and will oxidize within seconds. Soldering won't stick to it on your second attempt without aggressive liquid flux.
ENIG boards can suffer from 'black pad syndrome' or nickel passivation if subjected to multiple reflow cycles or excessive hand-soldering dwell times (over 4 seconds per joint). The gold dissolves into the solder, and if the underlying nickel oxidizes, de-wetting occurs.
Step-by-Step Pad Recovery Protocol
If you have overheated a pad and soldering won't stick no matter what you do, the copper has likely oxidized deeply or the IMC layer is compromised. Follow this recovery protocol to save the board:
- Cool and Clean: Remove all heat. Scrub the pad with a fiberglass scratch pen or a very fine Scotch-Brite pad to mechanically remove the oxidized top layer of copper. (Do not use sandpaper; it will rip the pad off the FR4 substrate).
- Chemical Stripping: Apply a highly active, water-soluble flux (like Kester 951) to the freshly abraded copper.
- Pre-Tinning: Set your iron to 320°C. Use a wide chisel tip and a generous amount of fresh Sn63/Pb37 solder (leaded solder flows at lower temperatures and is more forgiving for pad tinning). Gently touch the pad for no more than 2 seconds to establish a new IMC layer.
- Neutralize: If you used water-soluble flux, clean immediately with distilled water and IPA to prevent long-term dendritic growth and corrosion.
Frequently Asked Questions
Why does solder stick to my iron tip but not the wire?
This happens because the iron tip is tinned (coated in solder and flux), creating a high-surface-tension bridge that refuses to release the solder to a colder, unfluxed surface. To break the surface tension, the wire must be pre-tinned. Strip the wire, twist the strands, apply liquid flux, and touch the iron to the wire while feeding solder. Once the wire is silver and shiny, it will readily accept solder from the iron. Never attempt to bridge a tinned iron to a dry, bare copper wire.
Can I use plumbing solder for electronics if my electronic solder won't stick?
Absolutely not. Plumbing solder uses an acid-core flux (typically zinc chloride or ammonium chloride) designed to aggressively eat through heavy pipe oxidation. As noted in NASA's Workmanship Standards for soldering, acid-core fluxes are strictly prohibited in electronics because the acidic residues are highly conductive and corrosive. They will cause short circuits and eat through PCB traces within weeks. Always use rosin-based (R, RMA, RA) or no-clean fluxes designed specifically for electronic assemblies.
My soldering station reads 350°C, but the solder still won't melt. Is the station broken?
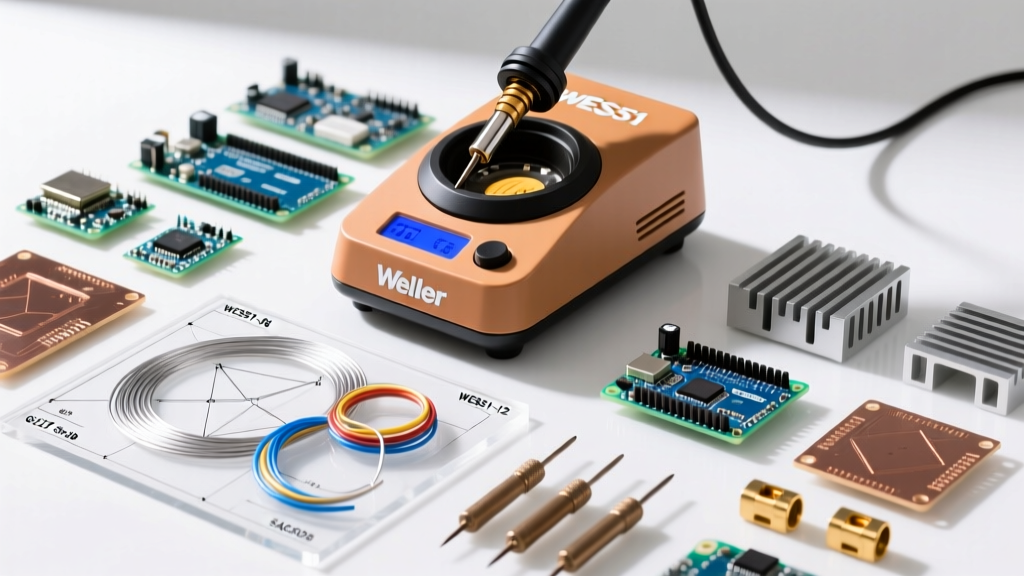
Your station is likely experiencing a thermal calibration drift or a failing heating element, but first, check the tip seating. If the tip is not fully seated against the ceramic heating element (common in Hakko FX-888D clones and older Weller WES51 models), the thermal sensor reads the ambient air gap rather than the tip's actual mass. Loosen the retaining nut, push the tip firmly against the heater, and retighten. If the issue persists, the station's thermocouple may require a potentiometer recalibration using a digital tip thermometer (like the Hakko FG-100, which costs around $180 in 2026).
Mastering the art of soldering requires respecting the chemistry and physics at play. By maintaining proper tip geometry, utilizing external flux, and managing thermal mass, you will eliminate non-wetting issues and produce reliable, shiny, and structurally sound intermetallic joints every time.