
The Hidden Economics of Soldering Terminal Connections
When designing a wiring harness or assembling a high-current PCB, engineers and DIY enthusiasts often default to the soldering terminal out of habit. The prevailing assumption is that soldering is inherently cheaper because the raw materials—solder wire and flux—are inexpensive. However, a true cost analysis reveals that the price of the component is only a fraction of the total expenditure. In 2026, with rising labor rates and stricter quality control standards, evaluating a soldering terminal against modern crimp alternatives requires a deep dive into material costs, tooling depreciation, labor throughput, and the hidden financial drain of rework.
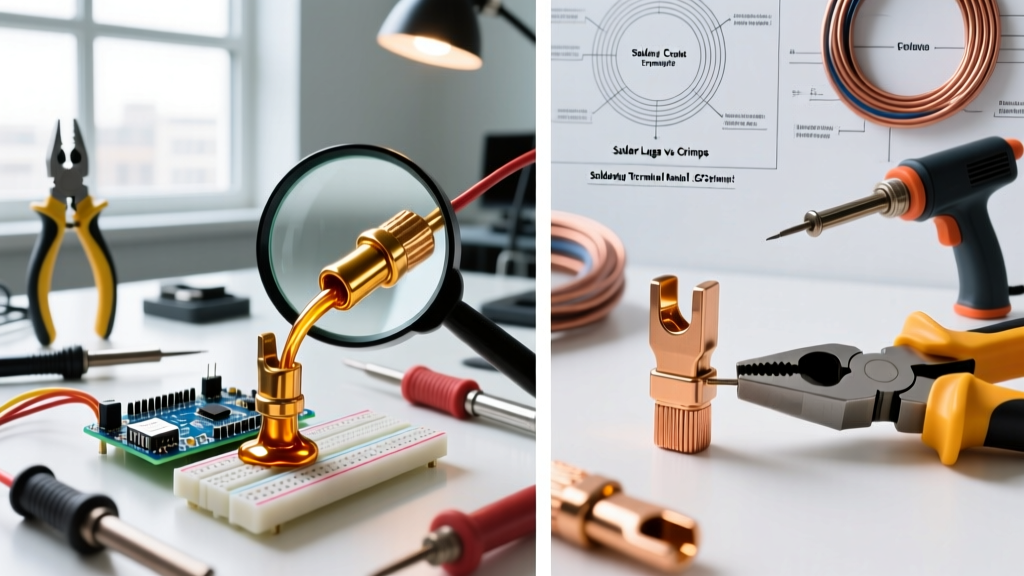
A soldering terminal typically refers to a ring lug, spade connector, or PCB terminal block designed with an open barrel or cup to accept molten solder. While excellent for low-volume prototyping and specific high-temperature environments, scaling this connection method introduces significant financial variables. This guide breaks down the exact costs of soldering versus crimping for a standard 500-joint production run, utilizing real-world pricing and industry time-study data.
Upfront Material Costs: TE Connectivity & Molex Breakdown
The most visible cost is the component itself. Let us compare the ubiquitous TE Connectivity PIDG (Pre-Insulated Diamond Grip) series, which is available in both crimp and solder variations, alongside standard Molex PCB terminal blocks.
- TE PIDG Crimp Ring Terminal (16-14 AWG): Approximately $0.11 per unit in 1,000-piece bulk.
- TE PIDG Solder Ring Terminal (16-14 AWG): Approximately $0.18 per unit in 1,000-piece bulk.
- Consumables (Solder & Flux): Using 63/37 leaded or SAC305 lead-free solder wire (0.031-inch diameter) and a no-clean flux pen adds roughly $0.04 per joint.
At first glance, the soldering terminal setup costs $0.22 per joint (terminal + consumables), while the crimp setup costs $0.11. Over 500 joints, the material cost difference is $110.00 versus $55.00. However, material cost is merely the tip of the iceberg. For a comprehensive look at terminal specifications and bulk pricing tiers, engineers frequently reference the TE Connectivity Terminals and Splices catalog to optimize their BOM (Bill of Materials).
Tooling and Equipment Investment
To properly evaluate the cost, we must amortize the tooling over the lifespan of the project or the production year. A reliable soldering station and a precision crimping tool represent vastly different capital expenditures.
Soldering Station Depreciation
A professional-grade soldering station like the Hakko FX-888D ($115) or the Weller WE1010NA ($145) is mandatory for consistent thermal recovery. Assuming a $130 average station cost, replacement chisel tips ($8 each, replaced every 500 joints), and desoldering braid for errors, the tooling cost allocated per joint for a 500-joint run is approximately $0.32.
Crimping Tool Depreciation
Crimping tools range from budget-friendly to aerospace-grade. An entry-level IWISS IWS-10 ratcheting crimper costs about $45, while the industry-standard Knipex 4800J3 precision crimper retails for $315. Using the Knipex tool for high-reliability automotive or aerospace applications, the allocated tooling cost per joint over 500 cycles is $0.63. However, if using the IWISS tool for consumer DIY electronics, the cost drops to $0.09 per joint.
Labor Time and Throughput Analysis
In any manufacturing or assembly environment, labor is the most expensive variable. Assuming a conservative fully-burdened technician rate of $35.00 per hour ($0.58 per minute), the time required to create a reliable connection dictates the true cost.
The Soldering Terminal Workflow:
- Strip wire to exact barrel depth (10 seconds).
- Apply flux to wire strands and terminal cup (5 seconds).
- Pre-tin the wire and pre-heat the terminal (12 seconds).
- Feed solder to achieve proper fillet and wetting (15 seconds).
- Cool and inspect for cold joints or insulation wicking (8 seconds).
Total Time: 50 seconds per joint. Labor Cost: $0.48 per joint.
The Crimp Terminal Workflow:
- Strip wire using precision automatic strippers (6 seconds).
- Insert wire into crimp barrel and verify brush (2 seconds).
- Cycle the ratcheting crimp tool (4 seconds).
- Perform visual inspection and mechanical pull-test (5 seconds).
Total Time: 17 seconds per joint. Labor Cost: $0.16 per joint.
Expert Insight: The soldering terminal method takes nearly three times longer per connection. In a 500-joint harness, soldering requires 6.9 hours of labor ($241.50), while crimping requires just 2.3 hours ($80.50). The labor savings alone offset the higher upfront cost of premium crimping tools.
Failure Modes, Rework, and the IPC-A-610 Standard
The most devastating cost in electronics assembly is rework. Rework not only consumes additional labor and materials but also risks damaging the PCB pad or wire insulation. According to the IPC-A-610 Acceptability of Electronic Assemblies standard, solder joints must exhibit proper wetting, a smooth fillet, and no exposed base metal.
Common soldering terminal failure modes include:
- Cold Solder Joints: Caused by insufficient heat transfer to the heavy copper lug, resulting in a grainy, high-resistance connection.
- Insulation Wicking: Capillary action draws molten solder under the wire insulation, creating a rigid stress point that snaps under vibration.
- Flux Entrapment: Corrosive rosin flux trapped inside the terminal cup degrades the connection over time.
Conversely, crimp failures usually stem from incorrect strip lengths or using non-calibrated tools. However, modern ratcheting crimpers physically prevent the tool from opening until the correct deformation pressure is achieved, virtually eliminating incomplete crimps. For high-reliability sectors, the NASA Workmanship Standards heavily favor crimping for wire harnesses due to the verifiable nature of the cold-weld process and the elimination of thermal shock to the wire strands.
Rework Cost Calculation: Fixing a failed soldering terminal takes an average of 3.5 minutes (applying flux, desoldering, cleaning, and re-soldering). At $0.58/minute, a single rework event costs $2.03. If a batch has a 4% failure rate (20 joints out of 500), rework adds $40.60 to the project. Crimp rework requires cutting and stripping a new wire segment, taking 1.5 minutes ($0.87), and assuming a lower 1% failure rate, the rework cost is just $4.35.
Comprehensive 500-Joint Cost Matrix
The following matrix consolidates all variables for a 500-joint production run using 14 AWG wire and premium tooling (Weller WE1010NA and Knipex 4800J3).
| Cost Category | Soldering Terminal (Cup Lug) | Crimp Terminal (PIDG) |
|---|---|---|
| Material (Terminals + Consumables) | $110.00 | $55.00 |
| Tooling Amortization (500 cycles) | $160.00 | $315.00 |
| Labor (500 joints at $35/hr) | $241.50 | $80.50 |
| Estimated Rework (4% vs 1%) | $40.60 | $4.35 |
| Total Project Cost | $552.10 | $454.85 |
| Cost Per Joint | $1.10 | $0.91 |
As the data demonstrates, the crimp connection is 17% cheaper per joint in a mid-volume run, primarily driven by massive labor savings and reduced rework, despite the $315 Knipex tooling investment.
Decision Framework: When to Solder vs. When to Crimp
While the cost analysis heavily favors crimping for volume production, the soldering terminal still holds distinct advantages in specific edge cases where cost is secondary to environmental survival.
Choose the Soldering Terminal When:
- Extreme High-Temperature Environments: Standard nylon-insulated crimp barrels melt at 130°C. Soldered connections (using high-melting-point alloys like 95/5 Sn/Pb or specialized high-temp lead-free) survive engine bay and aerospace thermal cycling.
- Low-Volume Prototyping: If you are building 10 units and do not want to invest in a $300 calibrated crimper, a $40 soldering iron is the economically rational choice.
- Hermetic Sealing Required: Soldering completely fills the terminal barrel, preventing moisture and corrosive gases from wicking into the wire strands via capillary action.
Choose the Crimp Terminal When:
- High-Vibration Applications: The cold-weld of a proper crimp allows the wire strands to flex microscopically, whereas a rigid soldered joint creates a stress riser that leads to fatigue failure.
- High-Volume Production: As proven in the matrix, throughput and labor savings make crimping vastly superior for runs exceeding 50 joints.
- Field Repairs: Crimping can be done in confined, poorly ventilated spaces without the fire hazard or toxic fume exposure associated with rosin flux and hot irons.
Frequently Asked Questions
Can I crimp and then solder a terminal for extra reliability?
No. This is a common and dangerous misconception. Soldering a crimped terminal introduces solder into the cold-weld interface. Because solder has a lower tensile strength and different thermal expansion rate than copper, it can actually create micro-fractures under vibration, reducing the overall reliability of the joint compared to a properly executed crimp alone.
What is the best solder alloy for a soldering terminal?
For general electronics and DIY wiring, 63/37 (Tin/Lead) eutectic solder remains the gold standard due to its sharp melting point (183°C), which reduces the risk of cold joints. For RoHS-compliant commercial products, SAC305 (96.5% Sn, 3.0% Ag, 0.5% Cu) is required, though it demands higher iron temperatures (350°C+) and more aggressive flux activators.
How do I prevent insulation wicking in a soldering terminal?
Always strip the wire exactly to the depth of the terminal barrel—no more. Use a temperature-controlled iron to minimize the time heat is applied to the copper. The longer the terminal stays hot, the further capillary action will draw the molten solder up into the wire strands beneath the insulation jacket.