
The Economics of the Modern Soldering Ring Connector
For decades, the standard approach to splicing wires in automotive, marine, and DIY electronics projects involved a tedious sequence: strip the wire, twist the strands, apply flux, heat with an iron, feed solder wire, and finally slide on heat shrink tubing. In 2026, the soldering ring connector (commonly known as a heat shrink solder sleeve or solder seal wire connector) has disrupted this workflow. By integrating a polyolefin shrink tube, hot-melt adhesive sealing rings, and a precise eutectic soldering ring into a single component, these connectors promise massive time savings. But do the consumable costs justify the labor reduction?
This cost analysis breaks down the true financial footprint of soldering ring connectors versus traditional iron-and-solder methods and mechanical crimping. We evaluate tooling overhead, per-joint consumable costs, labor economics, and the hidden financial penalties of rework and joint failure.
Anatomy and Metallurgy: What Are You Paying For?
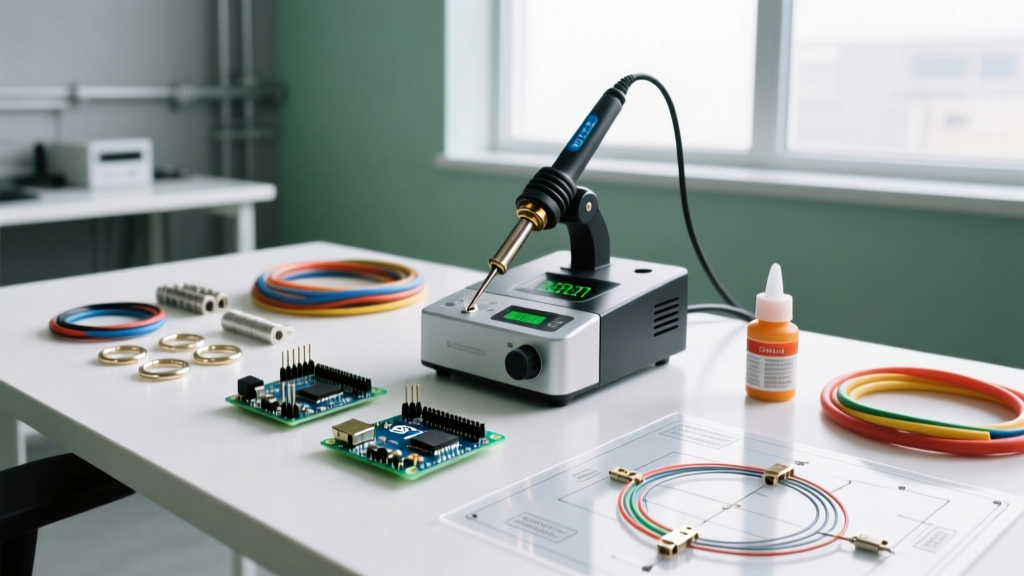
To understand the pricing structure, you must understand the engineering of a premium soldering ring connector. A high-quality unit consists of three distinct zones:
- The Outer Shell: Typically made of cross-linked polyolefin, designed to shrink at roughly 120°C (248°F) and provide a 3:1 or 4:1 shrink ratio.
- The Sealing Rings: Located at both ends, these are made of thermoplastic hot-melt adhesive. When heated, they melt and flow around the wire insulation, creating a waterproof, IP67-rated environmental seal.
- The Soldering Ring: The core of the connector. In 2026, you will primarily encounter two alloys. The traditional Sn63/Pb37 (63% Tin, 37% Lead) melts at a low 183°C (361°F) and offers excellent wetting. However, due to global RoHS compliance pushes, SAC305 (96.5% Tin, 3% Silver, 0.5% Copper) is now standard in commercial and marine-grade soldering ring connectors. SAC305 melts at a higher 217°C (422°F), requiring more precise heat gun control to avoid scorching the polyolefin shell before the solder flows.
Expert Insight: The transition to lead-free SAC305 soldering ring preforms has slightly increased consumable costs due to the silver content, but it has vastly improved the mechanical shear strength of the resulting joint, aligning closer to modern IPC J-STD-001 requirements for high-reliability assemblies.
2026 Cost Matrix: Tooling and Consumables
The most common mistake DIYers and small repair shops make is only looking at the cost of the connector itself. A proper cost analysis must include the capital expenditure (CapEx) for tooling and the operational expenditure (OpEx) for consumables.
| Cost Factor | Soldering Ring Connectors | Traditional Iron & Solder | Mechanical Crimping |
|---|---|---|---|
| Primary Tooling | Heat Gun ($30 - $80) | Soldering Station ($80 - $150) | Proper Ratchet Crimper ($50 - $120) |
| Consumable Cost per Joint | $0.25 - $0.65 | $0.05 - $0.12 (Solder + Flux + Shrink) | $0.10 - $0.30 (Nylon/Heat Shrink Terminal) |
| Maintenance/Upkeep | Negligible | Tips & Sponges ($15/yr) | Die replacements ($40+) |
| Skill Level Required | Low | High | Medium |
At first glance, traditional soldering wins on pure material costs. A spool of 63/37 solder wire ($25 for 1lb) and a box of generic heat shrink tubing can yield hundreds of splices for pennies each. In contrast, a box of 100 marine-grade, dual-wall soldering ring connectors from a reputable brand like Ancor or a MIL-SPEC equivalent will cost between $35 and $60 in 2026, pushing the material cost to $0.35–$0.60 per joint.
Labor Economics: Time is Your Highest Overhead
Material costs become irrelevant if labor costs spiral. Whether you are a professional automotive upfitter billing at $120 per hour, or a DIYer valuing your weekend time at $50 per hour, the speed of the soldering ring connector fundamentally alters the ROI.
Time Study: 14 AWG Wire Splice
- Traditional Soldering: Strip wires (15s), twist and tin wires (30s), apply flux (10s), solder joint (25s), slide heat shrink and apply heat (30s). Total: ~110 seconds per joint.
- Mechanical Crimping: Strip wires (15s), insert into butt splice, crimp twice with ratchet tool (20s), heat shrink if applicable (30s). Total: ~65 seconds per joint.
- Soldering Ring Connector: Strip wires (15s), insert into sleeve, apply heat with gun until adhesive flows and soldering ring melts (30s). Total: ~45 seconds per joint.
If a custom automotive harness requires 50 splices, the soldering ring method saves roughly 55 minutes compared to traditional soldering. At a conservative $60/hour shop rate, that is $55 in saved labor, entirely eclipsing the $15 premium paid for the soldering ring connectors over raw solder wire and tubing.
The Rework Penalty: Failure Modes and Edge Cases
The true cost of a bad electrical connection is not the wasted connector; it is the diagnostic time required to find the fault, the risk of component damage, and the labor to tear into a dashboard or bilge to fix it. According to the NASA Workmanship Standards, solder joint reliability is heavily dependent on proper wetting and thermal management. Soldering ring connectors drastically reduce human error, but they introduce unique failure modes if misused.
Common Soldering Ring Failure Modes
- The 'Tenting' Effect: If the heat gun is held too close or set too high, the polyolefin shell shrinks and hardens before the internal SAC305 soldering ring reaches its 217°C melting point. The result is a shrunk tube with raw, un-soldered wire inside. This causes high resistance and eventual thermal failure.
- Adhesive Starvation: Failing to heat the connector long enough for the hot-melt adhesive rings to fully liquefy and bubble slightly out the ends. Without this environmental seal, moisture wicks into the copper strands via capillary action, leading to green corrosion within months—a critical failure in marine environments governed by ABYC E-11 standards.
- Wire Gauge Mismatch: Using a 12-10 AWG soldering ring on a 16 AWG wire. The soldering ring will melt, but it will not have enough physical mass to bridge the gap to the smaller wire strands, resulting in a cold, brittle joint.
Traditional soldering relies heavily on the operator's ability to judge solder flow and wetting by eye. Soldering ring connectors remove this variable; the joint is complete only when the solder ring visibly melts into a solid, shiny band through the translucent shrink tubing. This visual confirmation reduces rework rates by an estimated 80% for novice and intermediate technicians.
Environmental ROI: Where Soldering Rings Dominate
Cost analysis must be contextualized by the operating environment. If you are repairing a stationary indoor electronics PCB, traditional soldering or mechanical crimping is vastly more cost-effective. However, in high-vibration, high-moisture environments, the soldering ring connector provides an unmatched return on investment.
In marine applications, the combination of the soldered electrical bond and the adhesive-lined moisture barrier prevents the galvanic corrosion that plagues standard crimp terminals. A $0.50 soldering ring connector can prevent a $500 bilge pump failure caused by a corroded splice. In automotive aftermarket lighting and winch wiring, the vibration resistance of the soldered joint, combined with the strain relief of the shrunk polyolefin, eliminates the 'fretting corrosion' that causes mechanical crimps to fail over time.
Final Verdict: Budgeting for Your Next Project
The soldering ring connector is not a universal replacement for all wiring needs, but from a holistic cost perspective, it is the undisputed champion for field repairs, marine wiring, and low-to-medium volume harness building.
When to buy Soldering Ring Connectors: When labor time is valuable, when environmental sealing is mandatory, and when you want to eliminate the variable of operator soldering skill. Budget roughly $0.45 per joint for premium, dual-wall, RoHS-compliant sleeves.
When to stick to Traditional Methods: When splicing high-current cables (4 AWG and larger, where soldering rings are impractical and expensive), when working on high-density PCB electronics, or when executing hundreds of repetitive splices in a dry, indoor environment where mechanical crimping remains the most economical choice.