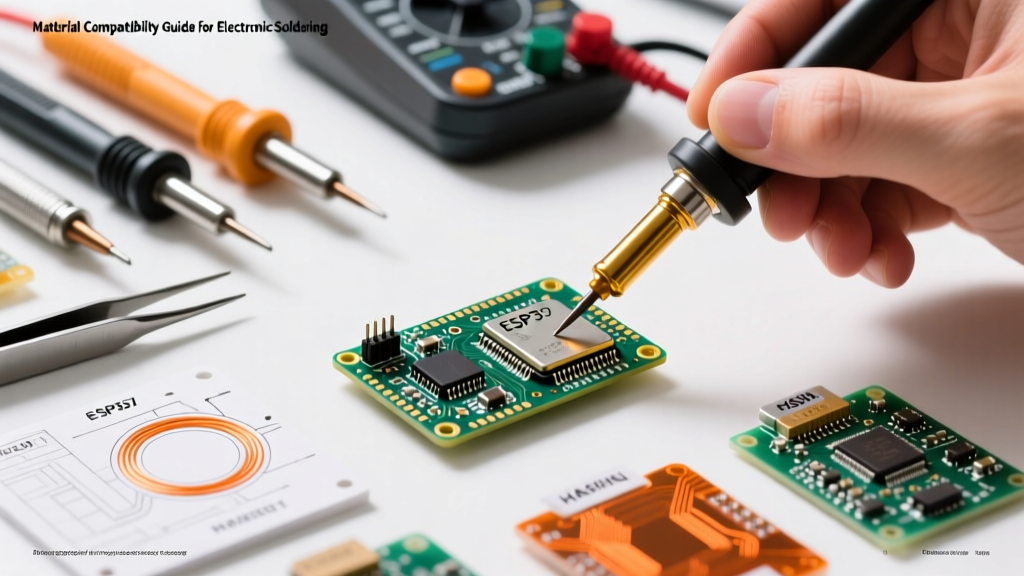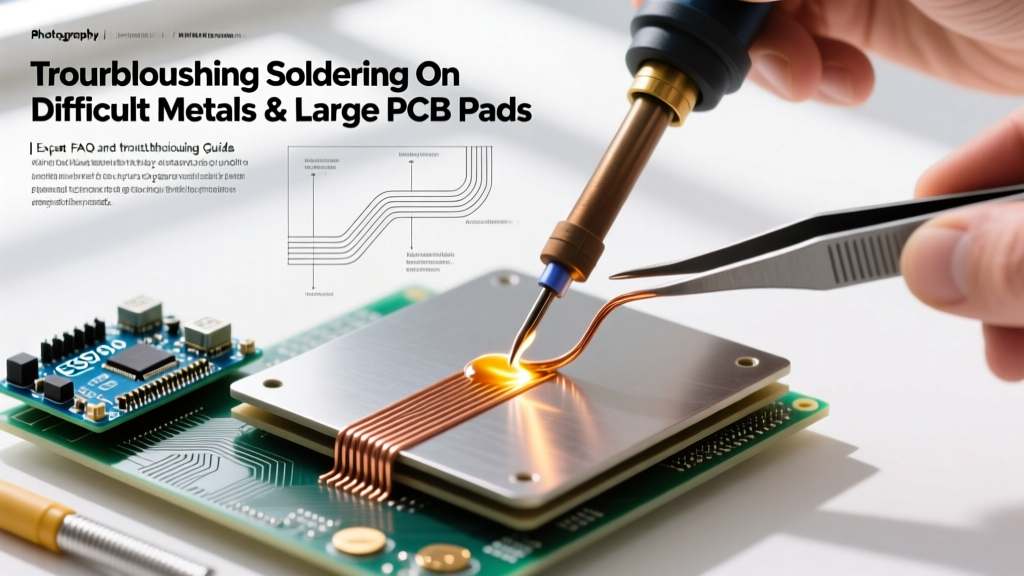

When building or repairing complex electronics, the act of soldering on challenging substrates or high-thermal-mass components is one of the most common points of failure. Whether you are attempting to achieve a reliable wetting profile on anodized aluminum, fighting thermal starvation on a multi-layer PCB ground plane, or dealing with brittle joints on ENIG gold pads, standard rosin-core solder and a basic 40W iron will simply not suffice. In this comprehensive FAQ and troubleshooting guide, we break down the metallurgical and thermal obstacles you face when soldering on difficult surfaces, providing exact tool specifications, flux chemistries, and temperature profiles required for success in 2026.
The Thermal Mass Trap: Soldering On Large Ground Planes
The most frequent complaint we see in advanced DIY and prototyping forums is solder refusing to flow when soldering on large copper ground planes or heavy power lugs. This is rarely a flux issue; it is a thermal recovery issue. A standard 60W soldering station will experience a massive temperature drop when the tip contacts a large thermal mass, dropping below the liquidus point of SAC305 lead-free solder (217°C) and resulting in a cold, grainy joint.
Troubleshooting Thermal Starvation
- Upgrade Your Wattage: For continuous soldering on heavy ground planes, a minimum of 80W to 120W is required. The Hakko FX-951 (approx. $300) or the Weller WE1010NA (approx. $115, though pushing its limits on massive planes) are baseline recommendations. For heavy-duty work, the JBC CD-2BQE (approx. $450) offers unmatched thermal recovery due to its integrated cartridge tip design.
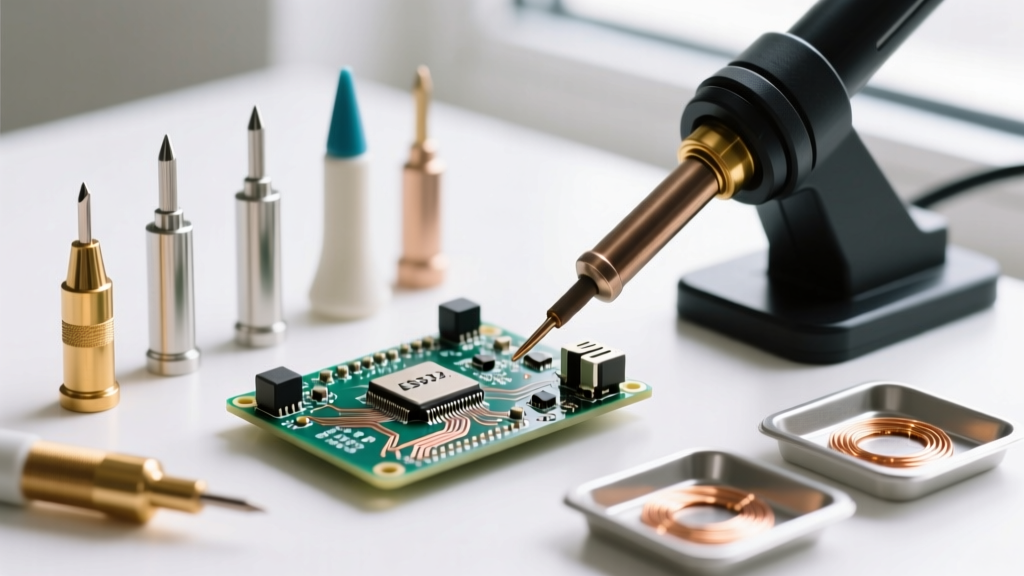
- Tip Geometry Matters: Never use a fine conical tip (like a Hakko T18-I) for ground planes. The surface area contact is too small, creating a thermal bottleneck. Switch to a wide chisel (e.g., Hakko T18-D32 or Weller RT4) or a bevel tip to maximize thermal transfer.
- Preheating: If your iron cannot keep up, use a PCB preheater (like the Quick 853A) to bring the ambient board temperature to 100°C–120°C before applying the iron. This reduces the delta-T the iron must overcome.
Troubleshooting Matrix: Soldering On Problematic Surfaces
Different base metals present unique metallurgical barriers to solder wetting. Below is a quick-reference matrix for the most notoriously difficult materials encountered in electronics and hardware modification.
| Surface Material | Primary Obstacle | Required Flux Chemistry | Recommended Iron Temp & Tip | Recommended Alloy |
|---|---|---|---|---|
| Aluminum / Alloys | Instant aluminum oxide reform | Highly active organic acid or specialized Zn-based flux | 380°C - 400°C / Heavy Chisel | Sn96.5/Ag3.0/Cu0.5 or Zn-Al |
| Stainless Steel | Chromium oxide passivation layer | Phosphoric acid or aggressive inorganic acid | 360°C - 380°C / Bevel Tip | Sn63/Pb37 or SAC305 |
| Nichrome Wire | High resistance, poor wetting | Specialized nichrome flux (e.g., Stay-Clean) | 350°C / Micro-pencil (for spot heat) | High-silver content (Sn62/Pb36/Ag2) |
| ENIG Gold Pads | Nickel barrier corrosion (Black Pad) | No-clean or mild rosin (RMA) | 330°C - 350°C / Mini-wave | SAC305 or Sn42/Bi57.6/Ag0.4 |
| Glass / Ceramics | Non-metallic, zero wetting affinity | Ultrasonic soldering (no chemical flux) | 250°C - 300°C / Ultrasonic tip | Indium-based (In51/Bi32.5/Sn16.5) |
FAQ: Soldering On Oxidized and Non-Ferrous Metals
Can I use standard rosin flux for soldering on aluminum?
No. Standard rosin (R, RMA, RA) is entirely ineffective at breaking down the aluminum oxide layer, which reforms in milliseconds when exposed to air. To successfully bond to aluminum, you must use a specialized flux like Superior Flux No. 30 or MG Chemicals 8341 Aluminum Flux (approx. $25). These contain aggressive fluorides or chlorides that etch the oxide layer. Alternatively, ultrasonic soldering irons use acoustic cavitation to shatter the oxide layer mechanically, allowing standard solder to wet the bare aluminum beneath.
Why does my solder ball up and roll off stainless steel?
Stainless steel owes its corrosion resistance to a microscopic passivation layer of chromium oxide. Standard soldering fluxes cannot penetrate this layer. You must use a highly active, corrosive acid flux (often phosphoric-acid based). Warning: Acid fluxes are conductive and highly corrosive. If you are soldering on stainless steel enclosures near PCB components, you must thoroughly neutralize and clean the joint with isopropyl alcohol and a baking soda solution immediately after cooling, or it will cause severe galvanic corrosion over time.
Edge Case: Soldering On ENIG PCB Pads and Black Pad Syndrome
Electroless Nickel Immersion Gold (ENIG) is a premium surface finish prized for its flatness and long shelf life. However, soldering on ENIG presents a unique failure mode known in the industry as "Black Pad Syndrome." This occurs when the gold layer is too thin, or the soldering temperature and dwell time are too high, causing the tin in the solder to aggressively consume the gold and attack the underlying nickel layer, forming a brittle tin-nickel intermetallic compound.
Expert Troubleshooting Rule: When soldering on ENIG pads, never exceed 350°C, and limit your dwell time to under 3 seconds per joint. If the pad turns a dark, matte gray/black after the solder wicks away, the nickel layer has been compromised, and the joint will fail under mechanical stress.
According to guidelines published by the IPC Global Standards organization, proper wetting on ENIG requires the solder to displace the immersion gold entirely, forming a reliable intermetallic bond with the nickel. If you are experiencing pad lift or brittle joints, verify your flux activity and ensure you are not using excessively high temperatures that accelerate nickel corrosion.
Through-Hole Barrel Fill: Soldering On Plated Through-Holes (PTH)
Achieving 100% barrel fill when soldering on multi-layer PTH boards is a common hurdle, especially when meeting Class 3 reliability requirements outlined by the NASA Electronic Parts and Packaging (NEPP) Program. If solder only wets the top ring and fails to travel up the barrel, the issue is usually thermal shadowing or insufficient flux penetration.
- Pre-tin the Lead: Apply a small amount of solder to the component lead before inserting it into the PTH. This acts as a thermal bridge.
- Inject Flux into the Barrel: Use a needle-dispenser to inject liquid no-clean flux directly into the hole alongside the lead before applying heat.
- Apply Heat to the Barrel, Not Just the Lead: Place your chisel tip so it contacts both the annular ring and the lead simultaneously. Feed the solder wire into the opposite side of the joint from where the iron is applied to force the solder to flow through the thermal gradient.
2026 Buyer Recommendations for Difficult Soldering Consumables
To equip your bench for the most demanding soldering tasks, we recommend stocking the following specialized consumables:
- Amtech NC-559-V2-TF (Approx. $18): The gold standard for no-clean tacky flux. Essential for drag-soldering fine-pitch QFNs and reworking ENIG boards without risking corrosive residue.
- Kester 245 No-Clean Liquid Flux (Approx. $22): Ideal for PTH barrel fill and wave-soldering simulations on heavy ground planes.
- Chip Quik SMD4300AX10 (Approx. $35): A high-reliability SAC305 solder paste with a Type 4 powder mesh, crucial for stencil printing on difficult-to-wet RF shielding cans.
- Hakko T18-C4 Bevel Tip (Approx. $12): The ultimate tip for holding a solder blob and transferring maximum thermal energy into heavy gauge wires and large stainless steel lugs.
Summary
Successfully soldering on difficult materials is rarely about applying more brute-force heat; it is about understanding the metallurgical barriers at play and selecting the correct chemical flux and tip geometry to overcome them. By upgrading to a high-thermal-recovery station, respecting the passivation layers of non-ferrous metals, and strictly controlling your dwell times on sensitive ENIG finishes, you can achieve aerospace-grade reliability on even the most stubborn substrates.