
The Intersection of Operator Safety and Circuit Reliability
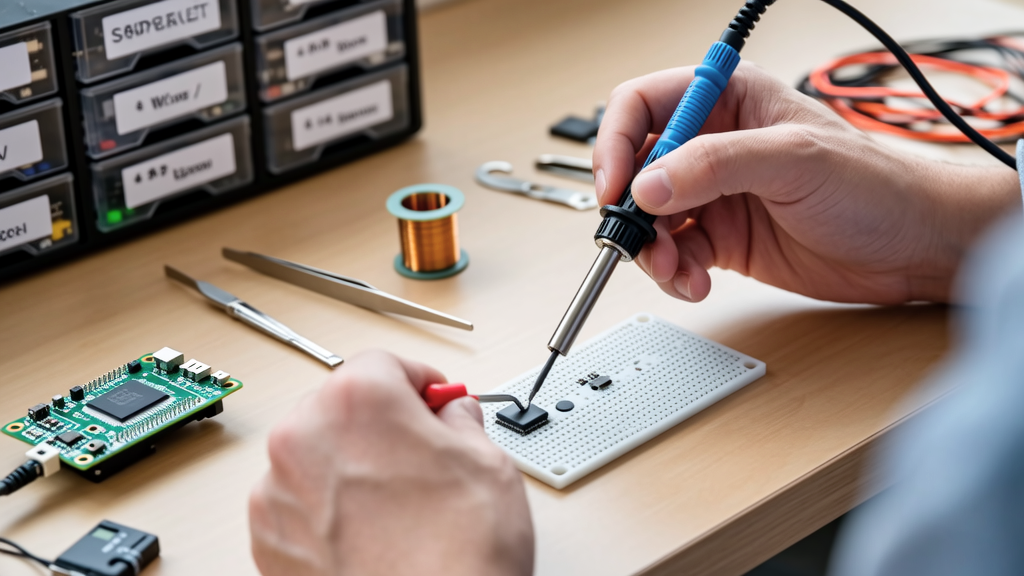
When discussing electronics assembly, the focus is often on electrical continuity. However, creating a reliable soldering joint is equally a matter of physical safety—both for the technician handling the iron and the end-user relying on the device. A poorly managed soldering process exposes the operator to hazardous chemical fumes and thermal burns, while a defective soldering joint can introduce high-resistance points that lead to localized arcing, overheating, and eventual fire hazards.
As of 2026, the industry-wide transition toward lead-free alloys and complex, high-density PCB layouts has made thermal and chemical management more critical than ever. This guide breaks down the exact safety parameters, equipment recommendations, and inspection criteria required to produce a soldering joint that is both electrically flawless and safe to manufacture.
Chemical Exposure: Managing Flux Fumes at the Soldering Joint
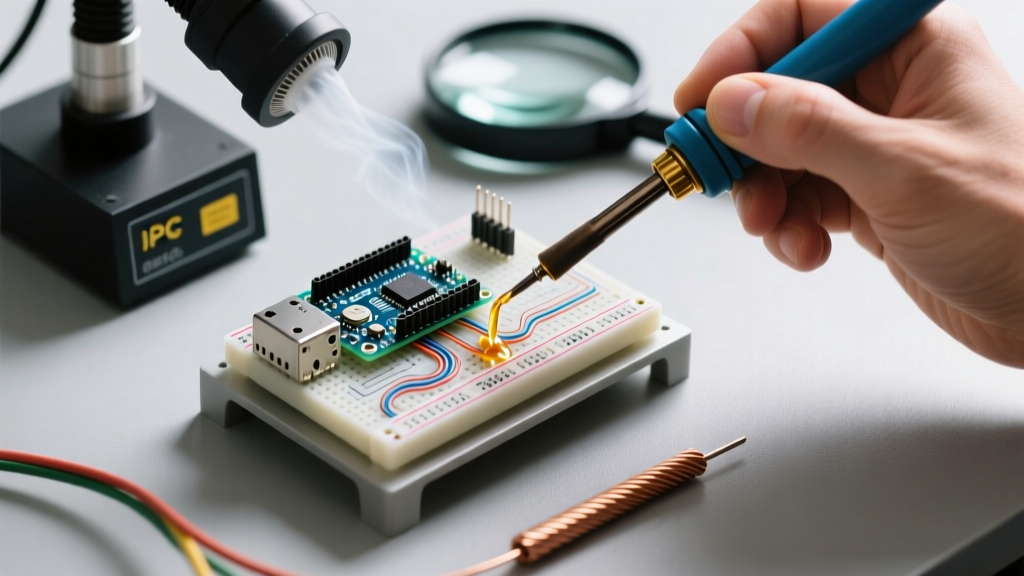
The most immediate health hazard when forming a soldering joint is not the metal alloy, but the flux. When flux reaches its activation temperature, it vaporizes, creating a visible plume of smoke. Most commercial fluxes contain colophony (rosin), a natural resin derived from pine trees. While natural, vaporized rosin is a known respiratory sensitizer. Prolonged exposure without extraction can lead to occupational asthma and severe dermatitis. The UK Health and Safety Executive (HSE) strictly classifies rosin-based solder flux as a hazardous substance requiring localized exhaust ventilation (LEV).
Fume Extraction Buyer Guide for 2026
To protect your respiratory system, you must capture the fumes before they reach your breathing zone (typically a 12-inch radius around your face). Do not rely on passive open windows or standard desk fans, which merely disperse the hazardous particulates around the room.
- Entry-Level (Hobbyist): The Hakko FA-400 (approx. $65) uses a replaceable activated carbon filter. It is effective for light, intermittent soldering but lacks the static pressure to pull heavy fumes from deep within a chassis.
- Professional Benchtop: The Weller WFE 2X (approx. $850) is a dual-nozzle HEPA and gas filtration unit. It captures 99.97% of particulates down to 0.3 microns and utilizes a massive activated carbon bed to neutralize volatile organic compounds (VOCs) generated during the formation of the soldering joint.
- Integrated Station Solutions: Systems like the Hakko FX-951 paired with the FA-430 fume extractor route the vacuum directly through the handpiece, capturing fumes millimeters from the iron tip before they can aerosolize.
Thermal Safety: Optimizing Heat Transfer Without Damage
Applying excessive heat to force a soldering joint is a common beginner mistake that introduces severe safety risks. Overheating a joint to 420°C or higher causes the flux to char instantly, releasing toxic, acrid off-gassing. Furthermore, it risks delaminating the copper pads from the FR4 fiberglass substrate, which can expose live, high-voltage traces and create short-circuit hazards.
Alloy-Specific Temperature Profiles
Modern digital stations like the Weller WE1010NA or Pace ADS200 offer precise thermal recovery. You must match your tip temperature to the specific alloy's liquidus point, adding only 100°C to 120°C to account for thermal mass and heat dissipation into the PCB ground planes.
| Solder Alloy | Composition | Melting Point | Optimal Tip Temp | Max Dwell Time | Primary Safety Hazard |
|---|---|---|---|---|---|
| Sn63/Pb37 (Eutectic) | 63% Tin, 37% Lead | 183°C (361°F) | 300°C - 330°C | 3 Seconds | Lead exposure (ingestion), pad lifting |
| SAC305 (Lead-Free) | 96.5% Sn, 3% Ag, 0.5% Cu | 217°C (423°F) | 350°C - 370°C | 4 Seconds | Flux charring, component thermal shock |
| Sn96.5/Ag3.5 | 96.5% Tin, 3.5% Silver | 221°C (430°F) | 360°C - 380°C | 4 Seconds | Silver leaching, severe flux aerosolization |
Expert Tip: Never use a conical (pencil) tip for through-hole or heavy ground-plane joints. The minimal surface area restricts heat transfer, forcing you to increase the station temperature and dwell time. Always use a chisel tip (e.g., Hakko T18-D24) to maximize the contact patch, allowing you to form the soldering joint at lower temperatures and faster speeds.
Mechanical Integrity: The Fire Hazard of Cold Joints
A 'cold' soldering joint occurs when the iron heats the component lead but fails to adequately heat the PCB pad, or if the joint is disturbed during the critical liquidus-to-solidus phase transition. Electrically, a cold joint is a latent time bomb. It exhibits a high-resistance crystalline structure. According to IPC-A-610 standards, a proper joint must exhibit a smooth, concave fillet with excellent wetting. A cold joint appears dull, grainy, and convex.
Why High Resistance Equals Fire Risk
When current passes through a high-resistance cold soldering joint, it generates localized heat proportional to the square of the current (I²R losses). In high-power circuits (e.g., motor controllers, power supplies, or automotive electronics), this localized heating can melt the surrounding insulation, ignite adjacent components, or cause the joint to physically fracture under thermal cycling, resulting in catastrophic arcing.
Inspection Protocol for Joint Safety
- Visual Wetting Angle: The solder should feather out onto the pad at an angle of less than 90 degrees. If it looks like a water droplet sitting on a freshly waxed car (balling up), the joint is unsafe.
- Surface Texture: Leaded joints should be bright and shiny. Lead-free (SAC) joints will naturally appear slightly duller but must still be smooth, not grainy or cracked.
- Mechanical Stability: Gently tug the component lead with tweezers. Any movement or cracking sound indicates a fractured intermetallic compound (IMC) layer, requiring immediate rework.
Lead Handling and Cross-Contamination Protocols
While lead-free solder is the standard for commercial manufacturing, Sn63/Pb37 remains prevalent in aerospace, medical, and hobbyist applications due to its superior reliability and ease of use. The Environmental Protection Agency (EPA) emphasizes that lead is not absorbed through intact skin; the danger arises from hand-to-mouth transfer. Therefore, the safety of your soldering joint process relies heavily on hygiene.
Workspace Rules for Leaded Assembly
- Barrier Protection: Wear 4-mil nitrile gloves. Latex degrades rapidly when exposed to the solvents in flux cleaners like isopropyl alcohol (IPA).
- Dedicated Zones: Never consume food or beverages at the soldering bench. Microscopic lead dust settles on surfaces and is easily ingested.
- Post-Soldering Hygiene: Wash hands with cold water and soap immediately after finishing. Hot water opens the pores, potentially facilitating the absorption of trace metallic residues.
Essential PPE and Emergency Preparedness
Beyond fume extraction, personal protective equipment (PPE) is your last line of defense against the inherent hazards of creating a soldering joint. Soldering irons operate at temperatures capable of causing third-degree burns in milliseconds, and vaporized flux can splatter into the eyes.
- Eye Protection: Always wear ANSI Z87.1-rated safety glasses with side shields. When trimming component leads with flush cutters after forming the soldering joint, microscopic copper shards can eject at high velocities.
- Thermal Mats: Use a silicone soldering mat rated to 500°C (932°F). These prevent the iron from rolling off the desk and protect your workbench from scorch marks and molten solder drips.
- Tip Tinner/Cleaner: Keep a brass wire sponge and a jar of tip tinner (e.g., Hakko 599B) nearby. Using a damp cellulose sponge causes rapid thermal shock to the iron's ceramic heating element, which can crack and expose the user to live AC mains voltage.
Conclusion: Safety as a Foundation for Quality
Mastering the creation of a flawless soldering joint requires respecting the physics of heat transfer and the chemistry of flux activation. By investing in proper localized fume extraction, adhering to strict thermal dwell times, and rigorously inspecting for IPC-compliant wetting angles, you protect both your long-term health and the operational safety of the electronics you build. In professional and DIY environments alike, a safe process is the only reliable path to a reliable product.