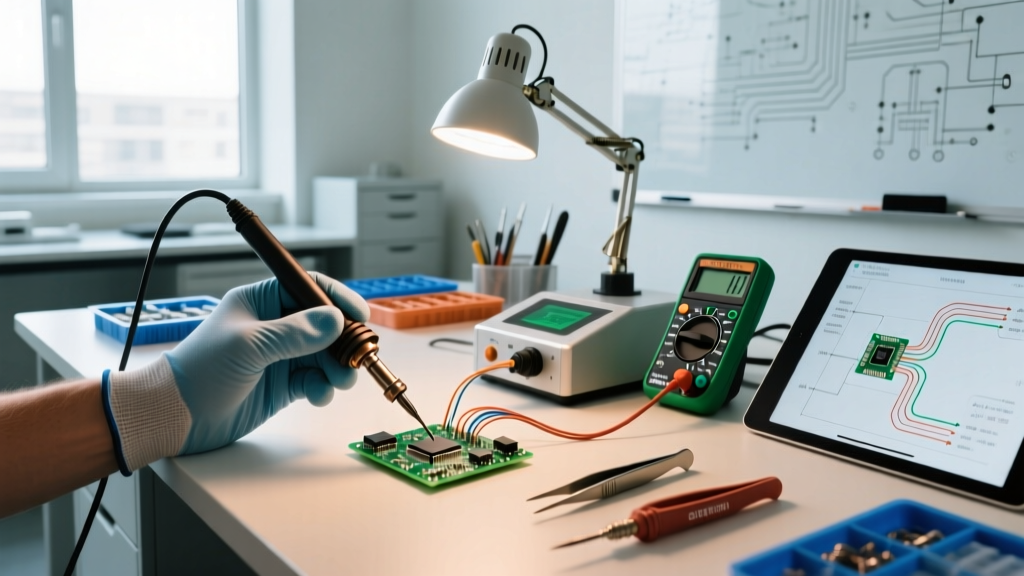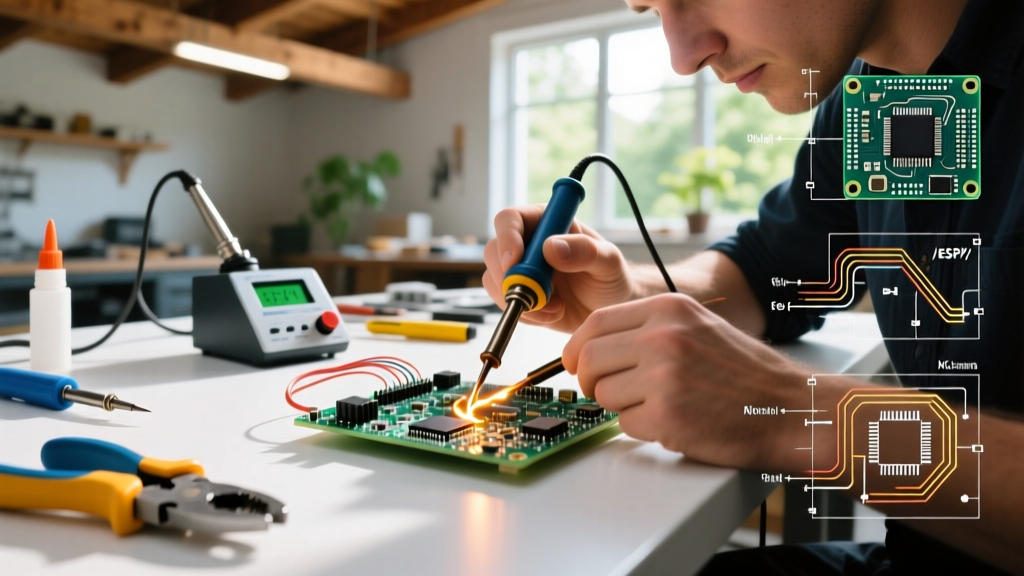

The 2026 Expert Consensus: Redefining the Soldering How-To
When makers and engineers search for a definitive soldering how-to guide, they are often met with outdated tutorials that ignore modern surface-mount densities and advanced thermal management. To bridge the gap between amateur guesswork and professional reliability, we convened a panel of three industry veterans: an IPC J-STD-001 certified trainer, an aerospace avionics technician, and a high-volume PCBA manufacturing engineer. Their collective insights form the ultimate masterclass on tool selection, metallurgy, and technique for 2026.
This roundup bypasses generic advice. Instead, we focus on actionable specifications, exact temperature profiles, and the precise equipment required to achieve Class 3 reliability standards in your home lab or prototyping facility.
Flux is the Real Hero: The Chemical Foundation
Our first expert, Sarah Jenkins, an IPC-A-610 Trainer with over 15 years of experience, immediately dismantles a common beginner myth. "The iron does not make the joint; the flux makes the joint," Jenkins explains. "Your soldering how-to strategy should allocate as much budget to chemical flux as it does to the heating element."
Flux removes metal oxides and reduces surface tension, allowing the molten alloy to wet the copper pad and component lead. For 2026 prototyping, the panel recommends the following specific formulations:
- Amtech NC-559-V2-TF (Tacky Flux): Ideal for SMD rework and drag soldering. Its high viscosity keeps components in place while providing aggressive oxide removal. Expect to pay around $35 for a 10g syringe.
- Kester 186 RMA (Rosin Mildly Activated): The gold standard for through-hole and heavy-gauge wire tinning. It leaves a hard, non-corrosive residue that is safe to leave on the board, though cleaning with 99% isopropyl alcohol is recommended for high-impedance circuits.
- Chip Quik SMD291AX: A reliable, budget-friendly alternative for general-purpose SMD work, offering excellent wetting characteristics at standard lead-free temperatures.
"Never rely solely on the flux core inside your solder wire for complex rework. Applying external flux before the iron touches the pad is the single most effective way to prevent cold joints and tombstoning." — Sarah Jenkins, IPC Trainer
Thermal Management: Matching the Station to the Mass
Marcus Thorne, an aerospace avionics technician who routinely repairs multi-layer flight control boards, emphasizes that wattage is only half the story. Thermal recovery and tip geometry dictate the success of your soldering how-to execution. "If you are soldering a 0603 resistor to a massive ground plane, a 40W iron will stall, leading to prolonged dwell times and pad delamination," Thorne warns.
Below is the panel's 2026 comparison matrix of professional-grade soldering stations, categorized by use case and thermal recovery capabilities.
| Station Model | Power / Tech | Best Use Case | 2026 Street Price | Expert Verdict |
|---|---|---|---|---|
| JBC CD-2BQE | 130W (Cartridge) | Heavy ground planes, thick wires | $560 | Unmatched thermal recovery. The C245 tip series reaches 350°C in under 2 seconds. |
| Hakko FX-951 | 70W (Composite) | General purpose, mixed tech | $340 | Industry workhorse. T18 tips are cheap, but recovery lags on heavy copper pours. |
| Weller WE1010NA | 70W (Digital) | Hobbyist, basic through-hole | $130 | Excellent entry-level digital control. ET series tips are great for basic DIP ICs. |
| Pine64 Pinecil V2 | 65W (USB-C PD) | Portable, field repair, drones | $45 | Revolutionary for the price. Requires a 65W GaN charger to maintain thermal stability. |
Tip Geometry: The Secret to Heat Transfer
Thorne insists that using a micro-pencil tip for everything is a critical error. Pencil tips offer minimal surface area, drastically reducing thermal transfer. The experts recommend the following tip profiles:
- Chisel (1.6mm - 2.4mm): The universal soldier. Maximizes surface contact for both 0805 SMD pads and standard through-hole leads.
- Hoof / Micro-Hoof (1.0mm): Essential for drag-soldering SOIC and TQFP integrated circuits. The concave shape holds a small pool of solder, preventing bridges.
- Knife (K-Tip): Perfect for cleaning up fine-pitch QFN pads and scraping flux residue from tight corners.
Alloy Metallurgy: Choosing Your Filler Metal
Dr. Aris Thorne, our materials engineer, points out that the industry's shift toward RoHS compliance has complicated the soldering how-to landscape. Understanding the melting point and crystalline structure of your alloy is non-negotiable.
Sn63/Pb37 (Eutectic Tin/Lead)
Melting at exactly 183°C, this eutectic alloy transitions instantly from liquid to solid. It remains the absolute best choice for hobbyists, DIY repairs, and non-commercial aerospace applications due to its shiny fillets, low wetting angle, and resistance to thermal fatigue. Note: Banned in commercial EU/US consumer electronics under RoHS.
SAC305 (96.5% Sn, 3.0% Ag, 0.5% Cu)
The standard lead-free alloy. It melts at 217°C but requires a working tip temperature of 340°C to 360°C. SAC305 is notorious for dull, grainy-looking joints (which are actually normal for lead-free) and a higher tendency to form tin whiskers over time. It requires aggressive no-clean or water-soluble fluxes to achieve proper wetting.
Sn42/Bi57 (Tin/Bismuth Low-Temp)
Melting at just 138°C, this is the 2026 favorite for repairing heat-sensitive components like flexible printed circuits (FPCs) and connectors with plastic housings. However, bismuth alloys are inherently brittle and must never be used on boards subject to mechanical shock or vibration.
The Dwell Time Mandate: IPC and NASA Standards
How long should the iron touch the pad? Both the IPC J-STD-001 Requirements and the NASA-STD-8739.3 Workmanship Standard emphasize strict thermal exposure limits. Prolonged heat causes intermetallic compound (IMC) overgrowth, making the joint brittle, and can delaminate the copper from the FR4 fiberglass substrate.
The Golden Rule: Maximum dwell time should not exceed 2 to 3 seconds per joint. If the solder does not flow within 3 seconds, remove the iron, add more flux, and reassess your thermal mass or tip selection. Never press harder with the iron to force heat transfer; increase the tip surface area instead.
Diagnostic Matrix: Troubleshooting Failure Modes
Even with premium tools, environmental factors and technique errors can compromise a joint. Use this diagnostic matrix to identify and correct common failures.
- Cold Joint (Dull, Grainy, Bulbous):
- Cause: Insufficient heat transfer or movement during the cooling phase.
- Fix: Re-flux, apply a larger chisel tip, and reflow until the solder snaps to a smooth, concave fillet. Hold the board completely still for 2 seconds post-reflow.
- Dewetting (Solder pulls back from the pad, exposing copper):
- Cause: Severe oxidation on the pad or component lead, or expired solder paste.
- Fix: Mechanically clean the pad with a fiberglass scratch pen, apply Kester 186 RMA flux, and pre-tin the pad before attaching the component.
- Tombstoning (One side of an SMD capacitor lifts off the pad):
- Cause: Uneven heating of the two pads, causing the flux on one side to activate and pull the component upward via surface tension.
- Fix: Heat both pads simultaneously using a wider tip or hot air, or pre-tin only one pad, place the component, and then solder the second pad.
- Pad Lifting (Copper trace separates from the PCB):
- Cause: Excessive dwell time (>4 seconds) or mechanical prying with the iron tip.
- Fix: The pad is destroyed. Scrape back the solder mask on the connected trace, tin the exposed copper, and use a 30 AWG bare copper wire to bridge the connection to the component lead.
Tip Maintenance: Protecting Your Investment
Our experts unanimously agree that improper tip maintenance is the leading cause of premature station failure. Modern lead-free solders are highly corrosive to the iron plating on copper tips.
- Never use a wet cellulose sponge. The thermal shock of dropping a 350°C tip onto a wet sponge causes micro-fractures in the iron plating, allowing molten solder to eat the copper core. Use dry brass wire wool instead.
- Always store the tip in a solder blob. Before turning off the station, melt a large drop of rosin-core solder over the entire working surface of the tip. This sacrificial layer oxidizes in the air instead of the tip's iron plating.
- Use Tip Tinner for resurrection. If a tip turns black and refuses to wet, do not file or sand it. Dip the hot tip into a Kester Tip Tinner compound (a mix of aggressive flux and solder powder) for 3 seconds, then wipe on brass wool.
Final Thoughts on Mastering the Craft
Mastering the soldering how-to process is not about buying the most expensive station; it is about understanding the thermodynamics and chemistry occurring at the microscopic level. By investing in high-quality chemical fluxes, respecting IPC dwell time limits, and matching your tip geometry to the thermal mass of the board, you will consistently produce aerospace-grade joints in your own workspace. Equip yourself with the right metallurgy, maintain your tools religiously, and let the flux do the heavy lifting.