
The True Cost of Learning How to Copper Pipe Soldering
When homeowners and DIYers evaluate plumbing repairs or new rough-ins, the financial math often dictates the chosen method. While push-to-connect fittings and press-systems have gained traction, traditional sweat soldering remains the undisputed champion of long-term reliability and material affordability. But what is the actual financial barrier to entry? Understanding how to copper pipe soldering from a strict cost-analysis perspective requires breaking down capital expenditures (tools), operational expenditures (consumables), and the hidden financial risks of improper execution.
In this comprehensive 2026 cost guide, we analyze the exact dollar figures required to build a professional-grade DIY soldering kit, compare the per-joint costs against modern alternatives, and outline the expensive failure modes you must avoid to protect your home from water damage.
Capital Expenditure (CapEx): Building Your Soldering Arsenal
Unlike hiring a licensed plumber who amortizes their tool costs across hundreds of jobs, a DIYer must absorb the upfront capital expenditure. However, because copper soldering tools are fundamentally simple and mechanical, the barrier to entry is remarkably low compared to electrical diagnostics or HVAC work.
| Tool Category | Recommended Model (2026) | Estimated Cost | Lifespan / ROI |
|---|---|---|---|
| High-Intensity Torch | Bernzomatic TS8000 Trigger-Start | $54.98 | 10+ years |
| Fuel Cylinder | Worthington 14.1 oz MAP-Pro | $14.98 | ~40 joints |
| Tubing Cutter | Milwaukee 2570-20 Compact Cutter | $32.00 | Lifetime |
| Wire Brush / Abrasive | Oatey 4-Size Wire Brush Set | $11.50 | ~100 joints |
| Flame Protector | Oatey Steel Flame Guard Cloth | $18.97 | 5+ years |
| Total Initial CapEx | $132.43 | ||
Why MAP-Pro Over Standard Propane?
Many beginners attempt to save $6 by purchasing standard yellow propane cylinders. This is a false economy. Standard propane burns at approximately 3,600°F, which struggles to bring 3/4-inch or 1-inch copper pipes up to the 450°F+ melting point of lead-free solder quickly. The prolonged heat application boils off your flux, leading to oxidized joints and costly rework. MAP-Pro (propylene) burns hotter and transfers heat faster, saving fuel and preventing collateral heat damage to surrounding joists.
Operational Expenditure (OpEx): Consumables per Joint
Once your CapEx is settled, the ongoing cost of soldering is virtually negligible. According to the Oatey official soldering catalog, modern lead-free alloys are highly efficient. Under the EPA's Safe Drinking Water Act regulations, all plumbing solder used in potable water lines must contain less than 0.2% lead. The industry standard is 95/5 (95% Tin, 5% Antimony) or silver-bearing alloys.
- Oatey #5 Paste Flux ($7.48 / 1.7 oz): A tallow-based, water-soluble flux. One small tub will easily complete 150+ standard residential joints. Cost per joint: $0.05.
- Oatey Safe Flo 95/5 Lead-Free Solder ($26.98 / 8 oz spool): An 8-ounce spool yields approximately 120 to 150 feet of solder bead. A standard 1/2-inch coupling requires about 3/4 inch of solder wire. Cost per joint: $0.18.
- MAP-Pro Fuel ($14.98 / 14.1 oz): Assuming 45 seconds of burn time per joint, one cylinder yields roughly 40-50 joints. Cost per joint: $0.33.
Total Consumable Cost per Joint: ~$0.56
Compare this to push-to-connect fittings (e.g., SharkBite), which cost between $7.50 and $14.00 per coupling. Over a 30-joint bathroom rough-in, traditional soldering saves you roughly $250 to $400 in material costs alone.
DIY Soldering vs. Professional Plumber vs. ProPress
To understand the financial gravity of learning this skill, we must compare it to the alternatives available in 2026. Below is a cost matrix for a standard 15-joint copper repair or extension.
| Method | Material Cost (15 Joints) | Labor / Tool Cost | Total Estimated Cost | Longevity / Reliability |
|---|---|---|---|---|
| DIY Sweat Soldering | $18.50 (Fittings + Consumables) | $132.43 (One-time tool buy) | $150.93 | 50+ Years |
| DIY Push-to-Connect | $135.00 (Brass fittings) | $35.00 (Basic cutter) | $170.00 | 25 Years (O-ring degradation) |
| Hiring a Licensed Pro | $25.00 (Pro's wholesale cost) | $225 - $450 (1.5 - 3 hrs labor) | $250 - $475 | 50+ Years |
| ProPress System | $45.00 (Press fittings) | $2,500+ (Milwaukee Press Tool) | Not viable for DIY | 50+ Years |
Expert Insight: While professional plumbers increasingly use Milwaukee ProPress tools to eliminate open flames and save labor hours, the $2,500+ entry price for the press jaws and tool makes it entirely unviable for DIYers. Sweat soldering remains the only financially logical choice for homeowners working with copper.
The Hidden Costs of Failure: Edge Cases and Rework
The most expensive part of soldering is not the tools; it is the cost of a failed joint. A pinhole leak inside a finished wall can cause tens of thousands of dollars in mold remediation and drywall repair. Understanding failure modes is critical to protecting your investment.
1. Capillary Action Failure (The 'Cold Joint')
The Error: Applying solder to the flame rather than the pipe, or failing to heat the fitting sufficiently. The solder melts and blobs on the exterior of the joint but fails to wick into the capillary space between the pipe and fitting. The Cost: Immediate or delayed leak under pressure. Rework requires cutting out the failed joint, buying new fittings, and re-sweating. If water damage occurs, insurance deductibles usually start at $1,000+.
2. Burnt Flux and Oxidation
The Error: Overheating the copper. If the pipe turns black and the flux turns into a hard, carbonized crust, the flux has burned. Flux is designed to clean oxidation and allow solder to flow; burnt flux actually blocks solder from entering the joint. The Fix: You must let the joint cool, disassemble it (if possible), sand it down to bare bright copper, re-flux, and try again. If it is a permanent fitting, it must be cut out.
3. Trapped Water Steam Blowouts
The Error: Attempting to solder a pipe that has not been fully drained. Even a few drops of water will turn to steam when hit with the TS8000 torch. The expanding steam will blow the molten solder right out of the joint, resulting in a guaranteed leak. The Fix: Always use pipe-dam dough or white bread to block water upstream, and ensure the line is completely open downstream to vent any residual vapor.
Cost-Optimized Step-by-Step Execution
To ensure you pass inspection and avoid rework costs, follow this streamlined, cost-effective workflow endorsed by industry veterans and detailed in resources like Bob Vila's comprehensive soldering guide.
- Cut Square: Use the Milwaukee tubing cutter. A crooked cut reduces the surface area for capillary action, leading to weak joints.
- Deburr and Clean: Use the reaming blade to remove the internal ridge. Then, use the wire brush to clean the outside of the pipe and the inside of the fitting until both shine like a new penny. Do not touch the cleaned metal with your bare fingers; skin oils inhibit solder flow.
- Apply Flux Sparingly: A thin, even coat of Oatey #5 is all that is needed. Excess flux will boil into the pipe and cause pinhole corrosion years down the line.
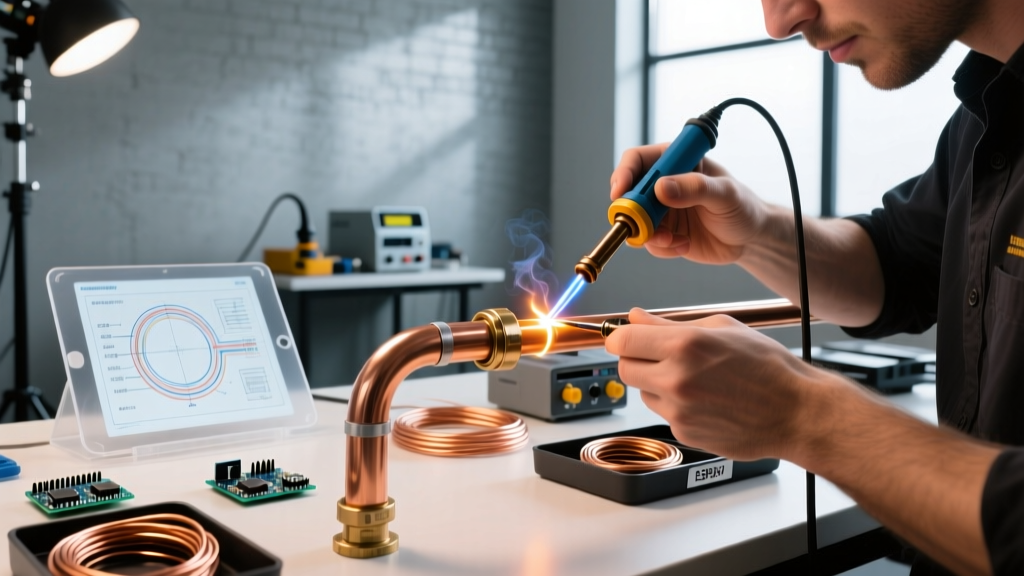
- Heat the Fitting, Not the Pipe: Apply the MAP-Pro flame to the heavy brass or copper fitting, not the thinner pipe. The fitting has more mass and needs more time to reach temperature. Touch the solder to the opposite side of the joint from the flame. When the joint is hot enough, capillary action will instantly suck the solder into the fitting.
- Wipe and Cool: Remove the flame, let the joint set for 30 seconds, and wipe away excess flux residue with a damp rag while it is still warm to prevent future surface corrosion.
Final Verdict: Is the Investment Worth It?
Mastering how to copper pipe soldering requires an initial investment of roughly $135 for high-quality tools. However, with per-joint consumable costs hovering around fifty cents, the ROI is realized on your very first moderate-sized project. By avoiding the premium markup of push-to-connect fittings and the hourly rates of licensed plumbers, DIY soldering remains the most economically sound, structurally permanent method for residential copper plumbing in 2026. Respect the torch, prepare your surfaces meticulously, and your soldered joints will easily outlast the house itself.