
The Metallurgical Hurdle: Why Stainless Steel Resists Solder
For over a century, soldering to stainless steel has been one of the most notoriously frustrating challenges in metallurgy and electronics fabrication. Unlike copper or brass, which readily accept molten tin-lead or lead-free alloys with standard rosin fluxes, stainless steel actively fights the soldering process. The culprit is the very property that makes stainless steel valuable: its corrosion resistance.
Austenitic stainless steels (such as the widely used 304 and 316 grades) contain between 16% and 26% chromium. When exposed to atmospheric oxygen, this chromium instantly forms a passive, self-healing chromium oxide (Cr2O3) layer that is typically 2 to 5 nanometers thick. While invisible to the naked eye, this layer is an impenetrable fortress to standard mildly activated rosin (RMA) fluxes. To achieve a true metallurgical bond, the oxide layer must be mechanically or chemically eradicated at the exact moment the molten solder makes contact. The evolution of how we breach this oxide layer defines the history of stainless soldering.
The Early Era (Pre-1960s): Brute Force and Harsh Acids
In the early 20th century, plumbers, HVAC technicians, and early radio engineers relied on brute mechanical force and highly aggressive acids to solder stainless steel. The standard procedure involved physically scoring the metal with a file or sandpaper while simultaneously flooding the joint with muriatic acid (hydrochloric acid, HCl) or raw zinc chloride solutions.
The hydrochloric acid would react with the base metal to form complex chlorometallate acids, effectively dissolving the chromium oxide layer. However, this era was plagued by severe safety hazards and long-term joint failures. According to historical archives from the American Welding Society (AWS), the use of raw HCl outgassed highly toxic chlorine vapors when exposed to hot soldering irons, leading to widespread respiratory issues among tradesmen before modern PPE and ventilation standards were established.
Failure Modes of Early Acid Methods
- Chloride-Induced Stress Corrosion Cracking (CISCC): Residual chloride ions from the muriatic acid would embed into the stainless steel's grain boundaries. Under thermal cycling or mechanical stress, this led to catastrophic micro-cracking months or years after the joint was made.
- Galvanic Degradation: The aggressive flux residues created localized galvanic cells when exposed to ambient humidity, essentially rusting the joint from the inside out.
- Embrittlement: Early high-temperature soldering often pushed the stainless steel into its sensitization temperature range (800°F–1500°F), causing chromium carbide precipitation and weakening the base metal.
The Chemical Flux Revolution (1970s–1990s)
As the electronics and aerospace industries expanded, the need for reliable, miniaturized stainless steel connections (such as thermocouple junctions and medical instrument housings) forced a chemical revolution. The industry shifted away from raw hydrochloric acid toward phosphoric acid-based gels and synthetic organic amine hydrochlorides.
Products like the legendary Harris Stay-Clean and various formulations from Superior Flux & Technology emerged during this period. Phosphoric acid (H3PO4) proved to be a masterstroke. It is aggressive enough to etch through the chromium oxide layer at typical soldering temperatures (350°F–450°F), but upon cooling, it leaves behind a relatively stable, glassy phosphate residue that is vastly less hygroscopic and corrosive than chloride salts.
Expert Insight: While phosphoric acid fluxes solved the immediate outgassing and extreme corrosion issues, they still violate the strict cleanliness requirements of modern electronics. Under the IPC-J-STD-001 Standard, these are classified as highly corrosive and require mandatory post-solder neutralization and cleaning, typically using a 5% baking soda solution followed by an isopropyl alcohol rinse.
The Modern Era (2000s–Present): Ultrasonic Cavitation
The most significant leap in the evolution of soldering to stainless steel bypassed chemistry entirely. In the 2000s, commercialization of ultrasonic soldering technology transitioned from specialized laboratory equipment to accessible fabrication tools.
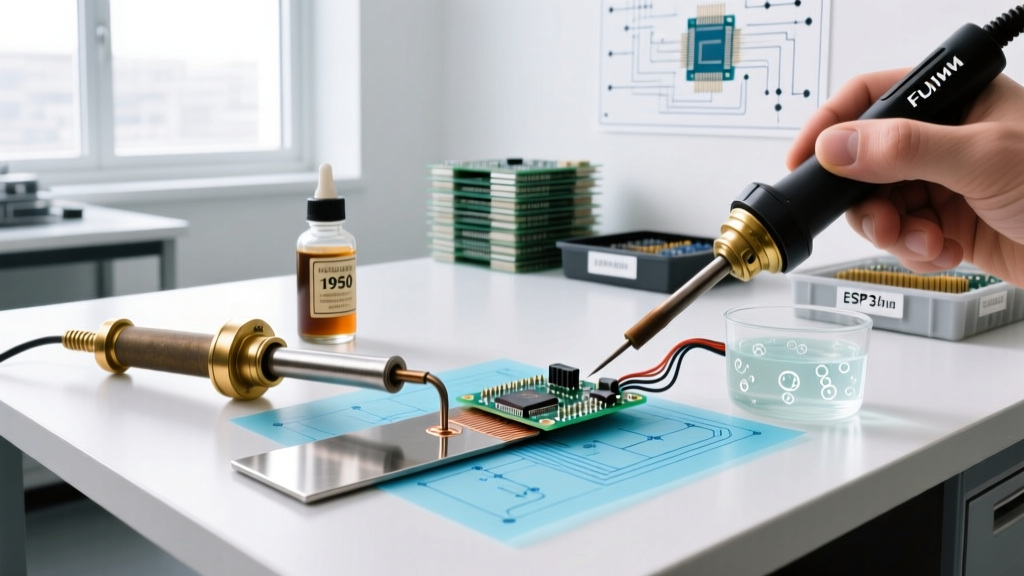
Ultrasonic soldering irons feature a piezoelectric transducer integrated into the tip, vibrating at frequencies typically between 20 kHz and 60 kHz. When the molten solder contacts the stainless steel, the ultrasonic vibrations induce acoustic cavitation within the liquid solder pool. Microscopic vacuum bubbles form and violently collapse, generating localized micro-jets that strike the metal surface with pressures exceeding 1,000 atmospheres. This physical shockwave instantly shatters the 5-nanometer chromium oxide layer, allowing the molten solder to wet the bare, pristine stainless steel beneath—all without a single drop of chemical flux.
By 2026, ultrasonic soldering pens have become the gold standard for fluxless stainless steel joining, particularly in medical device manufacturing and glass-to-metal sealing, where chemical flux residues are strictly prohibited.
2026 Buyer’s Matrix: Choosing Your Stainless Soldering Method
Whether you are a DIY hobbyist repairing a stainless steel thermos or a production engineer designing surgical tools, selecting the right method requires balancing cost, joint strength, and safety. Below is a comparative matrix of modern stainless steel soldering techniques.
| Method | Estimated Cost (2026) | Joint Shear Strength | Toxicity / Safety | Best Application |
|---|---|---|---|---|
| Phosphoric Acid Flux (e.g., Harris Stay-Clean) | $12 - $25 (per 4oz bottle) | High (Dependent on alloy) | Moderate (Requires neutralization) | Plumbing, heavy fabrication, RC models |
| Zinc Chloride Paste (e.g., Rubyfluid lineage) | $8 - $15 | Medium-High | High (Corrosive, toxic fumes) | Outdoor structural, non-critical HVAC |
| Ultrasonic Soldering (e.g., Sunbonder, MBO) | $2,800 - $8,500 | Very High (Base metal failure) | None (Fluxless, fume-free) | Medical devices, aerospace, glass-to-metal |
| Mechanical Abrasion + Standard Flux | $0 - $10 (Sandpaper + Rosin) | Low (Prone to cold joints) | Low | Emergency field repairs, hobbyist prototyping |
Actionable Protocol for Modern Fabricators
To achieve a reliable joint on 300-series stainless steel today, you must follow strict procedural protocols. Vague advice like 'clean the surface and apply heat' will result in a catastrophic cold joint. Use the following step-by-step frameworks based on your chosen technology.
Method A: The Chemical Flux Protocol (For Heavy Fabrication)
- Surface Preparation: Degrease the stainless steel with acetone. Do not use sandpaper or steel wool, as embedded carbon steel particles will cause surface rusting. Use a Scotch-Brite pad or aluminum oxide abrasive.
- Flux Application: Apply a liberal coat of phosphoric acid liquid flux (e.g., Harris Stay-Clean) to both mating surfaces.
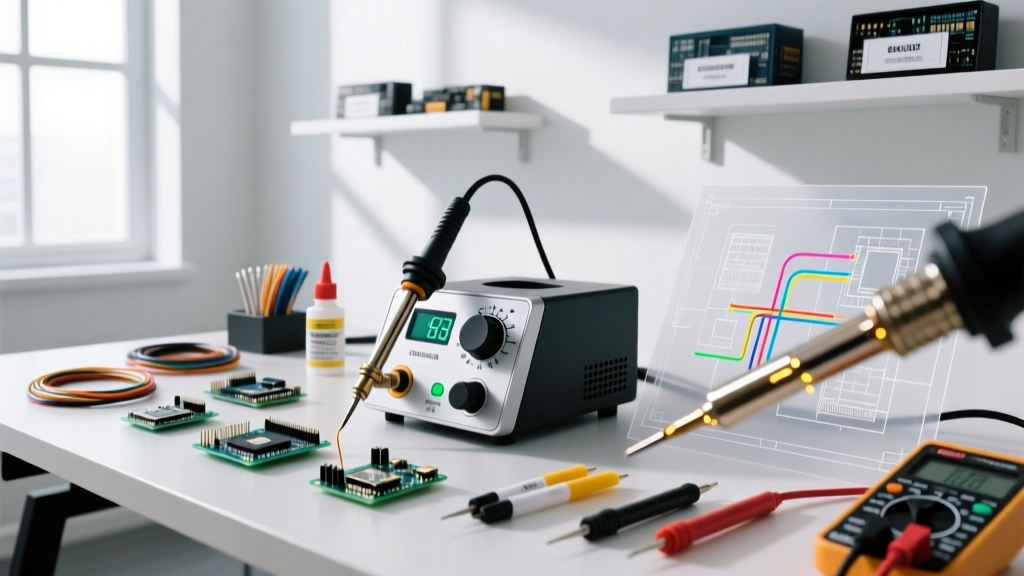
- Thermal Management: Stainless steel has low thermal conductivity compared to copper. Use a high-wattage soldering station (minimum 80W, such as the Weller WE1010NA or Hakko FX-951) with a heavy bevel or chisel tip to prevent thermal droop.
- Alloy Selection: Feed a specialized high-shear alloy. While SAC305 (Sn96.5/Ag3.0/Cu0.5) works, Indalloy 121 (Sn95/Ag5) or a 96% Tin / 4% Silver alloy provides vastly superior fatigue resistance on stainless substrates.
- Mandatory Neutralization: Once the joint cools below 100°F, scrub the area with a baking soda and water solution until the fizzing stops, then rinse with distilled water and dry.
Method B: The Ultrasonic Protocol (For Precision & Medical)
- Equipment Setup: Power on the ultrasonic generator and set the frequency to 40 kHz (optimal for standard stainless sheet metal). Set the tip temperature to 320°C (608°F) if using SAC305 lead-free solder.
- Pre-tinning the Tip: Coat the ultrasonic tip with a thick layer of solder to ensure efficient acoustic coupling.
- Cavitation Engagement: Press the molten solder pool against the stainless steel and engage the ultrasonic trigger. You will hear a distinct high-pitched 'hiss' as cavitation occurs.
- Wetting Observation: Maintain contact for 2 to 4 seconds. You will visually observe the solder transitioning from a beaded, non-wetting state to a flat, mirror-like wetting state as the oxide layer is pulverized.
- Joint Mating: Pre-tin both stainless pieces using this method, then bring them together with a standard iron to reflow the final connection without needing to re-engage the ultrasonics.
Conclusion
The evolution of soldering to stainless steel is a testament to the broader advancement of materials science. We have moved from the dangerous, corrosive acid baths of the early 20th century to the precise, physics-driven acoustic cavitation of 2026. Understanding the metallurgical realities of the chromium oxide layer—and selecting the appropriate chemical or mechanical countermeasure—is the dividing line between a fragile, failing joint and a permanent, high-shear metallurgical bond. Whether you are reaching for a bottle of phosphoric acid flux or powering up an ultrasonic transducer, respecting the unique chemistry of stainless steel is paramount to fabrication success.