
The Commercial Imperative: Why Soldering a Hose Bib Still Matters
In the modern plumbing and contracting industry, the exterior hose bib (or sillcock) represents a critical vulnerability in a building’s water envelope. While the electrical and electronics DIY community at Electrical Flux often focuses on micro-soldering and PCB repair, understanding heavy-duty thermal joining is essential for facility managers, off-grid DIYers, and cross-trade technicians. When it comes to soldering a hose bib to a copper supply line, the stakes are incredibly high. A failed exterior joint doesn't just drip; it can cause catastrophic structural water damage or freeze and burst inside a wall cavity during winter months.
Despite the rapid adoption of press-fit technologies in commercial plumbing, traditional sweat soldering remains a cornerstone skill. It offers superior shear strength, lower material costs for high-volume multi-family residential builds, and unparalleled reliability in tight joist bays where press-fit jaws cannot physically rotate. This guide breaks down the metallurgy, code requirements, and professional execution of soldering exterior water fixtures.
Material Specifications for 2026 Code Compliance
Before striking an arc with your torch, selecting the correct consumables is non-negotiable. The days of 50/50 tin-lead solder are long gone for potable water systems. Modern contractors must adhere to strict lead-free mandates.
The Lead-Free Mandate and Alloy Selection
Under the Safe Drinking Water Act and subsequent EPA Safe Drinking Water guidelines, any solder used on potable water lines must contain no more than 0.2% lead. For commercial hose bib installations, professionals rely on two primary alloys:
- 95/5 Tin-Antimony: The industry workhorse. Melts at roughly 450°F (232°C). Excellent capillary action and cost-effective (approx. $35-$45 per pound). Oatey Safe Flo is the dominant market leader here.
- 97/3 Tin-Silver: Melts slightly higher at 480°F (249°C). The silver content adds structural rigidity and vibration resistance, making it ideal for commercial hose bibs subject to mechanical stress from heavy garden hoses being yanked. Priced at a premium ($60-$80 per pound).
Flux selection is equally critical. For copper-to-brass transitions (which occur at the hose bib sweat connection), a high-activity, water-soluble paste flux like Superior #5 is required to cut through the zinc oxidation present on the brass fitting.
ProPress vs Soldering a Hose Bib: A Contractor’s Matrix
Facility managers and lead plumbers constantly weigh the ROI of press-fit systems (like Viega ProPress) against traditional soldering. Below is a direct comparison for a standard 1/2-inch or 3/4-inch exterior hose bib installation.
| Metric | Traditional Soldering (Sweat) | ProPress Copper Fittings |
|---|---|---|
| Material Cost (Per Joint) | $2.50 - $4.00 (Fitting + Solder + Flux) | $14.00 - $22.00 (Press Fitting) |
| Active Labor Time | 6 - 9 Minutes | 2 - 3 Minutes |
| Tool Investment | $75 - $150 (TS8000 Torch + Gas) | $2,500 - $4,000 (Press Tool + Jaws) |
| Clearance Requirement | Minimal (Torch head fits in 2-inch gaps) | High (Jaws require 3-5 inches of swing radius) |
| Long-Term Freeze Durability | Excellent (Metallurgical bond) | Good (Relies on EPDM O-ring compression) |
While ProPress dominates in retrofits and high-rise commercial plumbing due to speed and the elimination of open flames, soldering a hose bib remains the superior choice for new residential construction, tight crawlspaces, and budget-conscious multi-unit developments.
Master-Class Execution: Step-by-Step Soldering Protocol
According to the Copper Development Association, the majority of solder joint failures stem from improper surface preparation and heat mismanagement. Follow this professional sequence for a flawless copper-to-brass transition.
- Disassemble the Valve (The Pro Secret): Never apply torch heat to a fully assembled hose bib. The intense heat will instantly melt the internal EPDM rubber stem washer and packing O-rings, guaranteeing a leak the moment you turn the water on. Unscrew the packing nut and remove the valve stem entirely before soldering.
- Mechanical Abrasion: Use 120-grit emery cloth (not standard sandpaper, which leaves silica residue) to polish the outside of the Type L copper pipe and the inside of the brass hose bib sweat cup until both shine like a new penny.
- Flux Application: Apply a paper-thin layer of water-soluble flux to the copper pipe. Do not apply flux to the inside of the brass fitting. Excess flux will pool inside the valve body and cause long-term pinhole corrosion (cupro-nickel dezincification).
- Thermal Management (The Wet Rag Trick): Brass conducts heat differently than copper and acts as a massive heat sink. Wrap a soaking wet rag around the main body of the hose bib to protect the internal threads and draw excess heat away from the valve seat.
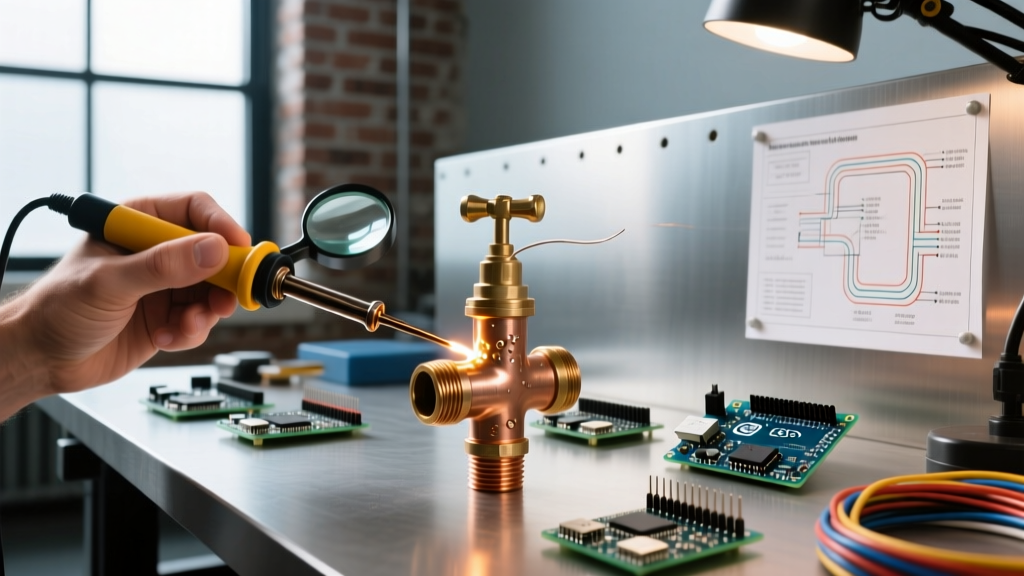
- Targeted Heating: Using a MAPP gas torch (like the Bernzomatic TS8000 yielding 3,600°F), apply the inner blue cone of the flame to the brass fitting cup, not the copper pipe. Brass requires more BTUs to reach flow temperature. Heat for 15-25 seconds.
- Capillary Draw: Remove the flame and touch the 95/5 solder wire to the joint where the pipe meets the fitting. If the metal is at the correct temperature (approx. 450°F), the solder will instantly flash and be pulled deep into the joint via capillary action. Feed exactly 3/4-inch of solder for a 1/2-inch joint.
- Quench and Wipe: Wipe the joint with a damp rag to smooth the solder bead and immediately halt the flux's acidic activity.
Critical Failure Modes & The 'Brass Trap'
When inspecting failed hose bib installations, forensic plumbers typically find one of three specific edge-case failures:
- The Cold Joint: Characterized by a dull, grainy, or lumpy solder bead. This happens when the torch is removed too early, or the flux was burnt away (turning black) before the solder was applied. A cold joint will fail under the first 80 PSI municipal water pressure test.
- Burnt Flux Inclusions: If the brass fitting is overheated, the flux burns into a hard, black crust. This crust physically blocks the solder from entering the capillary space, resulting in a joint that holds water statically but blows out under dynamic water hammer shock.
- Galvanic Corrosion (Dielectric Union Failure): If the supply line is galvanized steel rather than copper, soldering directly to a brass hose bib will trigger rapid galvanic corrosion. A dielectric union or brass-to-steel transition nipple must be threaded in first.
Navigating IPC and Regional Frost-Free Codes
Industry professionals must design exterior water connections in compliance with the International Plumbing Code (IPC) and local municipal amendments. The most critical code consideration for hose bibs is freeze protection and backflow prevention.
IPC Chapter 6 - Water Supply and Distribution: Exterior hose bibs must be equipped with an approved atmospheric vacuum breaker (AVB) or be of the frost-free, self-draining sillcock design to prevent potable water contamination via back-siphonage.
In northern climates (IECC Climate Zones 5 through 8), standard sweat-connected hose bibs are illegal for new construction. Contractors must install frost-free sillcocks (such as the Woodford Model 17 or Zurn Z131). These feature a 6-inch to 12-inch copper stem that places the actual shut-off valve deep inside the heated envelope of the building's wall. When soldering a frost-free sillcock, the exact same thermal management rules apply: remove the long internal stem before applying the torch to the exterior sweat connection, or you will fuse the rubber seat to the brass valve port.
Contractor FAQ: Field Questions Answered
Can I use a propane torch instead of MAPP gas for a hose bib?
For 1/2-inch copper in warm weather, standard propane (Bernzomatic TS4000) can work. However, because the brass hose bib body acts as a massive heat sink, it will draw heat away from the joint. MAPP gas (yellow cylinder) burns 30% hotter and is highly recommended to achieve the rapid heat saturation required to prevent burning the flux before the solder flows.
Do I need to sand the inside of the brass fitting?
No. Attempting to sand the inside of a brass sweat cup often removes the precise manufacturing tolerances required for capillary action. A wire brush attachment on a drill is sufficient to remove heavy oxidation, but rely on the chemical cleaning power of the flux for the final micro-prep.
What is the minimum burial depth for the copper line feeding the hose bib?
This is dictated by local frost lines, not the soldering technique itself. However, the soldered joint itself should never be buried underground or encased in concrete. If a transition is required below grade, it must be made using a brass flare fitting or a specifically rated underground compression coupling, keeping the soldered joint accessible inside the building envelope or crawlspace.