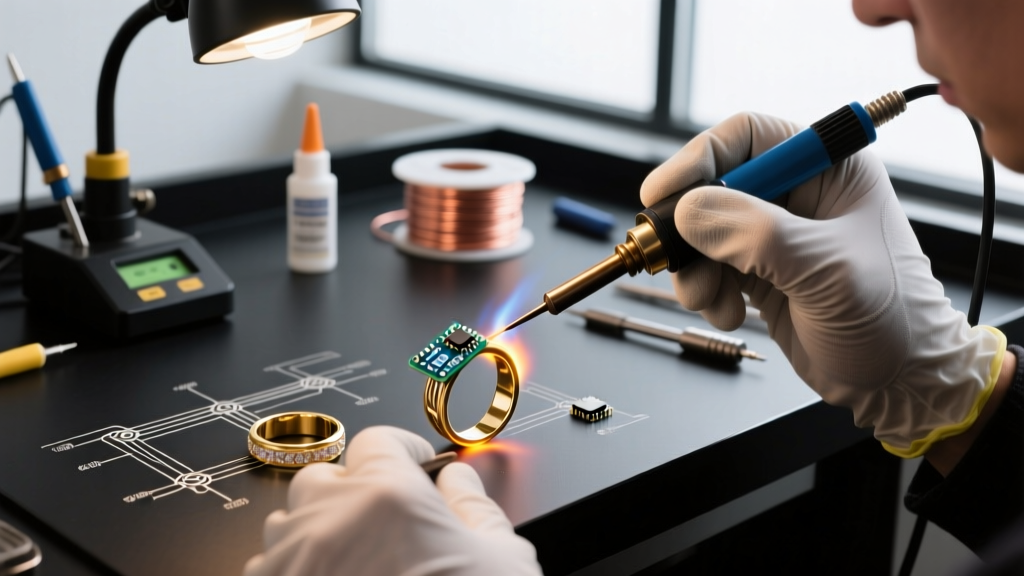

For electronics enthusiasts and DIY fabricators, transitioning from circuit board assembly to precious metalwork requires a fundamental recalibration of thermal dynamics. When it comes to soldering engagement ring and wedding band sets together, the terminology itself is a misnomer. In the electronics world, soldering involves melting a filler metal below 450°C (842°F). However, joining precious metals like 14k or 18k gold requires temperatures far exceeding this threshold. According to the American Welding Society, any joining process where the filler metal melts above 450°C is technically classified as brazing, not soldering. Yet, the jewelry industry universally refers to this high-temperature brazing process as 'soldering.' This comprehensive guide bridges the gap between electronics metallurgy and jewelry fabrication, providing exact specifications, alloy data, and thermal management protocols for joining bridal sets.
The Metallurgical Reality: Soft Solder vs. Hard Solder
Electronics hobbyists are intimately familiar with soft solders like Sn63/Pb37 (melting at 183°C) or lead-free SAC305 (melting at 217°C). These alloys rely on capillary action and metallurgical wetting at relatively low temperatures, utilizing rosin-based fluxes to clear mild oxidation. Precious metal 'soldering' operates on an entirely different metallurgical plane. The filler metals used for gold and platinum are actually carat-matched alloys designed to blend seamlessly with the base metal, preventing visible seams and ensuring structural integrity.
Unlike electronic solder, which is applied via a temperature-controlled iron (such as a Weller WE1010), jewelry soldering requires an open-flame gas torch to achieve the 700°C to 900°C range necessary to melt the hard solder and activate borax-based chemical fluxes. The thermal mass of a gold wedding band acts as a massive heat sink, demanding high-BTU output that a standard electronics rework station simply cannot provide.
Alloy Selection: Hard, Medium, and Easy Solders
Gold solder is categorized by its melting point, which is manipulated by adjusting the zinc and cadmium (or cadmium-free alternatives like indium) content in the alloy. When soldering engagement ring and wedding band combinations, selecting the correct flow temperature is critical to prevent remelting previous joints or warping the bands.
| Solder Grade | Approximate Melting Point | Flow Temperature | Primary Use Case |
|---|---|---|---|
| Hard | ~780°C (1436°F) | ~815°C (1500°F) | Initial ring sizing, joining heavy bands, first solder joint. |
| Medium | ~740°C (1364°F) | ~775°C (1427°F) | Secondary joints, attaching settings, repairing prongs. |
| Easy | ~700°C (1292°F) | ~735°C (1355°F) | Final repairs, low-heat applications, joining complex assemblies. |
Pro-Tip for Bridal Sets: When joining an engagement ring to a wedding band, always use Hard or Medium solder. Because the two rings are in continuous, flush contact along a long seam, Easy solder tends to flow unpredictably across the wide surface area, potentially creating a messy, visible seam line on the outer edges.
Essential Equipment Specifications
Abandon the butane micro-torches used for heat-shrink tubing. Precious metal brazing requires precise flame control and a reducing atmosphere to prevent severe oxidation of the gold or silver alloys.
- Torch System: The industry standard is the Smith Little Torch (Model 23-1001C) running on Acetylene/Oxygen or Propane/Oxygen. The micro-tips (Sizes 00 to 5) allow for pinpoint heat application, crucial when working near diamond prongs.
- Flux: Standard electronics RMA flux will instantly vaporize and burn at jewelry temperatures. You must use a borax-based flux, such as Handy Flux or Aquaflux, which melts into a glassy shield around 750°C, dissolving copper oxides and protecting the gold alloy.
- Binding Wire: 0.5mm stainless steel or iron binding wire is required to physically lash the engagement ring and wedding band together, ensuring zero gaps in the seam before heating.
- Pickle Solution: A warm, mildly acidic solution (like sodium bisulfate or citric acid) used post-soldering to dissolve the borax glass and copper oxides. Never use sulfuric acid, as it poses severe safety risks in a DIY environment.
Step-by-Step Technical Procedure
Joining two rings requires meticulous preparation. A gap of even 0.1mm will result in capillary failure, leaving a porous, brittle joint.
- Seam Preparation: Use a 10x jeweler's loupe to inspect the mating surfaces of both bands. If the rings are not perfectly flush (common with contoured wedding bands), use a flat needle file to create a flat mating surface. File both rings until they sit flush against each other with zero light passing through the seam.
- Binding: Wrap the 0.5mm iron binding wire tightly around both rings, twisting it with pliers to apply immense mechanical pressure. The rings must not shift during thermal expansion.
- Flux Application: Paint a thin, even layer of borax flux directly over the seam and the surrounding 2mm of the bands. Do not over-apply; excess flux will boil and push the solder away from the joint.
- Solder Placement: Cut a 1mm x 3mm pallion (chip) of Hard gold solder. Place it directly on the seam. Capillary action will draw the molten solder through the entire joint.
- Heating Protocol: Ignite the torch and adjust to a neutral flame (equal parts gas and oxygen). Do not aim the flame directly at the solder. Instead, use a broad, sweeping motion to heat the entire mass of both rings evenly. Gold is highly conductive; if you heat only the seam, the solder will melt before the base metal reaches flow temperature, resulting in a 'cold joint' that balls up on the surface.
- The Flash: As the base metal reaches ~780°C, the flux will turn clear and glassy. A split second later, the solder will 'flash'—suddenly liquefying and being drawn into the seam via capillary action. Immediately remove the heat.
- Quench and Pickle: Allow the rings to cool until the red glow fades, then quench in water and transfer to the warm pickle pot for 10 minutes to strip the oxidation.
Thermal Management: Protecting Diamonds and Gemstones
The most catastrophic failure mode in jewelry soldering is thermal damage to gemstones. While electronics components are sensitive to heat, diamonds possess unique thermal vulnerabilities that DIYers often misunderstand.
Critical Warning: According to the Gemological Institute of America (GIA), while pure diamonds can theoretically withstand high heat, they will burn and graphitize at approximately 850°C (1562°F) in the presence of oxygen. Furthermore, fracture-filled or clarity-enhanced diamonds will shatter or turn permanently cloudy at much lower temperatures.
When soldering engagement ring and wedding band sets that feature pavé diamonds or low-set center stones, you must employ thermal shielding. Coat the gemstones and their immediate prong settings in a specialized heat-shield paste (such as Rio Grande's Cool Jewel). This endothermic compound absorbs excess heat, keeping the stone below its damage threshold while the gold band reaches soldering temperature. If the center stone is larger than 1.5 carats, the safest protocol is to have a professional jeweler temporarily remove the stone before brazing the bands.
Cost Analysis: DIY Setup vs. Professional Jeweler (2026)
Is it economically viable to build a jewelry brazing setup at home solely to join a bridal set? Below is a 2026 cost breakdown comparing the DIY capital expenditure against professional service fees.
| Category | DIY Setup Cost (2026) | Professional Jeweler Cost |
|---|---|---|
| Smith Little Torch Kit (Acetylene/O2) | $315.00 | N/A |
| 14k Yellow Gold Hard Solder (1 dwt) | $65.00 | Included |
| Handy Flux & Pickle Solution | $45.00 | Included |
| Binding Wire, Picks, & Safety Gear | $50.00 | N/A |
| Labor / Expertise | $0.00 (Your Time) | $65.00 - $120.00 |
| Total Estimated Cost | $475.00 | $65.00 - $120.00 |
Verdict: If your only goal is to join a single set of rings, paying a professional jeweler is vastly more economical. However, for serial DIYers, makers, and electronics fabricators looking to expand into metalworking, lost-wax casting, or jewelry repair, the $475 initial investment unlocks an entirely new fabrication discipline.
Troubleshooting Common Brazing Failures
1. Solder Balling (Failure to Wet)
Cause: The base metal did not reach the flow temperature before the solder melted, or the flux burned off, allowing oxidation to form a barrier.
Solution: Re-pickle the rings to remove the oxidized solder ball. Re-flux, apply a fresh pallion of solder, and heat the mass of the rings more aggressively before focusing on the seam.
2. Pitting and Porosity in the Seam
Cause: Overheating the solder, which causes the zinc in the gold alloy to vaporize, leaving microscopic voids.
Solution: Use a smaller torch tip to concentrate heat, and pull the flame away the exact millisecond the solder flashes into the seam. Do not 'cook' the joint.
3. Visible Seam Line After Polishing
Cause: Using a solder alloy with a significantly different carat or color match than the base rings, or using Easy solder which lacks the structural density of Hard solder.
Solution: Always match the solder color to the exact karat of the rings (e.g., 14k Yellow Hard Solder for 14k Yellow bands). Use a silicone polishing wheel on a rotary tool to blend the seam seamlessly.
Final Thoughts for the Electronics Crossover
Soldering engagement ring and wedding band sets is a masterclass in thermal management and metallurgical patience. While the tools differ vastly from your Hakko or Weller stations, the underlying physics of capillary action, surface tension, and flux chemistry remain identical. By respecting the extreme temperatures required for hard soldering and prioritizing the thermal safety of gemstones, electronics hobbyists can successfully cross over into the精密 art of jewelry fabrication.