
The Great Debate in High-Current DC Wiring
When building high-current DC systems—whether for marine house banks, RV solar arrays, off-grid inverters, or automotive EV swaps—the termination of heavy-gauge battery cables (typically 1/0 AWG through 4/0 AWG) is a critical point of failure. A poorly terminated lug carrying 300 amps can generate enough resistive heat to melt insulation and ignite a fire. For decades, DIYers and professionals have debated the best termination method: soldering battery cable ends versus mechanical crimping.
In 2026, the tools and metallurgy available to consumers have evolved, but the fundamental physics of copper, solder, and vibration remain unchanged. This guide provides a deep-dive comparison of both methods, analyzing thermal mass challenges, capillary wicking failure modes, and real-world tooling costs to help you make an informed, code-compliant decision.
The Physics of High-Current Connections
Before comparing methods, we must understand the objective. A battery cable termination must achieve two things simultaneously:
- Electrical Continuity: Minimizing millivolt drop across the joint to prevent resistive heating.
- Mechanical Integrity: Withstanding engine vibration, hull slamming, and thermal expansion/contraction cycles without loosening.
Copper is highly conductive but oxidizes rapidly when heated. Solder (typically a tin-lead or tin-silver alloy) protects against oxidation and fills microscopic voids, while mechanical crimping forces copper strands into a cold-welded, gas-tight seal. The debate hinges on which method best balances electrical perfection with mechanical survival in harsh environments.
Method 1: Soldering Battery Cable Ends
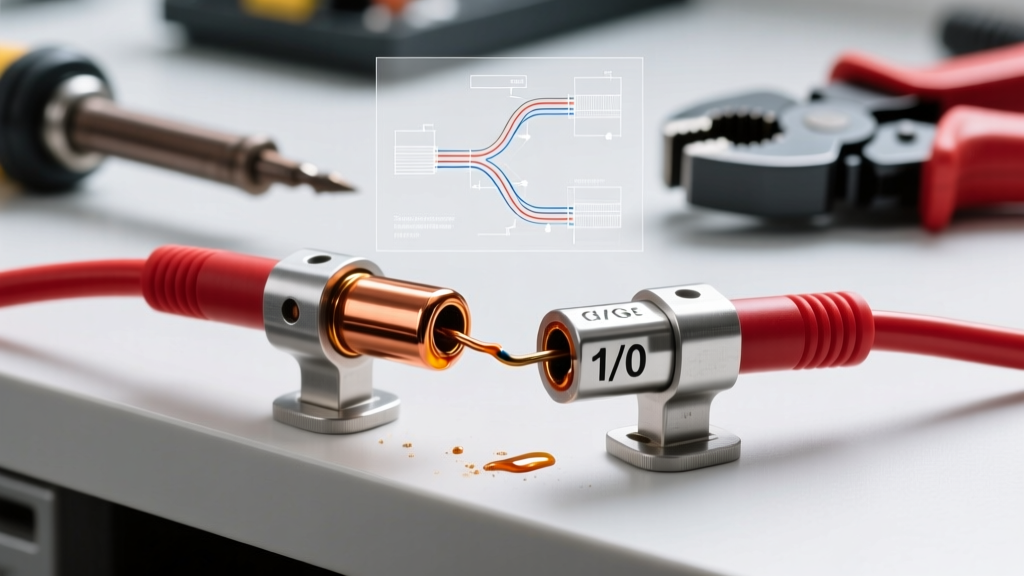
Soldering battery cable ends involves stripping the heavy-gauge wire, inserting it into a barrel lug, and heating the assembly until solder flows into the stranded core via capillary action. However, the sheer thermal mass of 1/0 AWG copper makes this deceptively difficult.
The Thermal Mass Challenge
A standard 60W or even 100W electronics soldering iron is entirely useless for 1/0 AWG battery cables. The copper acts as a massive heat sink, pulling thermal energy away from the joint faster than a small iron can supply it. Attempting to solder thick cables with inadequate heat results in a cold joint—a grainy, brittle connection with high resistance.
To properly solder heavy battery lugs, you need high-BTU output. Professionals typically use one of two methods:
- MAP-Pro Torches: Tools like the Bernzomatic TS8000 (approx. $55) burning MAP-Pro gas provide the intense, localized heat required to bring a thick copper lug to the 361°F (183°C) melting point of 63/37 eutectic solder.
- Heavy-Duty Solder Pots: For production environments, dipping the pre-fluxed cable into a 500W+ molten solder pot ensures uniform heating and perfect capillary penetration.
Pros and Cons of Soldering
- Pro: Excellent initial electrical conductivity; seals out moisture if done perfectly; utilizes relatively inexpensive consumables (solder and flux).
- Con: High risk of capillary wicking (flux creeping up the wire); solder is softer than copper and susceptible to fatigue failure under continuous vibration; requires significant skill to avoid melting adjacent wire insulation.
Method 2: Mechanical Crimping (The Cold Weld)
Crimping uses extreme mechanical force to compress a copper or tinned-copper lug around the wire strands. When done with the correct die and pressure, the copper strands deform and fuse together, creating a 'cold weld' that is arguably stronger than the wire itself.
Hex Crimp vs. Indent Crimp
For heavy battery cables, hex crimping is the industry standard. A hex die compresses the lug uniformly from six sides, transforming the round barrel into a hexagon. This ensures maximum surface area contact and a gas-tight seal that prevents internal oxidation. Indent crimpers, which push a single point into the lug, are generally reserved for smaller gauge wires and are not recommended for 1/0 AWG and above in high-vibration environments.
Pros and Cons of Crimping
- Pro: Superior vibration resistance; no heat required (eliminating insulation melt risks); highly repeatable with hydraulic tools; meets strict marine and automotive codes.
- Con: High upfront cost for quality hydraulic crimpers; requires buying specific dies for different AWG sizes; relies entirely on the precision of the tool.
Head-to-Head Comparison Matrix
| Metric | Soldering Battery Cable Ends | Hydraulic Hex Crimping |
|---|---|---|
| Initial Tool Cost | $40 - $90 (Torch + Solder) | $80 - $250 (Hydraulic Crimper) |
| Consumable Cost | Low ($0.50 per joint) | High ($1.50 - $3.00 per lug) |
| Vibration Resistance | Poor (Solder fatigue/cracking) | Excellent (Cold-welded strands) |
| Moisture Intrusion | High risk via capillary wicking | Low (especially with heat-shrink lugs) |
| Skill Curve | High (Heat management is critical) | Low (Tool does the work) |
| Code Compliance (Marine) | Fails as sole mechanical support | Fully compliant with ABYC E-11 |
The 'Green Death' Failure Mode: Capillary Wicking
The most critical argument against soldering battery cable ends in mobile or marine environments is capillary wicking. When you apply liquid or paste flux to a battery cable before soldering, the flux lowers the surface tension of the molten solder, allowing it to flow deep into the wire strands.
However, flux is highly corrosive. If the flux isn't perfectly neutralized and cleaned (which is nearly impossible deep inside a 1/0 AWG stranded core), it remains active. Over time, this acidic flux wicks further up the cable via capillary action. When combined with the sulfuric acid off-gassing from traditional lead-acid batteries, or the natural humidity in a bilge, it creates a highly conductive, corrosive electrolyte.
The Result: The copper strands turn into a brittle, green copper-sulfate powder. The wire's resistance skyrockets, leading to localized heating, voltage drop, and eventual failure. This phenomenon is colloquially known in the marine industry as the 'Green Death.'
To mitigate this, the American Boat & Yacht Council (ABYC) standard E-11.14.3.2 explicitly dictates that solder shall not be the sole means of mechanical connection in any circuit. Soldered joints must be mechanically supported (e.g., crimped first, then soldered, or clamped), though many modern experts advise against introducing solder to the joint at all to eliminate the wicking risk entirely.
Tooling Costs and ROI for 2026
When deciding between the two methods, consider the scale of your project. If you are replacing two battery cables in a daily driver car, the economics favor soldering or taking the cables to a local auto-electric shop to be crimped. If you are wiring a 48V off-grid solar system or a marine house bank, investing in hydraulic tooling is mandatory.
The Soldering Kit
- Bernzomatic TS8000 Torch: $55
- MAP-Pro Cylinder: $12
- Kester 3% Silver-Bearing Solder (1 lb): $45 (Silver adds vibration resistance)
- Total: ~$112
The Crimping Kit
- Titan 11061 Hydraulic Crimper (with hex dies): $85
- Ancor Marine Grade Heat-Shrink Lugs (1/0 AWG, 10-pack): $28
- Wire Stripper (Knipex or similar heavy-duty): $45
- Total: ~$158
While the crimping kit has a higher upfront cost, the reliability and time saved per joint make it the undisputed winner for projects requiring more than four heavy-gauge terminations.
Expert Verdict: When to Use Which Method
For the vast majority of high-current applications in 2026, mechanical hex crimping is the superior, safer, and more reliable method for terminating battery cable ends. It aligns with SAE International automotive guidelines and ABYC marine standards, eliminates the risk of capillary wicking, and provides unmatched vibration resistance.
When should you solder? Soldering battery cable ends is still viable for stationary, indoor, low-vibration applications (like a stationary ham radio power supply or an indoor off-grid battery bank) where the cables will never flex, and where the environment is completely dry. If you must solder in a mobile environment, use a crimp-first approach: mechanically crimp the lug to provide the structural support and strain relief, then apply a minimal amount of rosin-core solder strictly to the tip of the lug to seal the barrel opening against moisture ingress, taking extreme care not to overheat the wire.
Frequently Asked Questions
Can I use a standard 60W soldering iron for 4 AWG battery cables?
No. A 60W iron lacks the thermal recovery rate to heat the copper mass of 4 AWG wire to the required 361°F before the flux burns off. You will create a cold, high-resistance joint. You must use a high-BTU torch or a specialized high-wattage soldering pot.
Is acid-core solder acceptable for battery terminals?
Never use acid-core solder on electrical connections. Acid-core solder contains aggressive hydrochloric or zinc chloride fluxes designed for plumbing and sheet metal. It will rapidly corrode copper wire and cause catastrophic failure. Always use rosin-core or apply a dedicated electrical paste flux.
What is the best solder alloy for high-vibration environments?
If you must solder in a vibrating environment, use a Silver-bearing solder (typically 96.5% Tin, 3% Silver, 0.5% Copper). The addition of silver increases the tensile strength and fatigue resistance of the solder joint compared to standard 60/40 leaded solder.