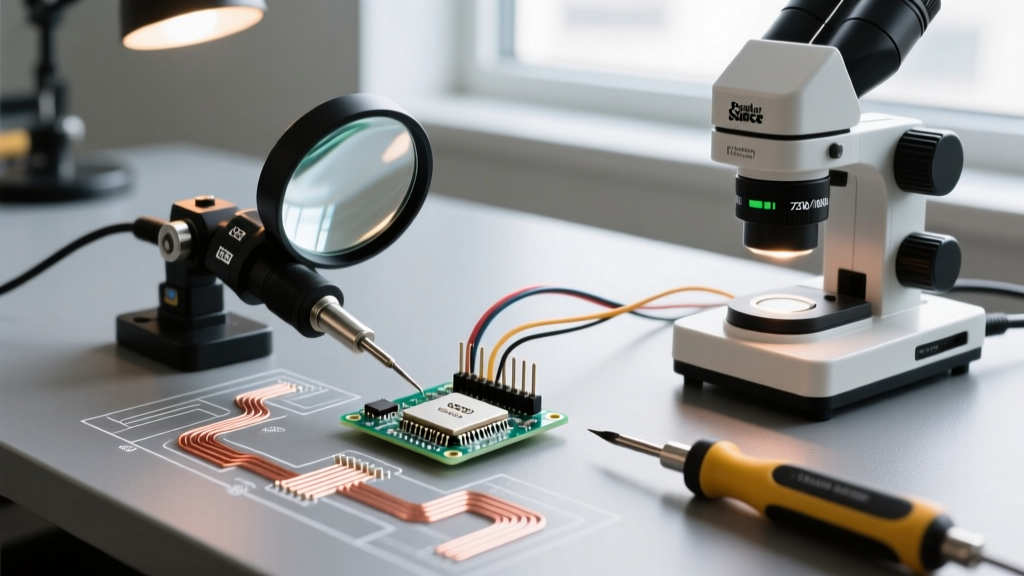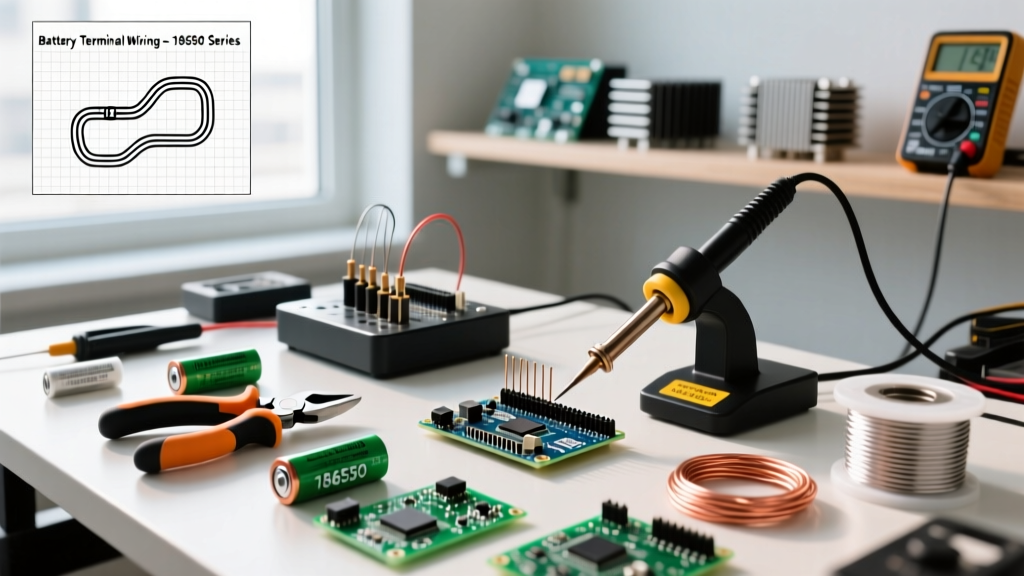

The Thermal Runaway Reality Check
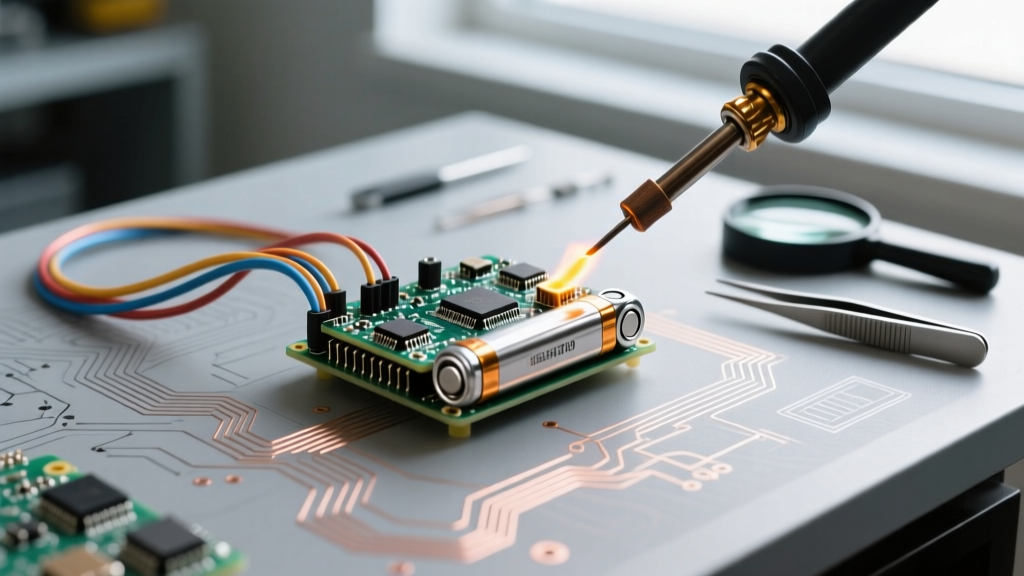
When building custom power walls, e-bike battery packs, or portable power stations, the debate over soldering batteries versus spot welding is relentless. Lithium-ion cells (like the ubiquitous 18650 and 21700 formats) are highly sensitive to thermal stress. The internal separator—a microporous polyethylene or ceramic-coated membrane—begins to degrade at just 60°C (140°F) and can trigger catastrophic thermal runaway if local temperatures exceed 130°C. Yet, spot welders are expensive, and battery holders introduce unacceptable electrical resistance for high-discharge applications.
This guide provides a rigorous decision framework for soldering batteries safely. We will bypass generic advice and focus on exact thermal mass calculations, tool selection, and the strict execution protocols required to join cells without compromising their chemical integrity.
According to NIOSH guidelines on lithium-ion battery safety, localized heating during assembly is a primary vector for latent internal short circuits, making precise thermal management during soldering non-negotiable.
The Core Decision Matrix: Soldering vs. Alternatives
Before firing up your iron, run your project through this decision matrix to determine if soldering is actually the correct mechanical and electrical choice.
| Assembly Method | Best Use Case | Electrical Resistance | Thermal Risk to Cell | Cost Barrier (2026) |
|---|---|---|---|---|
| Spot Welding | Production runs, high-vibration environments (e-bikes, drones) | Ultra-Low (0.1 - 0.5 mΩ) | Minimal (Millisecond pulse) | High ($300 - $1,500) |
| Soldering | Prototyping, thick-gauge wire termination, low-volume custom packs | Low (0.5 - 2.0 mΩ) | High (Requires strict protocol) | Low ($50 - $250) |
| Battery Holders | Low-drain IoT devices, easily swappable consumer electronics | High (10 - 50 mΩ) | None | Very Low ($2 - $15) |
| Magnetic/Threaded | Modular power banks, temporary testing rigs | Variable (5 - 20 mΩ) | None | Medium ($20 - $80) |
The Verdict: Choose soldering when you need ultra-low resistance for high-amperage draws (e.g., 14 AWG silicone wire on a 21700 cell) but lack the budget or space for a pneumatic spot welder. Never solder directly to bare Li-ion cans without pre-attached nickel or copper solder tabs.
Tool Selection Framework: Thermal Mass is King
The biggest mistake DIYers make when soldering batteries is using low-wattage, ceramic-heater irons with thin tips. When a 30W iron with a micro-pencil tip touches a massive copper wire and a steel battery can, the tip temperature plummets. The user then holds the iron in place longer, pumping destructive heat into the cell.
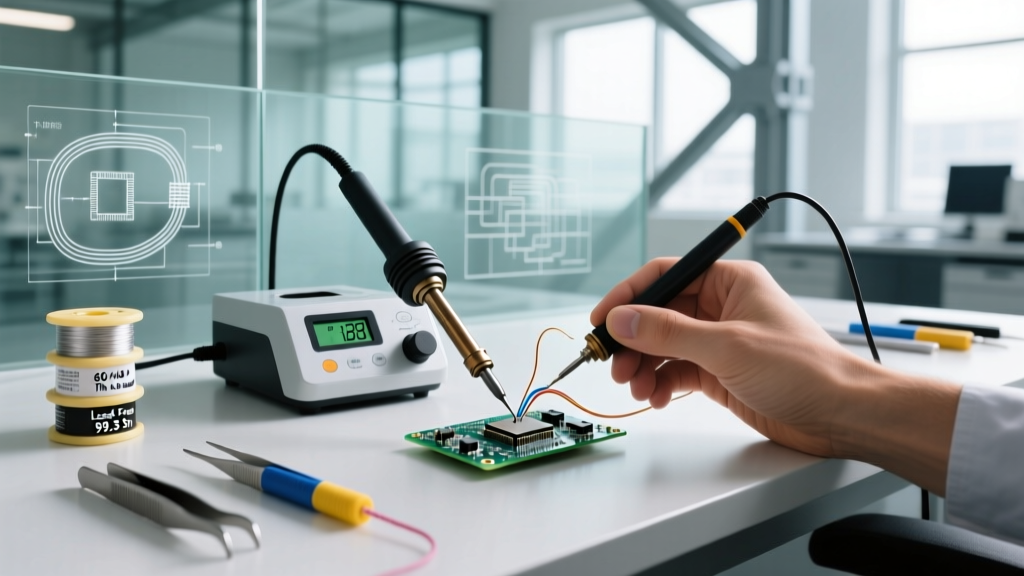
Recommended Soldering Stations
- Hakko FX-951 (70W): The industry workhorse. Priced around $240 in 2026, its T12 cartridge system delivers instant thermal recovery. Use the T12-D24 (chisel) or T12-K (knife) tip for maximum surface area contact.
- Weller WE1010NA (70W): A robust alternative at $140. Pair it with the RTW1136 chisel tip. The heavy thermal mass of this tip acts as a heat battery, transferring energy to the joint in under three seconds.
- Pinecil V2 (65W): The ultimate portable/budget option at $28. While it lacks the raw thermal mass of a Hakko, its RISC-V processor and PID tuning allow for aggressive thermal recovery. Use the TS100-D25 tip.
The Temperature Paradox
Counterintuitively, you should set your iron hotter when soldering batteries. A higher tip temperature (380°C - 410°C) ensures the solder melts instantly upon contact. A cooler iron (300°C) requires prolonged contact to transfer the same amount of thermal energy, resulting in deeper heat penetration into the battery's internal chemistry. As detailed in Battery University's research on Li-ion degradation, prolonged exposure to even moderate heat (above 45°C) permanently accelerates capacity loss.
Material Science: Flux, Wire, and Tab Prep
Soldering batteries is 80% preparation and 20% execution. You cannot rely on the rosin core inside standard electronics solder to break through the oxidation on battery terminals or nickel strips.
Flux Selection
Abandon standard plumbing pastes and mildly active rosin (RMA). You need a high-activity, no-clean flux that activates rapidly. Amtech NC-559-V2-TF ($25 for a 10cc syringe) is the gold standard. Its halogen-free formulation cleans nickel and copper tabs instantly without requiring post-solder cleaning, which is critical since liquid cleaners can seep under the battery shrink wrap and cause corrosion.
Wire and Tab Specifications
- Wire: Use 100% stranded copper with high-strand-count silicone insulation (12 AWG to 16 AWG). Silicone melts at >200°C, preventing insulation shrink-back during the soldering process.
- Battery Tabs: Never solder to a bare 18650 can. Purchase cells with pre-spot-welded nickel or copper solder tabs. If you must solder to a flat pack, apply 0.2mm pure nickel strip via spot welder first, then solder to the nickel.
The 3-Second Execution Protocol
Follow this exact sequence to ensure the internal cell temperature never breaches the 60°C danger zone.
- Prep and Strip: Strip exactly 6mm of insulation from your silicone wire. Twist the strands tightly.
- Pre-Tin the Wire: Apply a small dab of Amtech flux and pre-tin the wire with 63/37 leaded solder (leaded melts at 183°C, significantly lower than lead-free SAC305 at 217°C, reducing required heat time).
- Pre-Tin the Tab: Apply flux to the battery tab. Touch the 380°C iron to the tab and feed solder until a smooth, convex dome forms. Remove immediately.
- Thermal Sinking: Clamp a pair of aluminum helping-hands or hemostats onto the battery tab between the solder joint and the battery body. This acts as a heat sink, drawing thermal energy away from the cell seal.
- The Marriage: Place the pre-tinned wire onto the pre-tinned tab. Apply the iron to the top of the wire. The joint should reflow and merge in 1.5 to 3 seconds. If it takes longer, stop, let the cell cool for 5 minutes, and increase your iron temperature.
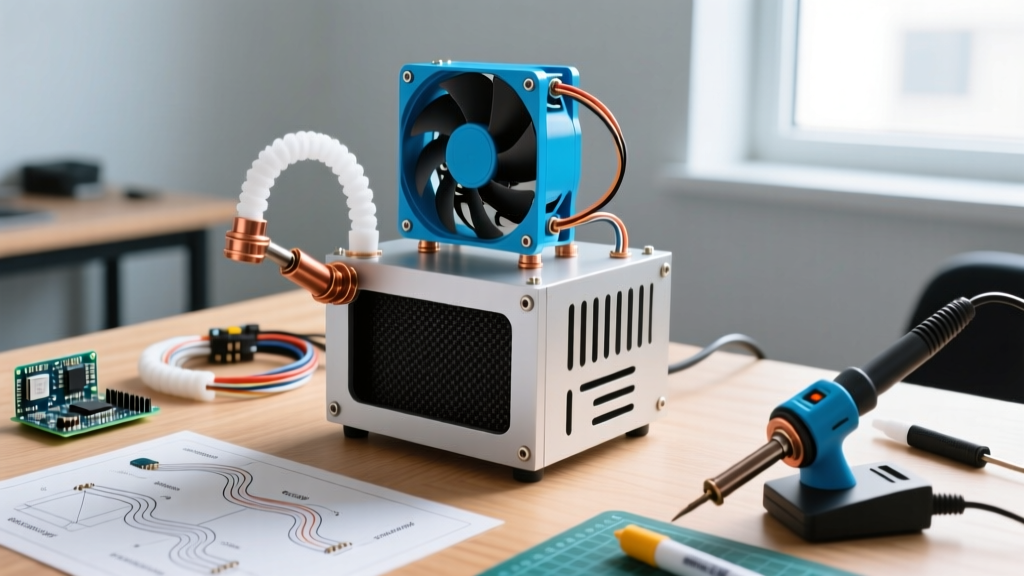
- Active Cooling: Do not blow on the joint (moisture contamination). Use a small desk fan to rapidly drop the tab temperature below 40°C within seconds.
Failure Modes and Diagnostics
Even with perfect technique, things can go wrong. Here is how to diagnose edge cases and failures based on Argonne National Laboratory's standard testing parameters for cell integrity.
1. The 'Cold' or Grainy Joint
Symptom: The solder looks dull, lumpy, or easily flakes off the nickel tab.
Cause: Insufficient flux activation or inadequate thermal mass. The nickel tab acted as a massive heat sink, and the solder solidified before alloying.
Fix: Do not just reheat it. Clean the joint with isopropyl alcohol, apply fresh Amtech NC-559 flux, and use a wider chisel tip (like the Hakko T12-D52) to increase surface contact area.
2. Shrink Wrap Melt-Back
Symptom: The PVC or PET heat shrink wrap on the battery pulls back, exposing the bare metal can near the negative terminal.
Cause: Heat traveled down the nickel tab into the battery body.
Fix: You failed to use a thermal heat sink (hemostats) or held the iron for longer than 3 seconds. Apply Kapton tape (polyimide) over the exposed area to prevent short circuits against adjacent cells in the pack.
3. Latent Venting (The Silent Killer)
Symptom: The battery tests fine on a multimeter immediately after assembly, but swells or vents gas 24-48 hours later.
Cause: Micro-separator damage. The heat didn't melt the solder, but it conducted through the steel can just enough to warp the internal jelly roll or damage the PTC (Positive Temperature Coefficient) safety valve.
Fix: The cell is permanently compromised and must be recycled. To prevent this, always measure the internal resistance (IR) of the cell before and 24 hours after soldering. An IR jump of >5 mΩ indicates internal thermal damage.
Final Verdict
Soldering batteries is not inherently dangerous if you respect the thermodynamics of the cell. By utilizing high-thermal-mass chisel tips, aggressive no-clean fluxes, leaded solder, and strict 3-second execution windows, you can create joints that rival spot welds in both conductivity and mechanical strength. Treat every cell as a volatile chemical vessel, and let the physics of heat transfer guide your hand.