
Navigating the NBR 14136 Standard: A Cost-First Approach
For electronics hobbyists, traveling technicians, and DIYers setting up a mobile workshop, adapting gear to a foreign power grid is a mandatory hurdle. When dealing with an electrical outlet in Brazil, the challenge is twofold: physical plug compatibility and a deeply fragmented voltage grid. Brazil utilizes the NBR 14136 standard (commonly known as Type N), featuring three round pins in a hexagonal configuration. However, simply buying a travel adapter is rarely sufficient for high-draw equipment like soldering stations (e.g., Hakko FX-951 or Weller WE1010), reflow ovens, or heavy-duty power supplies.
This cost analysis breaks down the financial and technical implications of purchasing off-the-shelf Brazilian power cords versus soldering and retrofitting your own custom Type N plugs, while factoring in the hidden costs of Brazil's notorious 127V/220V state-by-state voltage divide.
CRITICAL VOLTAGE WARNING: Brazil does not have a single national voltage. States like São Paulo, Rio de Janeiro, and Minas Gerais operate at 127V / 60Hz. Conversely, states like Santa Catarina, Ceará, and the Federal District (Brasília) operate at 220V / 60Hz. Plugging a 127V Japanese or US soldering station into a 220V Brazilian outlet will instantly destroy the heating element and control PCB, resulting in $150–$300 in immediate repair costs.
Cost Matrix: Off-the-Shelf vs. Soldered Custom Type N Cords
When outfitting a mobile repair lab or relocating a workshop to Brazil, you must decide how to terminate your equipment's power cables. Below is a 2026 cost comparison analyzing three common approaches for a standard 10A (4.0mm pin) and 20A (4.8mm pin) setup.
| Method | Material Cost (USD) | Labor / Time | Durability & Flex Rating |
|---|---|---|---|
| Pre-Molded NBR 14136 IEC C13 Cord (10A) | $8.00 - $14.00 | 0 mins (Plug & Play) | High (Factory injection molded) |
| Pre-Molded Heavy Duty NBR 14136 Cord (20A) | $18.00 - $28.00 | 0 mins (Plug & Play) | High (Thicker 2.5mm² jacket) |
| DIY Rewirable Type N Plug (Soldered Internal) | $5.50 - $9.00 | 25 mins (Strip, Tin, Solder) | Medium (Depends on solder joint quality) |
| DIY Rewirable Type N Plug (Crimped Ferrule) | $6.00 - $10.00 | 15 mins (Strip, Crimp, Screw) | High (Compliant with IPC-A-620) |
Note: Pricing reflects 2026 global electronics supplier averages (Mouser, Digi-Key) and local Brazilian hardware retailers (Leroy Merlin, Tramontina).
The Hidden Cost of Voltage Mismatches
The physical Type N plug standard is identical whether you are in a 127V or 220V region. This lack of physical differentiation is a massive liability for DIYers. If you solder a custom cord for a 127V station and travel from São Paulo to Florianópolis, the plug will fit perfectly, but the voltage will fry your gear.
Transformers vs. Universal Power Supplies
To mitigate this risk, cost-conscious engineers often weigh the price of a step-down transformer against upgrading to a universal switching power supply (SMPS).
- 500W Step-Down Transformer (220V to 127V): Costs between $45 and $75. Heavy (approx. 8 lbs), generates acoustic hum, and introduces a single point of failure.
- Universal SMPS Retrofit (100-240V): Upgrading a soldering station's internal transformer to a modern Mean Well or TDK-Lambda universal SMPS module costs $35 to $60. Requires advanced PCB soldering skills but eliminates the need for external transformers forever.
Technical Breakdown: Soldering vs. Crimping for Type N Terminals
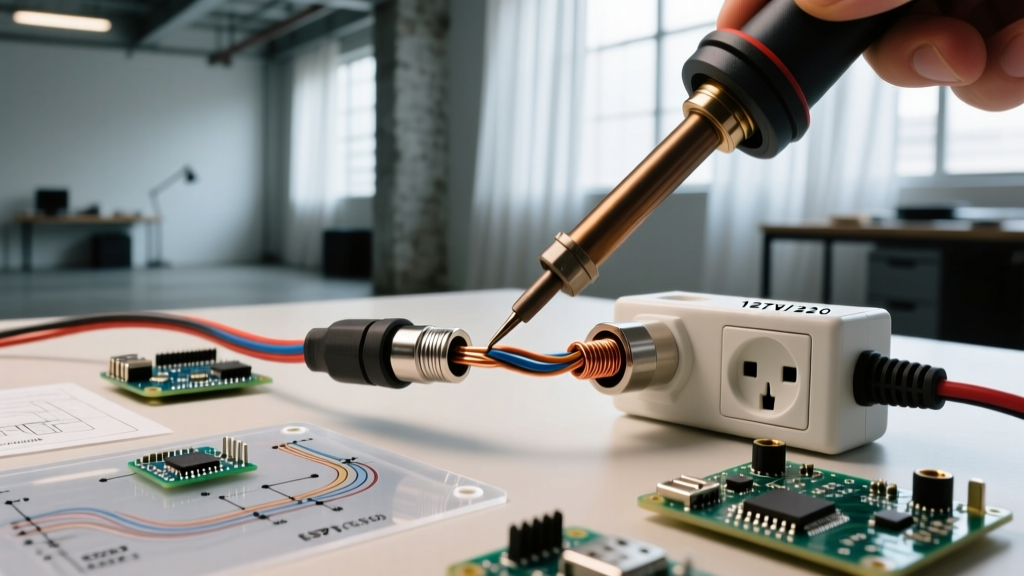
When building a custom power cord for an electrical outlet in Brazil, you will likely purchase a rewirable Type N plug (brands like Schneider Electric, Siemens, or local Brazilian brand Tramontina). These plugs feature screw terminals. The debate in the DIY community is whether to solder the wire directly to the terminal or use crimped ferrules.
According to the IPC-A-620 standards for cable and wire harness assemblies, soldering stranded wire directly into a screw terminal is generally discouraged for high-vibration or high-draw applications. Solder undergoes 'cold flow' (creep) under sustained mechanical pressure and thermal cycling, which can cause the screw to loosen over time, increasing resistance and creating a fire hazard.
The Optimal DIY Compromise
If you lack a proper ferrule crimper but want a bulletproof connection for a heavy-duty 20A (4.8mm pin) soldering cart:
- Strip 8mm of the 2.5mm² (AWG 14) flexible silicone jacket.
- Apply a minimal amount of no-clean rosin flux to the stranded copper.
- Tin the wire with a high-wattage iron (minimum 60W) to bind the strands.
- Insert the tinned wire into the terminal, but do not let the screw bite down directly on the solder. Instead, use a terminal with a rising clamp plate (common in premium European/Brazilian rewirable plugs) so the steel plate compresses the tinned wire without deforming the solder itself.
Step-by-Step: Retrofitting a 20A NBR 14136 Plug
For high-draw equipment like a Hakko FR-830 desoldering station or a DIY reflow hotplate, the 10A (4.0mm pin) plug is insufficient and poses a melting risk. You must use the 20A variant (4.8mm pins). Here is the precise procedure for wiring a 20A Brazilian plug safely.
Required BOM & Tools
- Rewirable 20A Type N Plug (NBR 14136 compliant)
- 3-core SJT or H05VV-F cable, minimum 2.5mm² (AWG 14)
- Weller or Hakko soldering station with a chisel tip (e.g., T18-D24)
- Heat shrink tubing (3:1 shrink ratio, adhesive-lined)
- Wire strippers calibrated for 2.5mm²
Execution Steps
- Cable Preparation: Strip 25mm of the outer jacket. Separate the three inner conductors (Brown/Line, Blue/Neutral, Green-Yellow/Earth). Strip 8mm of insulation from each.
- Tinning (Optional but recommended for clamp terminals): Tin the exposed copper. Ensure no solder wicks up into the flexible zone of the wire; the wire must remain flexible right up to the terminal entry point to prevent fatigue breakage.
- Earth Pin Priority: Connect the Green-Yellow earth wire to the center pin first. Crucial Safety Rule: The earth wire must be cut slightly longer than the line/neutral wires. If the cable is yanked from the electrical outlet in Brazil, the line and neutral must disconnect before the safety ground.
- Line & Neutral: Connect Brown to the Line terminal and Blue to the Neutral. While Brazil's Type N is polarized in theory, many older installations wire it backward. Ensure your equipment's DPST (Double Pole Single Throw) switch cuts both lines if possible.
- Strain Relief: Tighten the internal cord grip over the outer jacket, never over the individual colored wires.
Travel Adapter Costs vs. Permanent Solutions
If you are only visiting Brazil for a short-term trade show or repair contract, buying a heavy-duty travel adapter is more cost-effective than cutting and soldering your equipment's native cords.
However, avoid cheap, ungrounded 2-pin (Type C) adapters. The IEC World Plugs database notes that while Type C (Europlug) fits into the outer rim of a Type N socket, it lacks the earth pin. Using an ungrounded adapter for a Class I (metal chassis) soldering station in a humid Brazilian environment is a severe shock hazard. Invest $15–$25 in a grounded Type M to Type N adapter or a universal adapter with a dedicated 4.8mm earth pin.
Frequently Asked Questions
Can I use a US NEMA 5-15 to Type N adapter for my soldering iron?
Physically, no. You need an adapter. Electrically, if you are in a 127V state (like São Paulo), a US 120V soldering iron will run perfectly fine, drawing slightly less current. If you are in a 220V state (like Brasília), the iron will overheat, the tip will oxidize rapidly, and the heating element will likely burn out within hours.
Why do Brazilian outlets have recessed hexagonal wells?
The NBR 14136 standard mandates a recessed hexagonal well (10mm deep) to prevent users from touching the pins while they are partially inserted and energized. This means your plug must have the correct hexagonal base; older, non-compliant round-base plugs will not seat fully into modern Brazilian wall plates.
Is it legal to sell DIY soldered power cords in Brazil?
No. Any power cord sold commercially in Brazil must bear the INMETRO certification mark, which requires factory injection molding and standardized pull-tests. The soldering and retrofitting guide above is strictly for personal, DIY, or internal workshop use, not for commercial resale.