
The 'Soldering Wood' Misconception: Pyrography vs. Embedded Tech
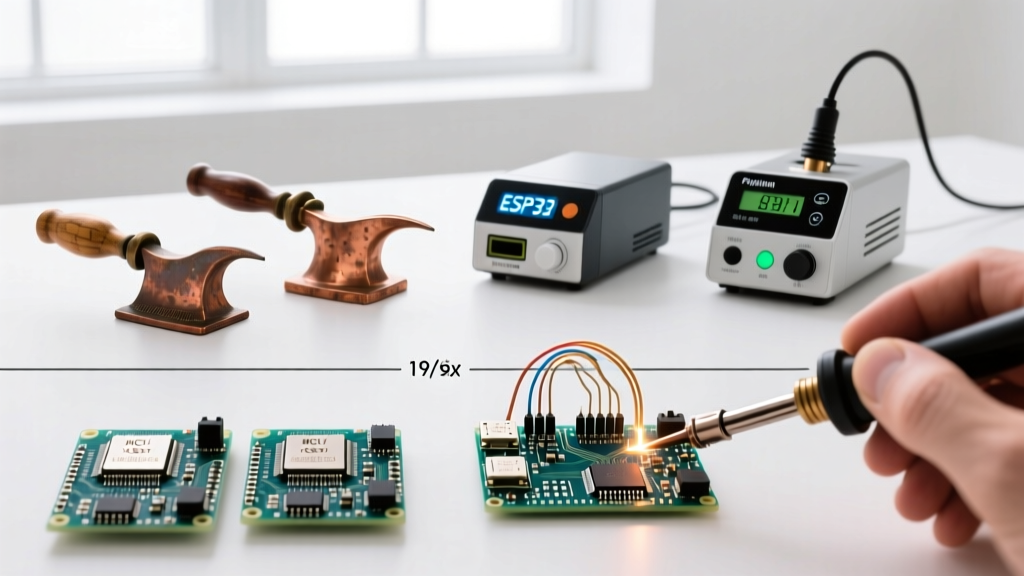
In the DIY electronics community, the phrase 'soldering wood' typically refers to two distinct practices: using a soldering iron for pyrography (woodburning) or soldering electronic components directly inside routed wooden enclosures for smart furniture, LED signs, and custom audio gear. While wood is an excellent, aesthetically pleasing enclosure material, it introduces severe thermal and chemical hazards when subjected to the 300°C+ temperatures of modern soldering stations.
You cannot literally solder wood—solder alloys like SAC305 or Sn60/Pb40 only metallurgically bond to copper, brass, and other metals. However, the act of soldering near, on, or inside wood requires strict safety protocols. A momentary lapse in iron placement or a failure to account for wood resin off-gassing can result in catastrophic smoldering fires or severe respiratory distress. This guide outlines the exact safety best practices, thermal limits, and material preparations required for embedding electronics into wood safely in 2026.
Thermal Dynamics: Wood Ignition vs. Iron Temperatures
To understand the risk, we must compare the operating temperatures of your equipment with the thermal breakdown points of common woodworking materials. Lead-free SAC305 solder melts at 217°C (422°F), but to achieve proper wetting and flow, a station like the Weller WE1010NA or Hakko FX-888D must be set between 320°C and 360°C (608°F - 680°F).
Wood does not have a single melting point; instead, it undergoes pyrolysis. According to the National Fire Protection Association (NFPA), the auto-ignition temperature of most common lumber ranges between 250°C and 300°C (482°F - 572°F). If your 350°C iron tip rests against the wall of a routed wood cavity for even 3 to 5 seconds, it will instantly carbonize the surface. This carbon layer acts as an insulator, trapping heat deeper into the wood grain and initiating a smoldering fire that can ignite into open flames hours after you have left your workbench.
⚠️ CRITICAL WARNING: Never use a standard electronics soldering iron for pyrography (woodburning). Electronics irons lack the specialized thermal mass and tip geometry required for wood, leading to rapid tip oxidation, uneven burning, and an increased risk of the tip snapping or causing uncontrolled charring.
Material Toxicity Matrix: What Happens When Wood Heats Up?
Beyond fire, the chemical breakdown of wood and wood adhesives under high heat poses a severe inhalation hazard. The Environmental Protection Agency (EPA) strictly regulates formaldehyde emissions, which are violently accelerated when a soldering iron scorches composite woods.
| Material Type | Pyrolysis / Ignition Temp | Toxicity Profile When Scorched | Safety Verdict |
|---|---|---|---|
| Solid Pine / Cedar | ~250°C (482°F) | Terpenes, mild respiratory irritant, heavy smoke. | Safe if sealed & ventilated. |
| MDF (Medium-Density Fiberboard) | ~210°C (Glue breakdown) | Urea-formaldehyde resin off-gassing, highly toxic. | AVOID |
| Pressure-Treated (CCA) | ~250°C (482°F) | Arsenic, Chromium, Copper vaporization. | NEVER USE |
| Plywood (Exterior Grade) | ~230°C (446°F) | Phenol-formaldehyde, toxic particulate smoke. | Use with extreme caution. |
Essential Safety Gear for Wood-Integrated Soldering
Standard electronics PPE is insufficient when wood is the primary enclosure material. As of 2026, the following setup is the minimum requirement for safely soldering inside wood cavities:
- High-Temp Silicone Mat: A large mat (e.g., Kaiweets 19.7x15.7 inch, ~$25) rated to 500°C. This must line the bottom and walls of your wood cavity to prevent accidental tip contact.
- Active Fume Extraction: A localized extractor like the Hakko FA-400 (~$85) equipped with a HAKKO 1335 activated carbon filter. Passive desk fans merely blow toxic wood resins and flux fumes into your breathing zone.
- Thermal Putty / Heat Shield Tape: Kapton tape (polyimide) rated to 260°C is insufficient for direct iron contact. Use aluminum foil tape or specialized thermal shielding putty to protect delicate wood edges near solder joints.
- Fire Suppression: Keep a Class ABC fire extinguisher within arm's reach. Wood dust combined with hot solder dross creates a highly combustible environment. Refer to OSHA's Woodworking Hazards guidelines for proper dust mitigation before applying heat.
Step-by-Step: Soldering Inside Routed Wood Cavities
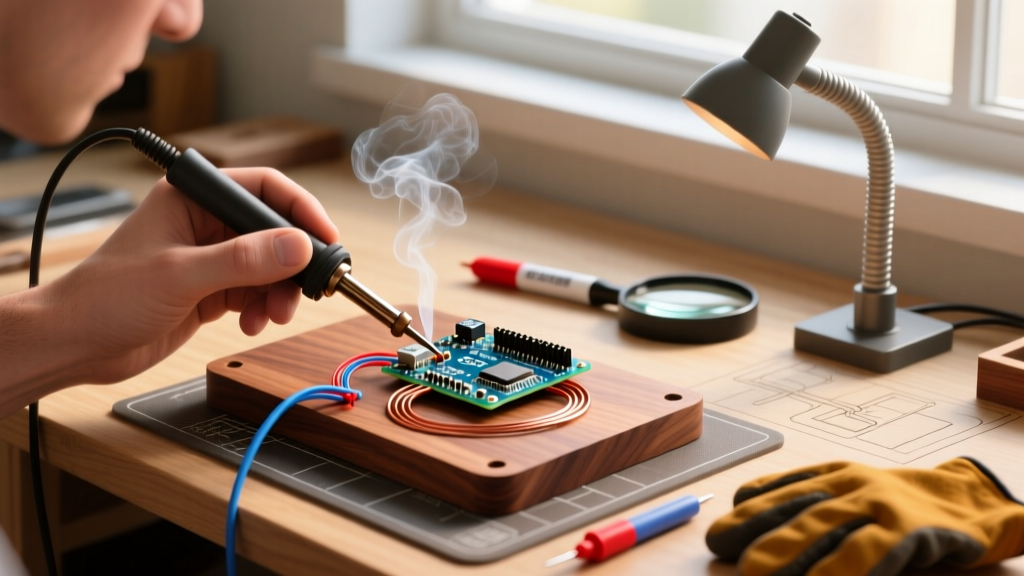
Embedding a microcontroller (like an ESP32) or LED matrix into a routed wood sign requires a disciplined workflow to prevent thermal damage to the enclosure and ensure operator safety.
- Route and Clean: CNC route or chisel your cavity. Vacuum all wood dust. Fine wood dust resting on a hot solder joint will instantly ignite and ruin the connection.
- Seal the Wood (Crucial Step): Apply two coats of water-based polyurethane or shellac to the interior of the cavity. This seals the wood pores, raises the surface ignition threshold slightly, and prevents sap/resin from bleeding onto your PCB. Allow 48 hours for full curing before applying heat.
- Line the Cavity: Cut your high-temp silicone mat to size and press it into the cavity floor and walls. Secure it with high-temp Kapton tape on the outer edges.
- Pre-Tin Outside the Enclosure: Never tin wires or apply fresh solder inside a deep wood cavity where visibility is poor and iron maneuverability is restricted. Pre-tin all wires and components on your silicone bench mat first.
- Execute Final Joints: Place the PCB into the lined cavity. Use a fine-point tip (e.g., Hakko T18-B) to minimize the thermal footprint. Keep the iron moving and limit contact time to under 3 seconds per joint.
- Inspect for Scorch Marks: Immediately after finishing, inspect the wood walls with a flashlight. Any brown scorch marks indicate thermal breach; sand them out and re-seal before powering the device.
Frequently Asked Questions (FAQ)
Can I use my soldering iron to burn designs into wood?
While physically possible, it is highly discouraged. Electronics soldering irons are designed to transfer heat rapidly to high-thermal-conductivity metals. Wood is an insulator. Using an electronics iron on wood causes the tip temperature to drop drastically, forcing the heating element into overdrive, which rapidly oxidizes and destroys expensive tips. Furthermore, the lack of temperature control leads to uneven charring and excessive toxic smoke. Invest in a dedicated pyrography pen with interchangeable brass tips instead.
Is it safe to solder on a wooden workbench?
Directly soldering on a bare wooden workbench is a primary cause of workshop fires. Solder dross (splatter) and accidental iron drops will scorch the wood. Over time, these scorch marks build up carbon, which can spontaneously combust under the right conditions. Always use a thick, fiberglass-backed silicone soldering mat to completely isolate your thermal work from the wooden bench surface.
How do I remove solder splatter from a wood enclosure?
Do not use a heat gun or iron to remelt splatter off wood, as this will drive the heat deeper into the grain and cause a fire. Instead, allow the solder to cool completely and use a sharp wood chisel or a fine-grit sanding block to mechanically remove the metal bead. If the wood is sealed, a brass wire brush can gently lift the splatter without damaging the polyurethane finish.