
The Case Against Soldering in Modern Electrical Work
While soldering remains a foundational skill for printed circuit boards (PCBs) and delicate microcontroller work, it is increasingly viewed as a liability in high-vibration, high-current, or field-deployed wiring scenarios. Solder creates a rigid, brittle joint that is prone to work-hardening and fracturing under mechanical stress. Furthermore, the thermal shock of a 350°C iron can degrade sensitive wire insulation and weaken the tensile strength of copper strands.
If you are searching for how to connect wires without soldering, you are likely looking for methods that comply with modern safety codes while offering superior mechanical resilience. According to the National Electrical Code (NFPA 70), solderless connections are not only permitted but often mandated for specific residential and automotive applications, provided they are listed and rated for the specific wire gauge and voltage.
Expert Insight: In aerospace and automotive harness manufacturing, the IPC/WHMA-A-620 standard strictly governs solderless crimping, prioritizing cold-weld gas-tight connections over soldered joints to prevent tin-whisker growth and thermal fatigue failures.
Below is a comprehensive, field-tested guide to the four most reliable solderless connection methods available in 2026, complete with exact product specifications, pricing, and failure-mode analysis.
Method 1: Lever-Nut Connectors (The WAGO 221 Series)
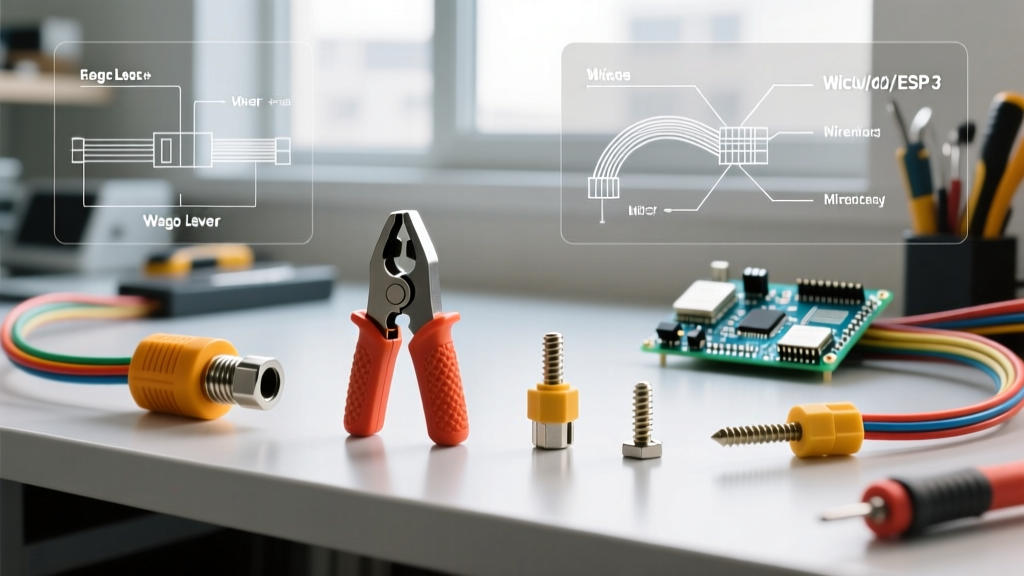
Lever-nut connectors have revolutionized both residential wiring and DIY electronics enclosures by eliminating the need for twisting, taping, or screwing. The undisputed industry leader in this space is the WAGO 221 series. These inline splicing connectors use a spring-clamp mechanism activated by an orange lever to bite into the wire, maintaining constant, temperature-compensated pressure.
Technical Specifications & Real-World Pricing
- Model: WAGO 221-412 (2-conductor) and 221-413 (3-conductor).
- Capacity: 24 to 12 AWG (Solid and Stranded).
- Rating: 20 Amps / 600V (UL Listed).
- Strip Length: 11mm (0.43 inches) — conveniently marked on the side of the housing.
- Cost: Approximately $0.38 to $0.45 per unit in bulk packs of 50 (2026 pricing).
Application Edge: WAGO connectors feature integrated test ports on the bottom. This allows you to insert a standard multimeter probe to verify voltage or continuity without disconnecting the wires or piercing the insulation. For low-voltage DIY projects (like connecting 18 AWG LED strip wiring to a 12V power supply), the 221 series provides a tool-free, vibration-proof joint that takes less than five seconds to execute.
For a complete breakdown of their internal spring mechanics and UL certification data, you can review the official WAGO 221 technical documentation.
Method 2: Precision Ratcheting Crimps (Automotive & Industrial)
When dealing with high-current DC applications (solar arrays, automotive wiring, marine battery banks), crimping is the gold standard. A proper crimp deforms the terminal barrel around the wire strands, creating a 'cold weld' that is completely gas-tight, preventing oxidation from reaching the copper core.
Tooling and Terminal Selection
The most common mistake DIYers make is using cheap, non-ratcheting pliers to crush terminals. To achieve an IPC-A-620 Class 2 or 3 compliant crimp, you must use a ratcheting crimper that forces a full, geometrically precise compression cycle before releasing.
- Recommended Tool: IWISS IWS-3220M Ratcheting Crimper (Approx. $48). This tool features interchangeable dies for insulated and non-insulated terminals from 24 to 8 AWG.
- Recommended Terminals: TE Connectivity PIDG (Plastic Insulation Double Grip) ring and butt splices. The PIDG design includes an inner copper sleeve that crimps the wire insulation simultaneously, providing exceptional pull-out resistance.
- Pull-Test Standards: A properly crimped 16 AWG wire in a PIDG terminal must withstand a minimum pull force of 30 lbs (133 N) before failure, per IPC standards.
Failure Mode Warning: Never use heat-shrink solder seal wire as a substitute for crimping in high-vibration environments. While solder seal wire is technically a 'solderless' application from the user's perspective (since you only use a heat gun), the internal solder ring melts and creates a rigid, brittle joint that will snap under continuous engine block vibration. Stick to mechanical cold-weld crimps for moving vehicles.
Method 3: Twist-On Wire Connectors (Wire Nuts)
Despite the rise of lever nuts, twist-on wire connectors remain the backbone of North American residential AC wiring. However, not all wire nuts are created equal, and improper installation is a leading cause of residential electrical fires due to high-resistance arcing.
The Ideal Industries WingNut II
Forget the cheap, smooth-sided conical nuts included in bulk fixture packs. Professional electricians rely on the Ideal Industries WingNut II series (e.g., the Yellow #454 model).
- Design: Features a deep, skirted copper insert and aggressive winged exterior for high-torque application.
- Capacity: The Yellow #454 handles a minimum of 3x 14 AWG solid wires up to a maximum of 3x 10 AWG solid wires.
- Torque Requirement: UL testing requires the connector to be twisted until the wires outside the connector twist together at least 1/2 inch, indicating the internal spring has achieved maximum grip. This typically requires 15 to 20 in-lbs of torque.
Pro-Tip on Pre-Twisting: Modern UL-listed WingNut connectors do not require you to pre-twist the solid wires with lineman's pliers before applying the nut. In fact, pre-twisting can cause the wires to splay, preventing the internal steel spring from gripping all strands equally. Simply align the stripped, flush-cut wires side-by-side and twist the nut on.
Method 4: Push-In Screw Terminal Blocks (DIN Rail & PCB)
For control panels, custom battery management systems (BMS), and modular sensor arrays, terminal blocks offer the best combination of organization and solderless connectivity. While traditional screw-clamp blocks are common, modern push-in spring-cage terminals are vastly superior for stranded wire.
Phoenix Contact PTIO Series
The Phoenix Contact PTIO (Push-In Technology) series utilizes a tension spring that opens via a small flathead screwdriver or ferrule insertion.
- Wire Prep: Stranded wire must be fitted with a crimped bootlace ferrule (e.g., 0.75mm² or 1.5mm² ferrules) before insertion. Pushing raw stranded wire into a spring-cage block will cause individual strands to fray, leading to short circuits or high-resistance hot spots.
- Vibration Resistance: Spring-cage terminals are completely immune to the 'cold flow' and thermal expansion/contraction cycles that cause traditional screw terminals to loosen over time. They require zero maintenance or re-torquing.
- Cost: Roughly $0.80 to $1.20 per position on a standard 35mm DIN rail.
Comprehensive Comparison Matrix
| Method | Best Use Case | Max Current (Typical) | Vibration Resistance | Tool Required | Avg Cost per Joint |
|---|---|---|---|---|---|
| WAGO Lever Nuts | Enclosures, DIY, Residential | 20A | High | Wire Strippers | $0.40 |
| Ratcheting Crimps | Automotive, Solar, Marine DC | 50A - 300A+ | Very High | Ratcheting Crimper | $0.25 - $1.50 |
| WingNut II (Yellow) | Residential AC Branch Circuits | 30A | Low (Indoor static) | Lineman Pliers | $0.12 |
| Push-In Terminals | Control Panels, BMS, Sensors | 18A - 24A | Very High | Ferrule Crimper | $0.90 |
Critical Failure Modes and Edge Cases
When avoiding solder, you must be hyper-aware of the specific failure modes associated with mechanical connections. Understanding these edge cases separates amateur hacks from professional, long-lasting installations.
1. The Stranded vs. Solid Wire Mismatch
Never mix solid and stranded wire under a standard screw terminal without a ferrule or a WAGO lever nut. If a screw terminal clamps down on a solid 14 AWG wire and a stranded 16 AWG wire simultaneously, the screw will bite into the solid wire and barely touch the stranded wire. This creates a high-resistance parallel path, leading to localized heating and eventual melting of the terminal block.
2. Oxidation in Aluminum Wiring
If you are connecting aluminum wire (common in older residential branch circuits or modern large-gauge solar feeders), standard copper terminals will result in galvanic corrosion. You must use AL/CU rated connectors and apply an antioxidant paste (like Noalox) to prevent the formation of aluminum oxide, which is highly resistive and causes fires.
3. Insulation Creep (Cold Flow)
Wire insulation, particularly PVC and PTFE, is subject to 'cold flow'—it slowly deforms under constant pressure. In traditional screw terminals, this means the screw loses torque over a period of 6 to 12 months. This is precisely why spring-loaded alternatives (WAGO lever nuts and Phoenix Contact push-in blocks) are superior; the spring automatically compensates for insulation creep, maintaining constant clamping force indefinitely.
Frequently Asked Questions
Can I use electrical tape instead of a wire nut or connector?
No. Electrical tape provides zero mechanical pull-strength and degrades rapidly under heat. The NEC strictly prohibits tape as a standalone splicing method. Tape should only be used as a secondary moisture barrier over a properly executed mechanical connection, such as an adhesive-lined heat shrink tube over a crimped butt splice.
Are 'Scotchlok' T-Tap connectors safe for automotive wiring?
While 3M Scotchlok UR2 butt connectors (which use a U-shaped metal clip to pierce the insulation) are excellent for low-voltage telecom and sensor wiring, standard T-Tap (vampire tap) connectors are widely despised by automotive electricians. They slice through the main wire's copper strands, reducing the cross-sectional area by up to 30%, and frequently allow moisture into the pierced channel, leading to green copper corrosion and open circuits within a year. Use a proper solderless crimp branch splice instead.