
The Enduring Debate: Sweating Copper vs. Modern Alternatives
Even in 2026, with the rapid advancement of mechanical plumbing fittings, the traditional soldered joint plumbing method remains a benchmark for reliability in residential and commercial potable water systems. However, the rise of press-fit technology and push-to-connect systems has fundamentally changed the landscape for contractors and DIYers alike. Choosing the right connection method requires a deep understanding of material science, long-term failure modes, and the hidden economics of tooling. This guide provides a rigorous, data-driven comparison of sweating copper against modern mechanical alternatives.
The Metallurgy of a Soldered Joint Plumbing Connection
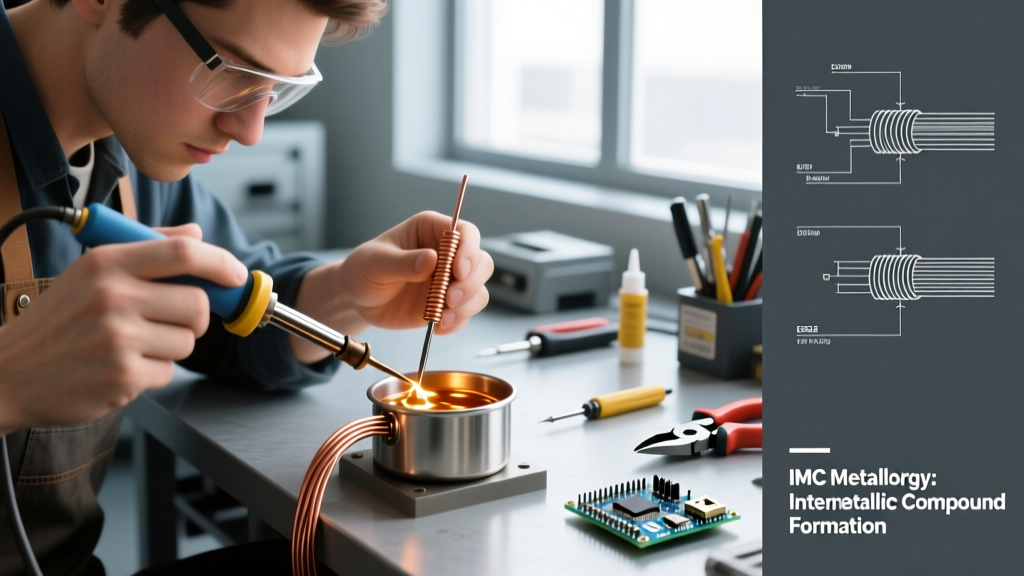
A common misconception is that solder acts as a glue. In reality, a proper soldered joint plumbing connection relies on capillary action and intermetallic bonding. When copper is heated to the correct temperature (typically between 400°F and 450°F for lead-free alloys), the flux dissolves surface oxidation. The molten solder—usually a tin-copper or tin-silver alloy compliant with EPA lead-free mandates—is drawn into the microscopic gap between the pipe and the fitting, forming a permanent metallurgical bond.
Expert Insight: The primary cause of soldered joint failure is not the solder itself, but improper surface preparation or the presence of residual water in the line, which acts as a heat sink and prevents the copper from reaching the necessary activation temperature for capillary draw.
Method Matrix: Cost, Time, and Longevity
To objectively compare these methods, we must look beyond the initial material cost and factor in tool amortization, installation speed, and expected lifespan. Below is a comparative matrix based on 2026 market pricing for standard 3/4-inch Type L copper installations.
| Method | Material Cost (per joint) | Tool Investment | Avg. Install Time | Expected Lifespan | Best Application |
|---|---|---|---|---|---|
| Solder (Sweat) | $1.20 - $1.80 | $60 - $150 (Torch Kit) | 2 - 4 minutes | 50 - 70+ years | New construction, exposed runs, high-heat environments |
| ProPress (Mechanical) | $8.00 - $14.00 | $2,500 - $4,500 (Press Tool) | 15 - 30 seconds | 50 years (O-ring dependent) | Commercial, live-line repairs, tight spaces |
| Push-to-Connect | $10.00 - $18.00 | $0 - $30 (Cutters/Deburrer) | 10 - 20 seconds | 25 - 40 years | Emergency patches, accessible DIY repairs |
Deep Dive: The Economics and Execution of Soldering
Tooling and Material Specifics
The barrier to entry for soldered joint plumbing is remarkably low. A professional-grade torch setup, such as the Bernzomatic TS8000 using MAP-Pro (propylene) gas, costs roughly $85. Propylene burns hotter than standard propane (3,730°F vs. 3,600°F), allowing for faster heat transfer and reducing the window for flux burn-off. For the solder itself, professionals favor silver-bearing alloys like Oatey Safe-Flo (95% Tin / 5% Antimony or Silver-bearing variants), which offer a slightly wider plastic range, making it easier to visually confirm a complete capillary draw before the joint cools.
Common Failure Modes in Soldered Joints
- Cold Joints (Dry Joints): Characterized by a dull, grainy appearance. This occurs when the heat source is removed prematurely or water inside the pipe absorbs the thermal energy, preventing the solder from fully alloying with the copper.
- Burnt Flux Inclusions: If the torch is held in one spot too long, the flux carbonizes into a glass-like barrier. The solder will ball up and refuse to enter the fitting capillary space.
- Flux Corrosion: Using highly acidic paste fluxes (designed for electronics or non-potable industrial use) instead of water-soluble plumbing flux can lead to pinhole leaks from the inside out within 3 to 5 years due to residual acid corrosion.
Evaluating the Alternatives: ProPress and Push-Fit
Viega ProPress: The Commercial Standard
ProPress technology utilizes a specialized jaw to crimp a copper fitting containing an EPDM or HNBR O-ring and a stainless steel grab ring. According to the Copper Development Association, mechanical press fittings are highly reliable when installed correctly. The primary advantage is speed and the ability to press joints on lines that cannot be completely drained—a scenario where soldering is physically impossible. However, the $3,000+ tool cost makes it prohibitive for most DIYers, and the reliance on elastomeric O-rings introduces a theoretical failure point that solid-state soldered joints do not possess.
Push-to-Connect (SharkBite and Clones)
Push-fit connections rely on a collet with stainless steel teeth that bite into the copper, sealed by an internal O-ring. While invaluable for emergency burst-pipe mitigation, building codes in many municipalities restrict their use behind closed walls. UV degradation on exposed plastic collars and the potential for the O-ring to dry out over decades make them inferior to a soldered joint plumbing connection for permanent, concealed infrastructure.
Step-by-Step: Achieving a Code-Compliant Soldered Joint
For those committed to the permanence of solder, follow this rigorous field procedure to ensure a leak-free connection that meets industry plumbing standards for potable water:
- Cut and Deburr: Use a rotary tube cutter. Crucially, use a deburring tool to remove the internal ridge. An internal ridge restricts water flow and causes localized turbulence, which can lead to pinhole erosion over time.
- Mechanical Abrasion: Clean the outside of the pipe with 120-grit sandpaper or emery cloth until it shines. Clean the inside of the fitting with a wire brush sized specifically for the pipe diameter.
- Flux Application: Apply a thin, even layer of water-soluble, lead-free plumbing flux to the pipe. Do not over-apply; excess flux will boil inside the joint and create voids.
- Thermal Management: Assemble the joint. Apply the flame from the MAP-Pro torch to the fitting, not the pipe. The fitting has more mass and needs more heat. Move the flame in a circular pattern to distribute heat evenly.
- The Capillary Draw Test: Touch the solder wire to the opposite side of the joint from the flame. If the copper is at the correct temperature, the solder will instantly melt and be sucked into the fitting. Withdraw the flame immediately once a continuous silver ring appears at the joint margin.
- Wipe and Cool: Wipe the joint with a damp rag to remove residual flux and smooth the solder bead. Allow it to cool naturally; never quench a hot joint with water, as thermal shock can crack the intermetallic bond.
Frequently Asked Questions (FAQ)
Can I use electronic rosin-core solder for plumbing?
Absolutely not. Rosin-core solder contains acids and chemicals designed for circuit boards, not potable water. Furthermore, it lacks the structural integrity and temperature tolerance required for pressurized water lines. Always use solid-core solder formulated specifically for plumbing, certified to NSF/ANSI 61 standards.
Is ProPress stronger than a soldered joint?
In terms of sheer mechanical pull-out strength, a properly pressed ProPress fitting often exceeds that of a soldered joint. However, a soldered joint is a solid-state metallurgical bond that is immune to the chemical degradation, temperature cycling fatigue, and elastomeric drying that can eventually compromise the O-rings in mechanical fittings.
Why does my solder keep falling off the pipe in drops?
This is a classic symptom of a 'cold joint' or inadequate fluxing. The copper has not reached the activation temperature required for the solder to wet the surface. Ensure your pipe is completely dry (use pipe plugs or bread to stop water migration), clean the copper to bare metal, and apply heat to the fitting until the flux bubbles and turns slightly translucent before introducing the solder.