
The Core Challenge: Thermal Management in Precious Metals
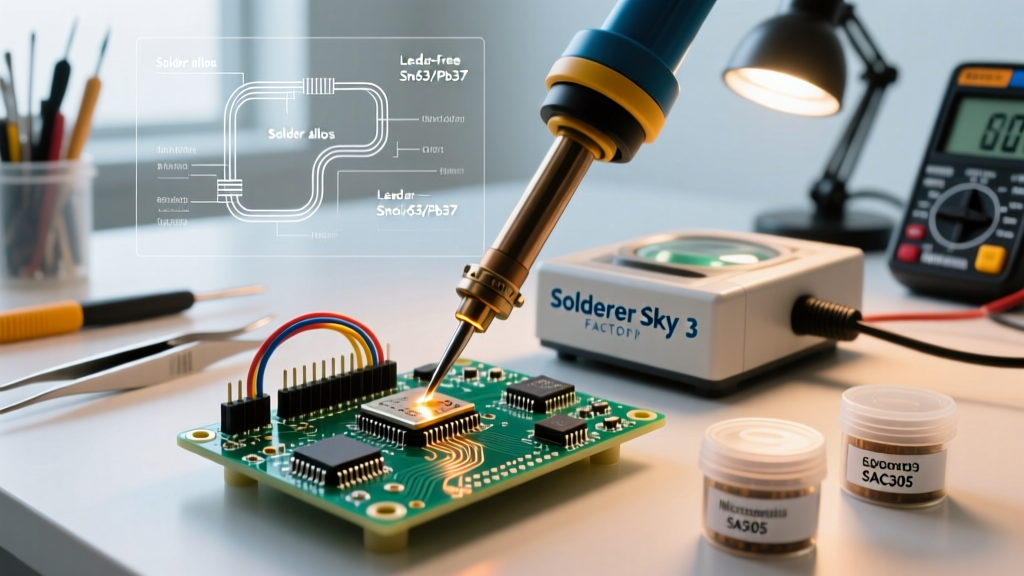
When approaching jewelry making soldering, the first paradigm shift for most makers is realizing that you are not technically soldering. According to the American Welding Society (AWS), any process where the filler metal melts above 840°F (450°C) is classified as brazing. In electronics or plumbing, you often create a structural fillet; in jewelry, you rely entirely on capillary action to draw the molten alloy into a microscopic seam. If the seam is wider than 0.005 inches, the joint will fail. If the metal is oxidized, the solder will ball up and refuse to flow.
This decision framework is designed to help jewelers, metalsmiths, and serious hobbyists navigate the highly specific equipment required for precious metal fabrication in 2026. We will break down the four critical decision nodes: heat source, solder grade sequencing, flux chemistry, and bench tooling.
Decision Node 1: Selecting Your Heat Source
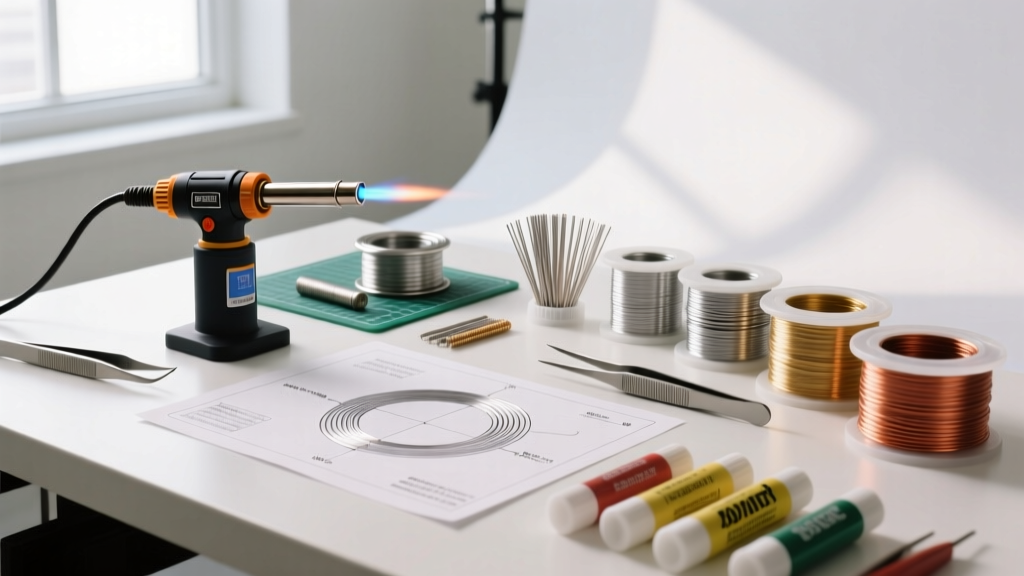
The torch is the engine of your bench. Your choice dictates the scale of work you can produce and the precision of your thermal control. Below is a comparison matrix of the three primary torch categories used in modern jewelry studios.
| Torch Category | Model Example (2026) | Est. Cost | Max Temp | Best Use Case | Limitations |
|---|---|---|---|---|---|
| Butane Micro-Torch | Blazer Big Shot GT8000 | $75 | 2,500°F | Jump rings, small bezels, wire wrapping | Lacks thermal mass for heavy rings or large bezels |
| Oxy-Propane / Acetylene | Smith Little Torch (Kit) | $340 | 3,200°F | General fabrication, ring sizing, stone setting | Requires gas tanks, regulators, and flash arrestors |
| HHO Water Torch | Geneva Aquaflex | $950 | 2,800°C | Micro-pave, intricate filigree, platinum welding | High upfront cost, requires distilled water maintenance |
Expert Insight: If you are buying your first professional setup, the Smith Little Torch remains the undisputed industry standard. The kit typically includes tips #1 through #5. Tip #5 (the large bushy flame) is used for annealing and heating the overall piece, while Tip #1 (a pinpoint laser-like flame) is used for soldering micro-joints like chain links or prong tips.
Decision Node 2: Solder Grade Sequencing
In jewelry making soldering, you rarely use just one type of solder. When fabricating a complex piece like a tiered pendant or a ring with a gallery wire, you must use step soldering. This involves using a high-melting-point solder for the first joint, and progressively lower-melting-point solders for subsequent joints, ensuring the first joint does not melt and collapse while you solder the second.
According to metallurgical data published by leading suppliers like Rio Grande, modern cadmium-free solders (now the strict standard due to global health regulations) flow exceptionally well if your thermal management is precise.
Sterling Silver Solder Melting Points
| Grade | Melt Point (Solidus) | Flow Point (Liquidus) | Application Sequence |
|---|---|---|---|
| Hard | 1,450°F (788°C) | 1,425°F (774°C) | 1st Joint: Structural seams, ring shanks, gallery wire |
| Medium | 1,390°F (754°C) | 1,325°F (718°C) | 2nd Joint: Bezels, jump rings, catch joints |
| Easy | 1,325°F (718°C) | 1,270°F (688°C) | 3rd Joint: Repairs, sizing, adding findings |
| Extra Easy | 1,270°F (688°C) | 1,220°F (660°C) | Emergency repairs, low-temp components |
Note: Always heat the metal, not the solder. The metal must reach the flow point of the solder so capillary action can pull the alloy into the seam. If you apply the flame directly to the solder chip, it will melt prematurely and ball up on the surface.
Decision Node 3: Flux Chemistry & Firescale Prevention
Flux dissolves oxides and prevents new ones from forming while the metal is heated. Choosing the wrong flux for your specific alloy is the leading cause of solder failure. The jewelry community on Ganoksin frequently emphasizes that flux is not a one-size-fits-all chemical.
- Batterns Flux (Liquid): A borax-based liquid that dries to a hard, glassy crust. Excellent for Hard and Medium silver solders. It provides a clear visual cue: when the crust turns clear and glassy, the metal is near soldering temperature.
- Stay-Silv (Paste): Contains potassium fluorides. It is aggressive and essential for soldering white gold, nickel-silver, or brass, where heavy copper oxides form rapidly. It breaks down oxides that borax-based fluxes cannot handle.
- Prips (Powder Mix): Not a soldering flux, but an anti-firescale barrier. Mixed with denatured alcohol and sprayed onto the piece before soldering, it prevents copper from rising to the surface of sterling silver, saving hours of pickling and polishing.
Decision Node 4: Essential Bench Tooling
Your hand tools dictate your physical interaction with the thermal environment. Standard steel tools will ruin a jewelry solder joint through heat sinks or chemical contamination.
- Soldering Pick: Never use steel. Steel sticks to molten silver solder. You must use Titanium or Tungsten. Titanium is lightweight and solder will not adhere to it. Tungsten withstands higher temperatures without degrading, making it ideal for placing solder chips directly into the flame.
- Tweezers: Invest in Cross-Locking Titanium Tweezers (e.g., Tru-Lock brand, approx. $45). They grip the workpiece hands-free and, unlike copper or steel tweezers, titanium acts as a poor heat conductor, preventing heat from escaping your workpiece.
- Soldering Surface: Avoid standard asbestos-substitute boards. Use a Honeycomb Ceramic Board or a natural Charcoal Block. Charcoal reflects heat back into the piece, creating an oven-like effect that speeds up the time-to-flow, minimizing overall oxidation.
Edge Case Troubleshooting: Real-World Failure Modes
Even with the right framework, jewelry making soldering presents unique edge cases. Here is how to diagnose and fix the three most common bench failures:
1. Solder 'Balling Up' (Refusal to Flow)
The Cause: The metal surface is oxidized, or the seam is contaminated with skin oils, polishing compound, or dust. Solder will only flow on chemically clean metal.
The Fix: Do not keep heating. Quench the piece, drop it in a warm citric acid or sodium bisulfate pickle pot for 5 minutes to strip the oxides. Rinse, dry, re-apply flux, and ensure your torch flame is 'reducing' (slightly orange/feathery) rather than 'oxidizing' (sharp blue hissing).
2. Pitting in the Solder Seam
The Cause: Overheating the solder. If you exceed the liquidus temperature by too much, the trace elements in the solder (like zinc) will vaporize, leaving microscopic craters or 'pits' in the joint.
The Fix: Use a larger, softer flame (e.g., Smith Tip #4 or #5) to heat the broad mass of the metal, bringing the entire piece up to temperature evenly. Only introduce the pinpoint flame at the very last second to flash the solder into the seam.
3. Melting the Workpiece (Bezels and Wires)
The Cause: Thin components like 28-gauge bezel wire or jump rings have very low thermal mass and will reach their melting point (1,640°F for Sterling) almost instantly when hit with a direct flame.
The Fix: Use a 'heat sink' technique. Paint the thin bezel with a mixture of water and yellow ochre, or use a specialized heat-shield paste. Alternatively, rest the thin component on a thicker piece of metal (like a copper block) to draw excess heat away from the delicate edge.
Final Verdict: Building Your 2026 Bench
Successful jewelry making soldering is an exercise in chemistry and thermodynamics. By investing in an Oxy-Propane setup like the Smith Little Torch, mastering the step-sequencing of Hard, Medium, and Easy cadmium-free solders, and utilizing titanium tooling, you eliminate 90% of the variables that cause joint failure. Start with the fundamentals of capillary action, respect the melting points, and let the flux do the heavy lifting.