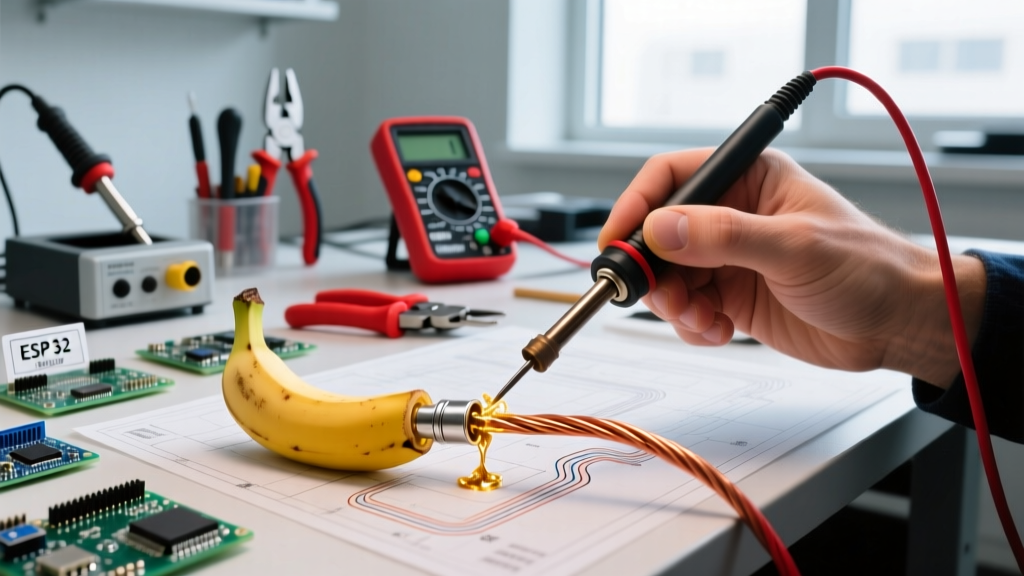

The Critical Role of Banana Plug Soldering in Industrial Testing
In the realm of industrial electronics, automated test equipment (ATE), and high-power battery validation, the integrity of your test leads is non-negotiable. While consumer-grade multimeter probes are often mass-produced with basic crimps, industrial environments demand custom-built, high-reliability test leads. This is where professional banana plug soldering becomes an essential skill for electrical engineers and technicians. As power densities in EV battery packs and renewable energy inverters continue to climb in 2026, test leads must safely carry 20A to 30A continuous currents without introducing parasitic resistance or thermal runaway risks.
According to the IPC J-STD-001 standard for soldered electrical assemblies, high-current terminations require specific wetting angles and fillet geometries to ensure mechanical strength and electrical conductivity. A poorly soldered banana plug can introduce 50 to 100 milliohms of contact resistance, which translates to dangerous heat generation at high amperages. This guide provides a deep-dive, industry-grade approach to selecting, preparing, and soldering banana plugs for demanding test environments.
Selecting the Right Banana Plugs for High-Current Applications
Not all banana plugs are created equal. The market is flooded with cheap, nickel-plated brass plugs that suffer from high contact resistance and poor solderability. For industrial applications, you must select plugs with high-thermal-mass cups and superior plating. Below is a comparison of the industry-standard banana plugs used by professional test labs.
| Brand & Model | Current Rating | Material & Plating | Est. Price (2026) | Best Industry Use Case |
|---|---|---|---|---|
| Pomona 2269 | 15A Continuous | Brass / Gold-Plated | $6.50 - $8.00 | Precision DMM leads, low-thermal EMF testing |
| Mueller BU-PB22A | 30A Continuous | Brass / Nickel-Plated | $3.20 - $4.50 | Heavy-duty power supply routing, load testing |
| Cal Test CT3200 | 20A Continuous | Brass / Gold-Plated | $4.15 - $5.50 | CAT III/IV multimeter probes, field service |
| Hirschmann MEB 4 | 32A Continuous | Brass / Nickel-Plated | $5.00 - $6.50 | High-power ATE racks, EV battery validation |
When sourcing components, always verify the plating thickness. Gold plating (typically 10 to 20 micro-inches) is preferred for low-voltage, high-precision measurements because gold does not oxidize. However, for high-current power delivery where mating friction is high, nickel-plated plugs from manufacturers like Pomona Electronics offer superior wear resistance.
Essential Soldering Gear for Heavy-Gauge Terminals
Soldering a 12 AWG or 14 AWG silicone wire into a massive brass banana plug cup requires significant thermal energy. Standard 40W to 60W soldering irons will struggle, leading to prolonged heat application that melts the wire insulation and degrades the flux. To achieve IPC Class 2 or Class 3 compliant joints, you need a high-wattage, fast-recovery soldering station.
Recommended Equipment Specifications
- Soldering Station: Hakko FX-951 (70W) or Weller WT1010 (90W). These stations utilize active tip sensing to dump maximum wattage into the joint the moment the thermal mass of the brass plug drops the tip temperature.
- Tip Geometry: Use a heavy chisel or bevel tip. For the Hakko FX-951, the T18-D32 (3.2mm chisel) or T18-C4 (4mm bevel) is ideal. The goal is maximum surface area contact between the tip, the wire, and the inside of the plug cup.
- Solder Alloy: For industrial test leads, Sn63/Pb37 (eutectic leaded) 0.031-inch diameter remains the gold standard due to its sharp melting point and superior flex-fatigue resistance. If your facility mandates RoHS compliance, use SAC305 (Sn96.5/Ag3.0/Cu0.5) in a 0.039-inch diameter.
- Flux: A no-clean, rosin-based gel flux like Amtech NC-559-V2-TF or Kester 186 RMA liquid flux is mandatory to break through the oxidation on heavy-gauge stranded copper.
Step-by-Step Banana Plug Soldering Procedure
Follow this precise methodology to ensure a void-free, mechanically robust solder joint. This process assumes the use of 14 AWG high-flex silicone stranded wire and a standard solder-cup banana plug.
- Wire Preparation: Strip exactly 8mm (5/16 inch) of the silicone insulation. Do not nick the copper strands. Apply a tiny drop of liquid flux to the exposed copper and tin the wire with a 1mm coating of solder. The tinned wire should fit snugly inside the banana plug cup without forcing.
- Cup Preparation: Apply a small amount of gel flux inside the solder cup of the banana plug. Insert your pre-heated, 380°C (716°F) soldering iron tip directly into the cup. Feed solder into the cup until it is 75% full. Do not overfill, or the plug cap will not seat properly.
- Heat Sinking (Crucial Step): Clamp a pair of aluminum hemostats or a dedicated heat-sink clip onto the wire, exactly 2mm behind the stripped section. This prevents the heat from traveling down the wire and melting the silicone insulation further up the lead.
- The Mating Process: Re-heat the solder in the cup until it flows liquid (approximately 2 to 3 seconds). Quickly insert the tinned wire into the molten pool. Hold the wire perfectly still for 4 to 6 seconds until the solder transitions from a shiny liquid to a solid, matte (if lead-free) or bright (if leaded) finish.
- Strain Relief & Insulation: Once cooled, slide a piece of 3:1 adhesive-lined heat shrink tubing (e.g., 3M EPS300, 4.8mm shrinking to 1.6mm) over the joint. The tubing should cover the base of the banana plug and extend 15mm down the wire. Apply heat evenly until the adhesive purges slightly from the ends, creating a waterproof, strain-relieved seal.
Expert Insight: Never blow on the joint to cool it faster. Disturbing a solder joint while it is in the plastic (semi-solid) state causes micro-fractures known as 'cold joints,' which drastically increase electrical resistance and lead to premature failure under high-current loads.
Troubleshooting Common Failure Modes in Test Probes
Even experienced technicians encounter issues when transitioning to heavy-duty banana plug soldering. Recognizing these failure modes early prevents catastrophic failures in the field.
1. Insulation Shrinkback and Melt
Symptom: The silicone insulation pulls back from the solder cup, exposing bare copper near the joint.
Cause: Applying heat for too long without a heat sink, or using an undersized soldering iron tip that requires 10+ seconds to melt the solder pool.
Solution: Always use a hemostat as a thermal break. Upgrade to a higher thermal mass tip and ensure your station is set to at least 360°C to 380°C for rapid heat transfer.
2. Solder Wicking and Stiffening
Symptom: The solder wicks far up the stranded wire under the insulation, creating a stiff, inflexible section that eventually snaps under repeated bending.
Cause: Over-tinning the wire during the preparation phase, or using excessive liquid flux which acts as a capillary pump.
Solution: Tin only the exact 8mm length required to seat inside the cup. Use gel flux instead of liquid flux to control flow dynamics. Adhesive-lined heat shrink also mechanically locks the wire, reducing flex fatigue at the solder boundary.
3. Grainy or Dull Joints (Leaded Solder)
Symptom: The solder fillet looks dull, grainy, or disturbed, rather than bright and shiny.
Cause: Movement during the solidification phase, or insufficient heat resulting in a paste-like state that never fully reflowed.
Solution: Brace your hands against the workbench to eliminate micro-tremors. Verify your tip is clean and properly tinned before making contact with the plug cup to ensure instant thermal coupling.
Crimping vs. Soldering: An Industry Perspective
A frequent debate in test lead manufacturing is whether to crimp or solder banana plugs. While crimping is undeniably faster for high-volume production lines, banana plug soldering remains the superior choice for custom, high-flex industrial test leads. According to safety guidelines published by Cal Test Electronics, test leads used in CAT III and CAT IV environments must withstand severe mechanical and thermal stress.
When dealing with high-flex silicone wire (which consists of hundreds of ultra-fine 36 AWG strands), mechanical crimps can easily cut or sever the delicate outer strands, reducing the effective wire gauge and creating a localized hot spot. A properly executed solder joint, combined with adhesive-lined heat shrink, encapsulates the fine strands in a solid matrix, distributing mechanical stress evenly and preventing individual strand breakage over thousands of bend cycles.
Summary & Best Practices for 2026
Mastering banana plug soldering is a hallmark of a proficient electrical technician. By investing in high-thermal-mass soldering equipment, selecting premium gold or nickel-plated brass plugs, and adhering to strict IPC soldering standards, you can build custom test leads that outperform and outlast commercial alternatives. Always prioritize thermal management during the soldering process, utilize adhesive-lined heat shrink for ultimate strain relief, and inspect every joint for proper wetting before deploying the leads in high-current industrial environments.