
The True Cost of Soldering: Beyond the Initial Hardware
When most hobbyists and entry-level technicians ask how to use a soldering tool, they are usually focused on the mechanics of melting wire and creating a joint. However, from a professional and cost-analysis perspective, soldering is an ongoing operational expense. The initial purchase of a soldering station is merely the entry fee. The true cost lies in consumable degradation, energy consumption, rework materials, and the hidden financial impact of damaged printed circuit boards (PCBs).
In 2026, with the rising costs of raw materials like tin and silver, optimizing your soldering technique is no longer just about making pretty joints—it is a direct method of protecting your project budget. This guide breaks down the financial implications of your soldering habits and provides a cost-optimized framework for using your equipment.
Hardware Tiers and Their Long-Term Cost Implications
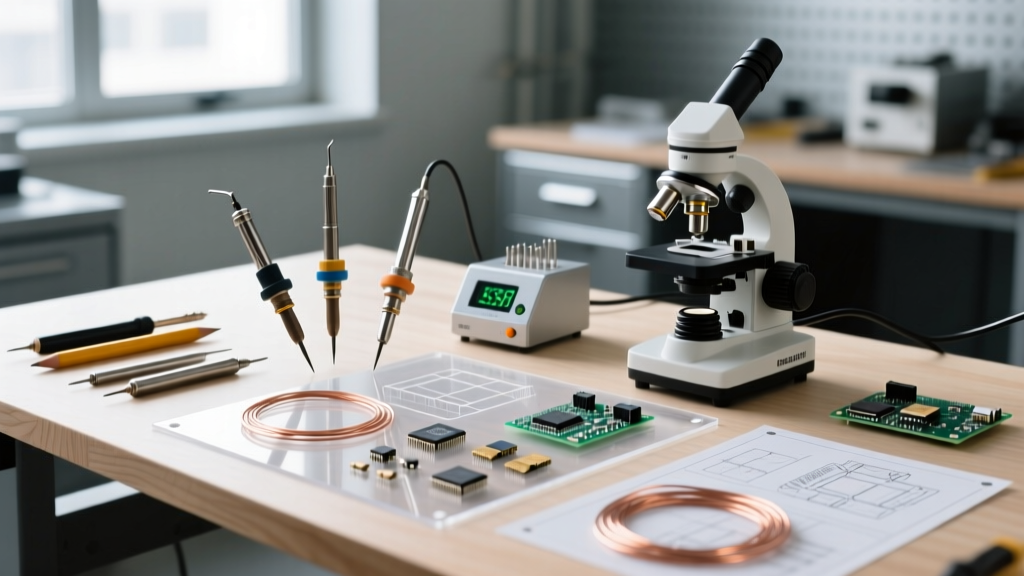
Understanding how to use a soldering tool efficiently begins with understanding the thermal recovery capabilities of your hardware. An iron that struggles to maintain temperature forces the user to apply heat for longer periods, increasing the risk of pad delamination and wasting time. Below is a cost analysis of three common hardware tiers available on the market today.
| Hardware Tier | Representative Model | Upfront Cost (2026) | Replacement Tip Cost | Thermal Recovery & Efficiency | Estimated 3-Year Operational Cost |
|---|---|---|---|---|---|
| Entry-Level / Portable | Pine64 Pinecil V2 | $26.00 | $2.50 - $4.00 | Good for light SMD; struggles with heavy ground planes. | $45.00 (Tips + Power) |
| Mid-Range Benchtop | Hakko FX-888D | $115.00 | $8.00 - $11.00 | Excellent recovery; sleep mode drastically extends tip life. | $160.00 (Tips + Power) |
| Professional Active | JBC CD-2BQE | $495.00 | $35.00 - $50.00 | Instantaneous; cartridge-based heating element ensures zero waste. | $350.00 (Cartridges + Power) |
While the JBC system offers unparalleled performance, the mid-range Hakko FX-888D remains the undisputed king of cost-efficiency for general through-hole and mid-size surface mount device (SMD) work. The key to maximizing this investment lies entirely in how you use the tool.
Consumable Waste: The Hidden Drain on Your Budget
Solder wire and flux are not cheap. A one-pound spool of high-quality Kester 44 (Sn63/Pb37) rosin-core solder hovers around $35 to $42 in 2026. Lead-free alternatives like SAC305 (Tin/Silver/Copper) can exceed $55 per pound due to silver content. Wasting these materials through poor technique directly impacts your bottom line.
1. The Cost of Excessive Solder Application
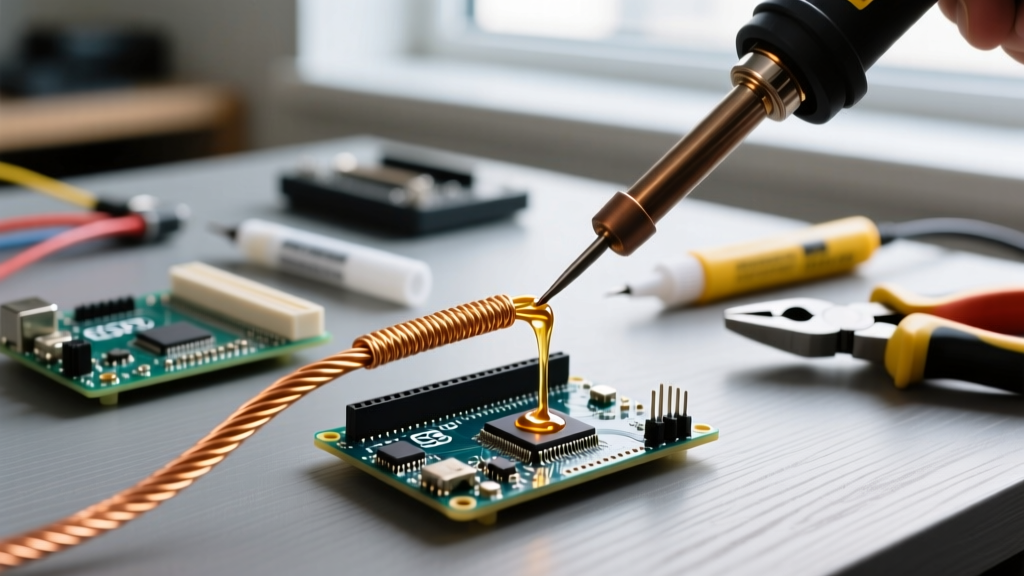
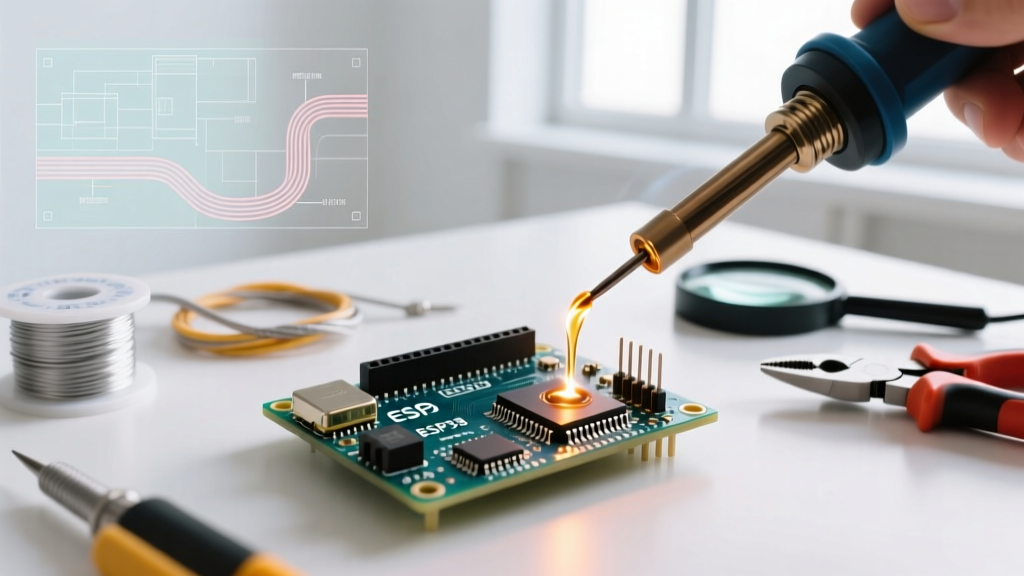
A common mistake when learning how to use a soldering tool is applying too much solder. A standard through-hole joint requires roughly 0.02 to 0.04 grams of solder. If you habitually overfeed the wire, creating large, bulbous joints, you are not improving conductivity; you are simply throwing away $0.05 per joint. Over a 1,000-pin project, that is $50 of wasted alloy. Actionable rule: Feed solder only until it wicks smoothly into the barrel of a plated through-hole, then immediately withdraw the wire.
2. Tip Oxidation and Premature Death
A soldering tip left at 350°C (662°F) in ambient air will oxidize rapidly. Once the iron plating on the tip oxidizes, it will no longer accept solder, forcing you to replace it. If you leave a mid-range station on during a two-hour debugging session without utilizing its auto-sleep feature, you will degrade the tip's lifespan by up to 60%. Replacing five extra Hakko T18-B tips a year at $9 each equates to an unnecessary $45 annual loss. Always activate your station's sleep mode or physically turn the dial down to 150°C when not actively soldering for more than three minutes.
Energy Consumption and Standby Costs
According to the U.S. Department of Energy, calculating the energy use of heating elements is vital for understanding long-term appliance costs. A typical 70W soldering station does not draw 70W continuously; it pulses to maintain temperature. However, an iron left on a stand at 350°C will draw an average of 25W to 35W continuously to combat ambient heat loss.
Cost Calculation: Leaving a 30W (average draw) soldering iron on for 8 hours a day, 250 days a year, consumes 60 kWh. At the 2026 national average of $0.16 per kWh, this costs $9.60 annually in pure standby waste. While seemingly small, scaling this across a 20-technician lab results in nearly $200 of wasted electricity, not including the accelerated tip degradation caused by continuous high-heat exposure.
Step-by-Step: Cost-Optimized Soldering Technique
To minimize rework and material waste, follow this strict, cost-optimized sequence for every single joint you make.
- Prep and Flux (Cost: $0.01 per joint): Even with rosin-core solder, adding a microscopic dab of external tacky flux (like Amtech NC-559-V2-TF) ensures rapid wetting. Rapid wetting means less time with the iron applied to the board, reducing the risk of thermal damage to sensitive components.
- Select the Correct Tip Geometry (Cost: $0.00): Never use a conical (pointed) tip for general work; it has poor thermal mass transfer. Use a chisel tip (e.g., 2.4mm or 3.2mm) that matches the pad size. Maximum surface area contact transfers heat in 1.5 seconds rather than 4 seconds, preventing pad lifting.
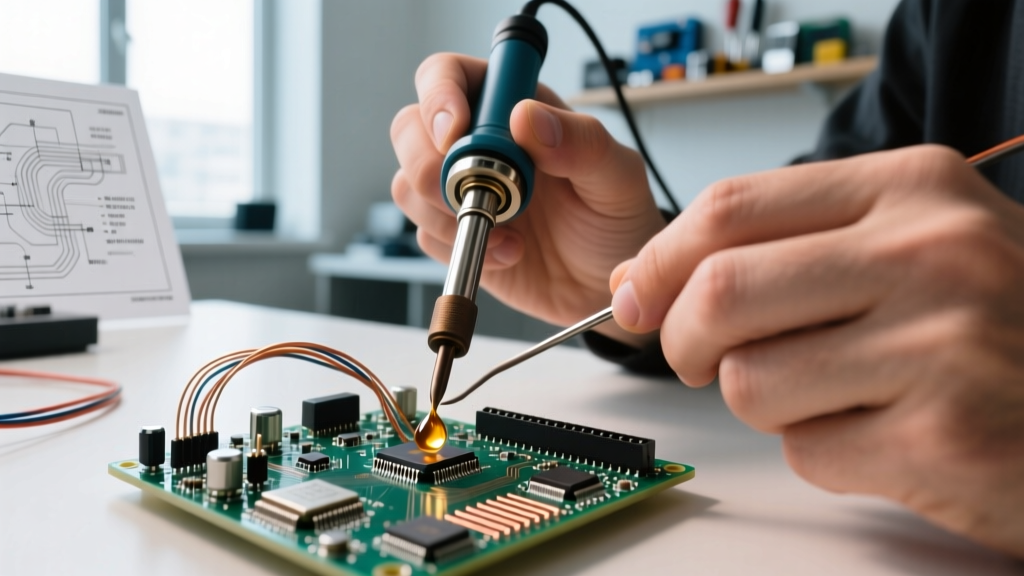
- Heat the Pad and Lead Simultaneously (Cost: Time savings): Apply the flat underside of the chisel tip so it touches both the PCB pad and the component lead at the exact same time. Wait exactly 1 to 1.5 seconds.
- Feed Solder to the Joint, Not the Iron (Cost: Material savings): Touch the solder wire to the opposite side of the pad/lead from where the iron is resting. If the joint is hot enough, the solder will instantly wick around the connection via capillary action. If you feed solder directly onto the iron tip and try to 'paint' it onto the joint, you risk creating a cold joint with burned flux, which will require costly rework.
- Remove Solder, Then Remove Iron (Cost: Defect prevention): Pull the wire away first, leave the iron for 0.5 seconds to allow the flux to fully activate and the joint to settle, then pull the iron away in a smooth motion.
The Financial Impact of Rework and Board Damage
The most expensive aspect of poor soldering technique is rework. The IPC-A-610 standard, widely recognized as the global benchmark for electronic assembly acceptability, strictly defines the criteria for solder joint reliability. Failing to meet these standards means a joint must be reworked.
Consider the cost breakdown of a single failed surface-mount joint on a densely populated 2026 microcontroller board:
- Desoldering Braid (Goot Wick CP-2060): $0.80 per use
- Extra Flux and IPA Cleaning: $0.15
- Replacement Component (e.g., STM32G4 series): $3.50 (if the original was destroyed during removal)
- Labor Time (at $25/hr technician rate): $4.16 (10 minutes of careful rework)
- Worst-Case Scenario (Lifted PCB Pad): $15.00 to $45.00 for a replacement PCB and shipping delays.
A single botched joint can easily cost between $8.00 and $50.00 to rectify. Learning how to use a soldering tool with precise temperature control (keeping lead-free SAC305 at 340°C-350°C and leaded Sn63 at 310°C-320°C) and proper timing is your primary financial defense against these hidden costs.
Health and Safety: The Ultimate Cost Factor
Finally, no cost analysis is complete without addressing the human element. Soldering generates colophony-based flux fumes, which are known respiratory sensitizers. According to the Centers for Disease Control and Prevention (CDC) NIOSH, prolonged exposure to these fumes can lead to occupational asthma and severe allergic reactions.
While a cheap desktop fan might seem like a cost-saving measure (blowing fumes away from your face), it merely disperses them into the room, increasing the exposure time for everyone in the space. Investing in a proper HEPA and activated carbon fume extractor (such as the Hakko FA-400 or a similarly rated inline duct fan with carbon filtering) costs between $150 and $300. Compared to the cost of medical bills, lost work days, or long-term respiratory treatments, an extraction system yields an immediate and infinite return on investment.
Final Verdict: Efficiency is Profitability
Mastering how to use a soldering tool is not just about achieving shiny, concave fillets. It is an exercise in resource management. By selecting the right tier of hardware, leveraging sleep modes to prevent tip oxidation, applying precise thermal techniques to avoid PCB damage, and respecting the material costs of modern alloys, you transform soldering from a consumable-heavy chore into a highly efficient, cost-effective process. Treat your tips with respect, measure your solder feed, and your project budgets will reflect the discipline of a true professional.