
Introduction: The Challenge of Ring Connections in Modern Electronics
When building DIY electronics, wearable tech, or custom power distribution boards, makers frequently ask how to hold rings together without soldering. In the context of electrical engineering and electronics DIY, 'rings' typically refer to two distinct components: ring terminals used for high-current power distribution and grounding, and jump rings used in wearable technology, chainmaille sensor meshes, and flexible circuit interconnects.
While soldering is the default joining method, it is not always viable. Exposing beryllium copper contacts to high heat can anneal the metal, destroying its spring tension. Soldering near 3D-printed PLA enclosures (which have a glass transition temperature of roughly 60°C) causes warping. Furthermore, in wearable tech, applying a 350°C soldering iron to flexible Kapton substrates or conductive fabrics will instantly melt the substrate and sever the circuit. As of 2026, with the rise of flexible bio-sensors and high-density DIY power systems, mastering cold-connection and mechanical bonding techniques is essential for reliable, long-lasting builds.
1. Ratcheting Crimp Connectors: The Standard for Ring Terminals
For electrical ring terminals (such as 12 AWG to 22 AWG power and ground connections), crimping is not just an alternative to soldering; it is the industry standard for high-vibration and high-current environments. According to the NASA Workmanship Standards and IPC-A-620 guidelines, a properly executed crimp creates a cold-weld gas-tight seal that is mechanically stronger and more conductive than a soldered joint, which can suffer from tin whiskers or cold-joint fractures over time.
Tools and Technique
To achieve a reliable bond without solder, you must abandon cheap, manual squeeze-crimpers. You need a ratcheting crimper, such as the Titan 11477 or the Knoweasy Precision Crimper (retailing around $24-$28 in 2026). These tools feature a release mechanism that only opens the jaws once the full crimping cycle is complete, ensuring consistent deformation of the terminal barrel.
- Wire Prep: Strip the wire exactly to the length of the terminal barrel plus 1mm. Never tin the wire with solder before crimping; soldered wire will 'cold flow' under pressure, leading to a loose connection and potential arcing.
- The Crimp: Insert the terminal into the correct die size. Insert the wire until the insulation rests against the insulation grip, and the bare strands are flush with the bellmouth of the terminal barrel.
- Pull-Test Verification: Per IPC standards, an 18 AWG crimped ring terminal should withstand a minimum pull-out force of 50 lbf (222 N) without the wire slipping from the barrel.
2. Silver Conductive Epoxy: Securing Wearable Jump Rings
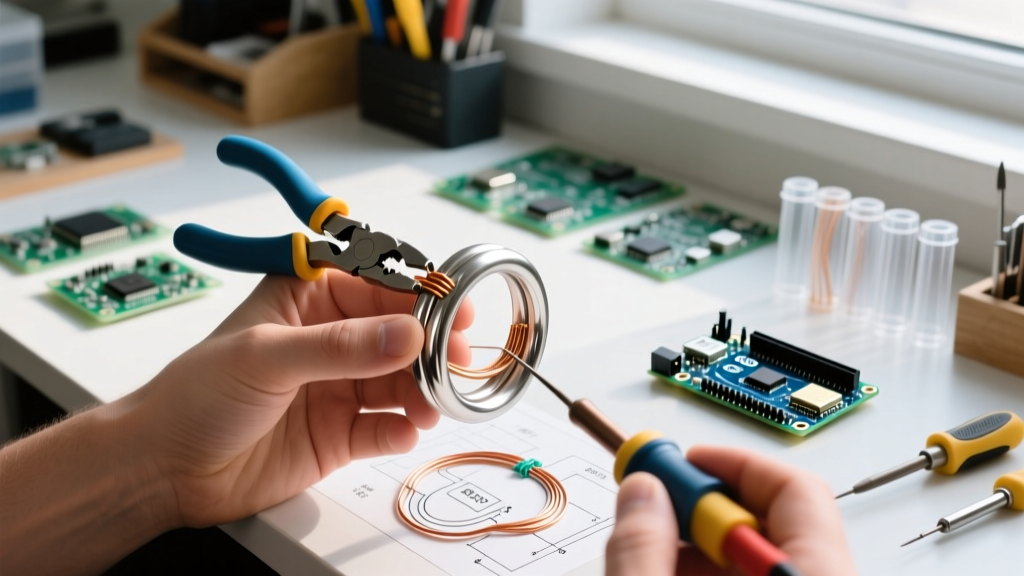
In wearable electronics, makers often use metal jump rings to create flexible, chainmaille-style sensor arrays or to connect conductive threads to rigid PCB pads. Soldering jump rings can melt adjacent synthetic fabrics or damage heat-sensitive flex-PCBs. Here, silver conductive epoxy is the ultimate solution.
Using MG Chemicals 8331
The MG Chemicals 8331 Silver Conductive Epoxy (approximately $48 for a 14g syringe in 2026) provides a volume resistivity of less than 0.001 ohm-cm. It acts as both a structural adhesive and an electrical bridge.
- Surface Preparation: Jump rings (often made of anodized aluminum or oxidized brass) must be cleaned. Lightly abrade the contact points with 600-grit sandpaper and wipe with 99% isopropyl alcohol.
- Mixing: Dispense a 1:1 ratio of Part A (resin) and Part B (hardener). Mix thoroughly on a non-porous surface for 60 seconds until the color is uniform grey.
- Application & Clamping: Apply a micro-drop to the overlapping joint of the jump rings. Use plastic binding clips or Kapton tape to hold the rings tightly together. Never use metal tweezers to clamp, as they will conduct the epoxy and short your components.
- Curing: Allow to cure for 24 hours at room temperature (25°C), or accelerate the cure to 15 minutes using a heat gun set to a low 80°C (safe for most flexible substrates).
3. Dual-Wall Adhesive Heat Shrink Tubing
For holding ring terminals to battery tabs or busbars where mechanical strain is high, dual-wall (adhesive-lined) heat shrink tubing provides a waterproof, vibration-proof mechanical lock without a drop of solder.
Products like the 3M MDT Series or generic 3:1 shrink-ratio polyolefin tubing feature an outer layer of cross-linked polyolefin and an inner layer of thermoplastic hot-melt adhesive. When heated with a heat gun to roughly 120°C, the outer wall shrinks tightly around the ring terminal and wire, while the inner adhesive melts at 85°C, flowing into every crevice between the terminal barrel and the wire strands. Upon cooling, it solidifies into a rigid, waterproof block that prevents the ring terminal from twisting or pulling off the wire, completely eliminating the need for solder.
Pro-Tip for 2026 DIY Builds: When using adhesive-lined heat shrink over ring terminals, ensure the ring's mounting hole is completely clear of the tubing. If the adhesive flows into the screw hole, it will act as an insulator, causing high-resistance connections and voltage drops when bolted to your chassis ground.
Method Comparison Matrix
| Method | Tensile Strength | Electrical Conductivity | Est. Cost (2026) | Best Application |
|---|---|---|---|---|
| Ratcheting Crimp | Very High (Gas-tight) | Excellent (100% Copper) | $25 (Tooling) | Power distribution, ring terminals, automotive |
| Silver Conductive Epoxy | Moderate (Brittle) | Good (<0.001 ohm-cm) | $48 (14g Syringe) | Wearable jump rings, flex-PCB repair, bio-sensors |
| Adhesive Heat Shrink | High (Strain relief) | N/A (Insulator) | $15 (Spool) | Environmental sealing, anti-twist for ring terminals |
| Cold Pressure Welding | High | Excellent | $150+ (Tooling) | Specialized aerospace, high-current busbars |
FAQ & Troubleshooting Common Mechanical Failures
Q: My crimped ring terminal pulls out when I tug on the wire. What went wrong?
A: This usually indicates a mismatch between the wire gauge and the terminal barrel size, or the use of a non-ratcheting crimper that failed to achieve full deformation. Check the terminal stamping; a red insulation sleeve denotes 22-18 AWG, blue is 16-14 AWG, and yellow is 12-10 AWG. If you are using the correct size, inspect the crimp. The wire strands should be visible at the front of the barrel (the bellmouth), and the insulation should be gripped by the rear sleeve. If the wire slides out, the die was too large, or the tool's ratchet mechanism needs calibration.
Q: I used conductive epoxy on my wearable jump rings, but my multimeter shows high resistance. Why?
A: Silver conductive epoxies like MG Chemicals 8331 rely on physical contact between silver flakes. High resistance usually occurs for two reasons: 1) The jump rings had an anti-tarnish coating or oxidation layer that wasn't sanded away before application, preventing the epoxy from bonding to the bare metal. 2) The epoxy was applied too thickly. The structural strength comes from the resin, but the conductivity relies on the silver particles touching. A thinner layer compressed tightly between the jump rings will yield much lower resistance than a thick, globular application. For comprehensive wearable design principles, refer to the Adafruit Wearables Guide for best practices on flexible interconnects.
Q: Can I use superglue (Cyanoacrylate) to hold electrical jump rings together if I don't have conductive epoxy?
A: Standard cyanoacrylate (CA) glue is an electrical insulator. If your jump rings only need to be held together mechanically (e.g., a grounding mesh where the rings are already making metal-to-metal contact via compression), CA glue works well on the exterior joints. However, if the current must pass through the glued joint, CA glue will block the flow of electrons. You must use a dedicated conductive adhesive or ensure the mechanical pressure of the interlocking rings is sufficient to carry the current before applying standard glue to the outside edges.
Q: How do I prevent ring terminals from loosening on a vibration-heavy DIY project like an e-bike battery?
A: Soldering ring terminals on e-bike batteries is actually discouraged, as the solder can wick up the wire strands, creating a rigid point that will eventually snap due to vibration fatigue (a phenomenon known as work-hardening). To hold them securely without solder, use a ratcheting crimper, followed by adhesive-lined heat shrink. Finally, use a star washer (internal tooth lock washer) between the ring terminal and the busbar, and tighten the bolt to the manufacturer's specified torque (usually 3-5 Nm for M5 battery terminal screws). Adhere strictly to IPC Standards for wire preparation to ensure longevity in high-vibration environments.
Conclusion
Understanding how to hold rings together without soldering is a hallmark of advanced DIY electronics fabrication. Whether you are crimping heavy-gauge ring terminals for a custom solar inverter or bonding microscopic jump rings for a flexible heart-rate monitor, relying on mechanical force, chemical adhesion, and thermal shrink polymers will yield connections that are often superior, more durable, and safer than traditional solder. By investing in the right ratcheting tools and specialized epoxies, you ensure your 2026 projects are built to withstand the rigors of real-world use.