
Harbor Freight has long been the go-to destination for hobbyists, DIYers, and frugal makers looking for affordable electronics tools. Brands like Chicago Electric, Pittsburgh, and Bauer offer soldering equipment at a fraction of the cost of professional stations like Hakko or Weller. However, budget tools come with budget quirks. If you have ever struggled with a Chicago Electric iron that refuses to tin, or a Bauer butane torch that sputters, you are not alone.
This comprehensive FAQ and troubleshooting guide dives deep into the metallurgical realities, calibration secrets, and practical fixes for Harbor Freight soldering tools. We will help you extract maximum performance from your budget gear and identify the exact moment it is time to upgrade.
The Metallurgy of Budget Soldering Tips
Before troubleshooting, you must understand why budget iron tips behave differently than professional ones. A high-end soldering tip (like those from Hakko or Weller) features a thick, high-purity copper core plated with a robust layer of iron to prevent dissolution, and finished with a thin layer of chromium to prevent solder from sticking to the sides.
Budget tips, such as those included with the Chicago Electric 60W Adjustable Soldering Iron, often have a significantly thinner iron plating. When this plating breaches due to aggressive filing or prolonged high-heat exposure, the molten tin in your solder dissolves the exposed copper core. This results in severe pitting, hollowed-out tips, and an inability to transfer heat effectively.
Expert Insight: Never use a file or sandpaper on a modern plated soldering tip, regardless of the brand. If you see black oxidation on a Harbor Freight tip, use a damp cellulose sponge or brass wire wool. Filing will instantly destroy the thin iron plating and ruin the tip.
Harbor Freight Soldering Tools FAQ
Are Chicago Electric irons safe for sensitive electronics?
Yes, but with caveats. The primary risk with budget irons is static discharge (ESD) and temperature overshoot. The basic Pittsburgh 40W irons are ungrounded, meaning they can carry stray voltages that might damage sensitive MOSFETs or microcontrollers. For general through-hole components, wire splicing, and LED strips, they are perfectly safe. For sensitive SMD (Surface Mount Device) work on expensive PCBs, you should invest in a grounded, ESD-safe station.
What replacement tips fit the 60W Adjustable Iron?
The Chicago Electric 60W adjustable iron typically uses a standard 900M series tip sleeve. These are widely available online and are compatible with many generic clone stations. When buying replacements, look for '900M-K' (knife), '900M-D' (chisel), or '900M-I' (needle) to expand your capabilities beyond the standard conical tip included in the box.
Why does my solder ball up and fall off the tip?
This is a classic 'wetting' failure. It usually happens because the rosin flux core inside your solder has burned off due to the tip being too hot, leaving only the bare metal alloy. To fix this, lower the temperature dial to roughly 320°C (608°F) for 63/37 leaded solder, and apply external liquid or tack flux (like Amtech or ChipQuik) directly to the joint before touching it with the iron.
Troubleshooting Matrix: Common Failures & Fixes
Use this diagnostic table to quickly resolve the most frequent issues encountered with Harbor Freight's electric soldering lineup.
| Symptom | Root Cause | Actionable Fix |
|---|---|---|
| Tip turns black instantly and won't accept solder. | Oxidation due to running the iron dry at max temperature. | Unplug and let cool. Gently rub with brass wool. Apply a thick coat of tip tinner (rosin/powdered solder mix) and reheat to 300°C. |
| Iron heats very slowly or not at all. | Loose set screw on the ceramic heater or failed heating element. | Locate the tiny set screw near the base of the tip sleeve. Tighten gently with a 1.5mm hex key. Do not overtighten, or the ceramic will crack. |
| Solder joints look dull, grainy, and rough. | Cold joint caused by insufficient thermal mass transfer. | Switch from a fine conical tip to a wider chisel tip. A chisel tip increases surface area contact, transferring heat into the pad much faster. |
| Temperature dial clicks but heat doesn't change. | Failed internal TRIAC or potentiometer on the PCB. | For a $15 iron, board-level repair is not cost-effective. Replace the unit or upgrade to a Pinecil V2 smart iron. |
Step-by-Step: Calibrating the 60W Adjustable Temperature Dial
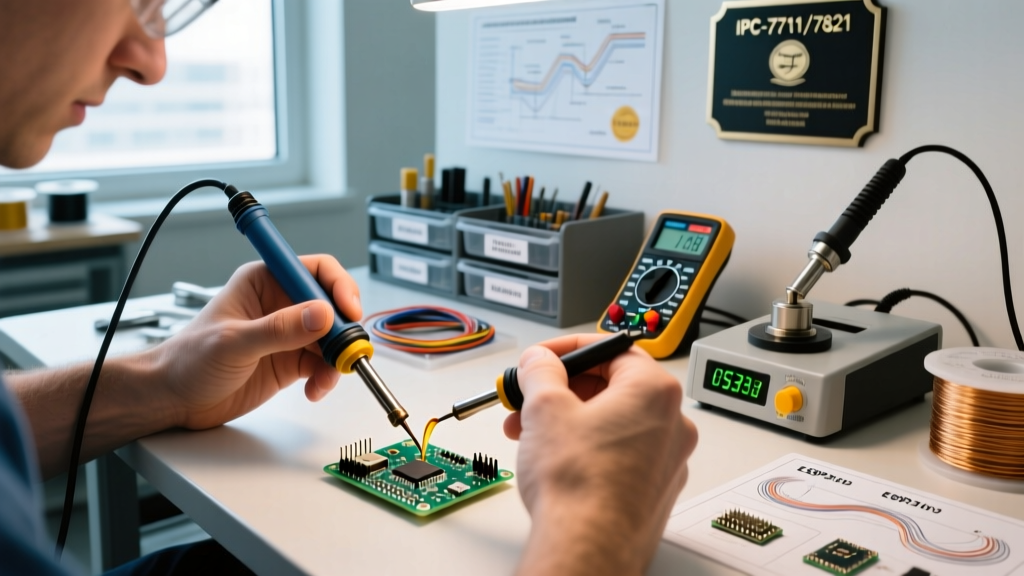
The temperature dial on the Chicago Electric 60W iron is notoriously inaccurate. The dial might read 350°C, but the actual tip temperature could be 280°C or 420°C. Relying on the printed numbers can lead to cold joints or burned PCB pads. Here is how to calibrate it using a multimeter.
- Acquire a K-Type Thermocouple: You need a multimeter with a temperature function and a K-type thermocouple probe. As noted in Fluke's multimeter testing guides, ensuring your test leads are rated for the thermal output is critical for accurate readings.
- Secure the Probe: Fold the very tip of the thermocouple wire over the flat face of your soldering iron tip. Wrap it tightly with a small piece of high-temperature Kapton tape to ensure direct metal-to-metal contact.
- Power On and Stabilize: Turn the iron on and set the dial to the midpoint. Allow it to heat for at least 3 minutes. The temperature reading on your multimeter will fluctuate as the internal thermostat cycles on and off.
- Map the Dial: Use a piece of masking tape on your workstation. Note the actual thermocouple temperature at the 25%, 50%, 75%, and 100% dial positions. Write these real temperatures on the tape.
- Solder by the Map: Ignore the numbers printed on the plastic housing. Use your masking tape cheat sheet to dial in the exact heat required for your specific solder alloy (e.g., 320°C for Sn63/Pb37, 360°C for lead-free SAC305).
Butane Torch Troubleshooting: The Bauer Series
Harbor Freight also sells the Bauer 150-Watt Butane Soldering Torch, a cordless favorite for field work, automotive wiring, and heat-shrink tubing. Butane irons operate on a catalytic reaction, not an open flame, which introduces unique maintenance requirements.
The Catalytic Converter is Clogged
If your Bauer torch struggles to stay lit, or the tip doesn't get hot despite a full fuel tank, the catalytic mesh inside the tip is likely clogged with carbon buildup from low-quality butane. The Fix: Remove the soldering tip. Using a lighter, gently burn off the carbon residue on the exposed mesh screen for about 10 seconds. Let it cool, then reinstall. Always use highly refined 5X or 11X butane to prevent future clogs.
Flint Wheel Slipping
Over time, the flint wheel on budget butane irons can become smooth, failing to generate a spark. The Fix: Remove the flint spring and flint. Take a small metal file and gently score the teeth of the spark wheel to restore the biting edge. Blow out any brass or steel shavings before reassembling.
When to Retire Your Budget Iron
While troubleshooting can extend the life of Harbor Freight tools, there is a ceiling to their performance. According to the soldering workmanship standards outlined by the NASA Workmanship Training Program, reliable solder joints require strict thermal control to prevent intermetallic compound (IMC) overgrowth, which makes joints brittle.
Budget irons with slow thermal recovery cannot maintain stable IMC layers when soldering large ground planes. You should retire your budget iron and invest in a smart, PID-controlled iron (like the Pinecil V2 or a genuine Hakko FX-888D) if you encounter any of the following:
- Pad Lifting: You find yourself holding the iron on a pad for more than 3 seconds, causing the adhesive bonding the copper pad to the FR4 fiberglass to fail.
- SMD Drag Soldering Failures: You are attempting to solder 0.5mm pitch ICs, and the iron's thermal lag is causing bridging between pins.
- Tip Pitting: The iron plating has completely failed, leaving a rough, cratered copper surface that physically cannot hold a meniscus of molten solder.
For basic wire splicing, battery tab welding prep, and simple through-hole DIY projects, your Harbor Freight tools will serve you well for years—provided you respect their thermal limitations and maintain the tips properly. For advanced PCB rework, precision calibration and superior metallurgy become non-negotiable requirements.
For further reading on proper through-hole techniques and joint inspection, the SparkFun through-hole soldering tutorial provides excellent visual baselines for what a perfect solder joint should look like, regardless of the iron you are using.