
Why Skip the Soldering Iron?
When a critical circuit fails in the field, aboard a boat, or inside a vehicle chassis, firing up a butane or mains-powered soldering iron is rarely practical. Furthermore, modern electrical standards increasingly favor gas-tight mechanical connections over soldered joints in high-vibration environments. Solder wicks into stranded wire via capillary action, creating a stiff, inflexible section that is highly susceptible to metal fatigue and work-hardening fractures. If you are searching for how to fix a broken wire without soldering, you are likely looking for a repair method that offers superior tensile strength, rapid deployment, and long-term reliability.
In this 2026 method comparison, we evaluate the four most effective non-soldering wire repair techniques: heat-shrink crimp splices, lever-actuated push-in connectors, traditional twist-on wire nuts, and silver conductive epoxy. We will break down exact product models, real-world pricing, and specific failure modes to help you choose the right solution for your exact application.
Method 1: Heat-Shrink Crimp Connectors (The Automotive & Marine Standard)
For 12V/24V DC automotive, marine, and off-grid solar applications, adhesive-lined heat-shrink butt splices are the undisputed king of non-soldered repairs. The mechanical crimp provides a gas-tight, cold-weld connection, while the outer polyolefin tubing shrinks and melts an inner layer of hot-melt adhesive, sealing the joint against moisture and corrosion.
Recommended Products & Tooling
- Connectors: 3M Highland Heat Shrink Butt Connectors or Panduit HSTT series. (Cost: $0.35 - $0.50 per unit).
- Tooling: A ratcheting crimper is mandatory. The Knipex 97 53 14 or the Titan 11510 ratcheting crimper ($45 - $85) ensures consistent pressure, preventing under-crimping (which causes pull-outs) or over-crimping (which shears copper strands).
Failure Modes & Edge Cases
The most common failure occurs when technicians use cheap, non-ratcheting plier-style crimpers. These tools often deform the barrel asymmetrically, leaving voids where moisture can infiltrate. Additionally, failing to apply heat evenly with a dedicated heat gun (set to roughly 300°C / 570°F) will result in incomplete adhesive flow, leaving the repair vulnerable to saltwater intrusion in marine environments.
Method 2: Lever-Actuated Push-In Connectors (The WAGO 221 Inline)
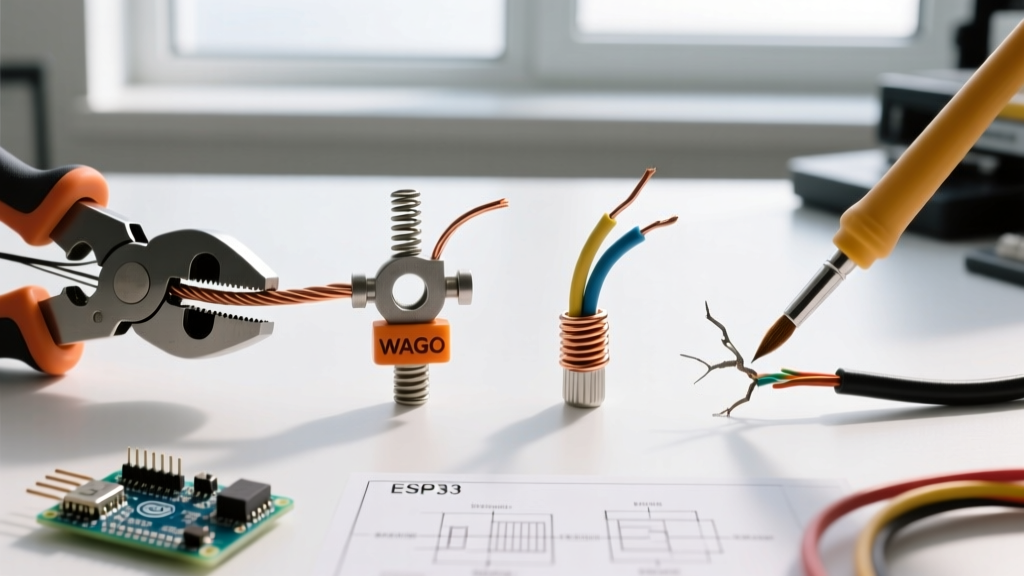
While traditionally used in junction boxes for AC mains wiring, the WAGO 221 Series inline splicing connectors have revolutionized field repairs for low-to-medium current DC and AC applications. The 221-412 (2-conductor inline) accepts 24-12 AWG solid, stranded, and fine-stranded wire without the need for ferrules.
Specifications & Real-World Pricing
- Rating: 600V, 41 Amps (for 12 AWG).
- Cost: Approximately $0.60 to $0.85 per connector when bought in retail blister packs, dropping to $0.45 in bulk boxes.
- Deployment Time: Under 15 seconds per connection.
Pros and Cons
The primary advantage of the WAGO 221 is its reusability and visual confirmation; the transparent housing allows you to verify the strip length and wire insertion. However, these connectors are relatively bulky. They are not ideal for tight wire looms or high-flex robotics applications where continuous bending could fatigue the wire right at the rigid connector exit point.
Method 3: Traditional Twist-On Wire Nuts
The twist-on wire nut is the oldest and most ubiquitous method for joining copper conductors. Brands like Ideal Industries and Klein Tools Wire Connectors dominate this space. While cheap and fast, they are generally the weakest option for repairing a broken wire in a dynamic environment.
When to Use (and When to Avoid)
Wire nuts (such as the yellow Ideal #15) rely on a tapered internal steel spring to bite into the copper and hold the twisted strands together. They cost pennies ($0.05 each) and require no specialized tools. However, they are highly susceptible to thermal cycling (expansion and contraction) and mechanical vibration. In automotive or aerospace applications, wire nuts are strictly prohibited. They should be reserved exclusively for static, indoor, dry-location AC junction box repairs where they can be wrapped with high-quality electrical tape (e.g., 3M Super 33+) for added mechanical security.
Method 4: Silver Conductive Epoxy (For Micro-Wires & PCB Traces)
When dealing with 30 AWG magnet wire, flexible printed circuits (FPC), or delicate PCB traces where mechanical crimps are physically impossible, silver conductive epoxy is your only viable non-soldering option. Products like MG Chemicals 8331 Silver Conductive Epoxy ($25 for a 7g syringe) provide a highly conductive, room-temperature curing bond.
Application Specifics
This is not for power delivery. The volume resistivity of silver epoxy is typically around 0.0006 Ω·cm, which is significantly higher than bulk copper. It is suitable for signal lines, thermistors, and low-current sensors (under 500mA). To use it, you must abrade the wire ends with fine-grit sandpaper to remove oxidation, apply a micro-drop of the two-part epoxy, and let it cure for 24 hours at room temperature (or 2 hours at 65°C). It offers excellent chemical resistance but poor tensile strength, so the repaired wire must be strain-relieved with standard non-conductive epoxy or kapton tape.
Non-Soldering Method Comparison Matrix
| Method | Best Use Case | Tensile Strength | Vibration Resistance | Relative Cost |
|---|---|---|---|---|
| Heat-Shrink Crimp | Automotive, Marine, 12V/24V DC | Very High (Gas-Tight) | Excellent | $$ ($0.40/joint) |
| WAGO 221 Inline | AC Mains, Prototyping, Solar | High (Spring Clamp) | Good (Static/Semi-Static) | $$ ($0.60/joint) |
| Twist-On Wire Nut | Indoor AC Junction Boxes | Moderate | Poor | $ ($0.05/joint) |
| Silver Epoxy | PCB Traces, 30AWG Micro-wire | Very Low (Brittle) | Poor | $$$$ ($3.50/joint) |
Step-by-Step: Executing a Flawless Heat-Shrink Crimp Repair
Because heat-shrink crimping is the most robust method for general-purpose wire repair, mastering the technique is essential. Follow these exact parameters for a 16-14 AWG (Blue) butt splice:
- Strip the Wire: Use a precision wire stripper (like the Klein 11055) to remove exactly 5/16" (8mm) of insulation. Do not nick the copper strands; even a 10% reduction in cross-sectional area creates a localized hot spot under load.
- Insert and Align: Push the stripped wire into the metal barrel until it hits the center stop. Ensure no bare copper is visible outside the metal barrel, and no insulation is pushed inside the crimp zone.
- Execute the Crimp: Place the connector in the blue die of your ratcheting crimper. Squeeze until the ratchet releases. The die should form a clean, symmetrical oval or hexagonal profile depending on your tool.
- Pull Test: Give both wires a firm, sharp tug. A properly crimped 14 AWG wire should withstand over 50 lbs of pull force before the copper itself stretches or breaks.
- Apply Heat: Using a heat gun (not a lighter, which causes uneven soot and localized melting), apply heat starting from the center of the tubing and moving outward. Stop when the adhesive rings bulge slightly at the ends, indicating a complete environmental seal.
Critical Edge Cases: Aluminum Wiring and Code Compliance
Repairing broken aluminum wire requires special attention. Aluminum oxidizes rapidly and has a different coefficient of thermal expansion than copper. Standard copper crimps or wire nuts will eventually loosen, leading to arcing and fire hazards. According to the NFPA 70 National Electrical Code (NEC), any connector used to join aluminum to copper must be specifically identified for the purpose (CO/ALR rated).
For field repairs on broken aluminum branch circuit wiring, the AlumiConn lug connector or specific WAGO connectors filled with Noalox or Penetrox anti-oxidant paste are required. The paste breaks down the aluminum oxide layer during insertion and prevents oxygen from reaching the bare metal, ensuring a stable, low-resistance connection over decades of thermal cycling.
Expert Insight: Never use standard solder on aluminum wire. The soldering flux cannot effectively penetrate the aluminum oxide layer without highly corrosive acids that will eventually destroy the joint and surrounding insulation. Mechanical, gas-tight connections with anti-oxidant compounds are the only code-compliant and safe methodology.
Final Verdict: Which Method Should You Choose?
Knowing how to fix a broken wire without soldering ultimately comes down to matching the environment to the connector. For high-vibration, moisture-prone, or DC power applications, invest in a quality ratcheting crimper and adhesive-lined heat-shrink splices. For rapid AC mains troubleshooting and junction box repairs, keep a box of WAGO 221 inline connectors in your toolkit—they are foolproof, reusable, and immensely reliable. Reserve wire nuts for quick, static indoor fixes, and keep silver epoxy on hand for delicate electronics and micro-wire emergencies.