
The Anatomy of a Cold Solder Joint
In electronics manufacturing and DIY prototyping, a cold solder joint is one of the most insidious point failures. Unlike a complete short circuit which immediately destroys a component, a cold joint often passes initial continuity tests, only to fail weeks or months later due to thermal cycling or mechanical vibration. At a metallurgical level, a proper solder joint relies on the formation of a continuous Intermetallic Compound (IMC) layer—typically Cu6Sn5 when bonding to copper pads. A cold joint occurs when the solder alloy fails to reach its liquidus temperature long enough for this IMC layer to form, resulting in a weak, high-resistance mechanical bond rather than a true metallurgical weld.
Lead vs. Lead-Free: The Visual Deception
One of the most common mistakes made by transitioning hobbyists and junior technicians is misidentifying a perfectly good lead-free joint as a cold joint. According to the IPC-A-610 standard for acceptability of electronic assemblies, the visual criteria for lead-based and lead-free solders are fundamentally different.
- Sn63/Pb37 (Leaded): Melts at 183°C. A proper joint will exhibit a bright, shiny, and smooth concave fillet. If a leaded joint appears dull or grainy, it is almost certainly a cold joint.
- SAC305 (Lead-Free): Melts between 217°C and 220°C. Due to the higher tin content and different cooling crystallization, a perfectly valid SAC305 joint will naturally appear dull, slightly grainy, and less glossy. Judging lead-free solder by leaded visual standards leads to unnecessary and potentially damaging rework.
4 Primary Causes of Cold Joint Soldering
To eliminate cold joints, you must understand the thermal and chemical failures that cause them. Here are the four main culprits:
1. Insufficient Thermal Transfer
Soldering is about heat transfer, not just temperature. If you attempt to solder a thick ground plane using a 0.5mm conical tip, the tip's thermal mass is too low to overcome the copper's heat dissipation. The solder may melt on the iron's tip, but the pad and component lead never reach the liquidus temperature, preventing wetting.
2. Premature Movement (The 'Blow' Mistake)
Solder undergoes a plastic (semi-solid) state just before fully solidifying. If the component or wire is moved during this critical 1-2 second window, the crystalline structure fractures internally. This creates a disturbed joint, which shares the same high-resistance, brittle characteristics as a cold joint.
3. Flux Exhaustion
Flux removes oxidation from the copper pads, allowing the molten solder to wet the surface. If you apply heat for too long before introducing the solder wire, the flux boils off and burns away. Without active flux, the solder balls up and sits on top of the oxidized pad, creating a cold, non-wetted joint.
4. Severely Oxidized Soldering Tips
An iron tip coated in black, burnt flux and oxidized copper acts as a thermal insulator. Even if your station reads 350°C, the actual thermal energy transferred to the joint is drastically reduced. As noted in SparkFun's soldering tutorial, keeping tips tinned and using brass wool instead of abrasive sponges is critical for maintaining thermal conductivity.
Diagnostic Matrix: Identifying Joint Failures
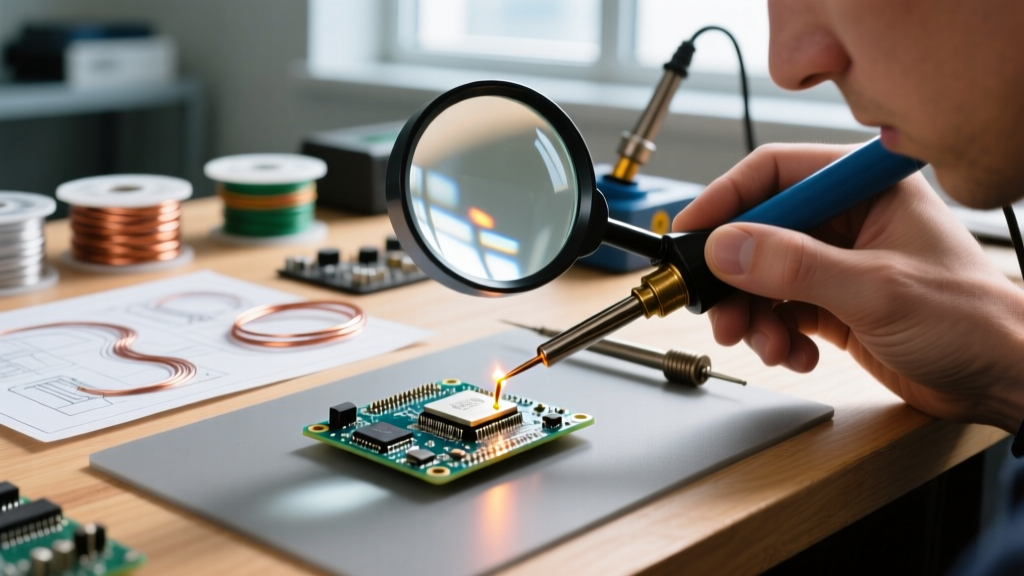
Use this matrix to diagnose the specific type of joint failure you are encountering under a magnifying lamp or microscope.
| Visual Symptom | Physical Characteristic | Root Cause | IPC-A-610 Status |
|---|---|---|---|
| Dull, lumpy, irregular shape (Leaded) | High resistance, brittle | Insufficient heat to pad/lead | Defect (Class 2 & 3) |
| Visible crack ring around the lead | Intermittent connectivity | Movement during plastic state | Defect (Class 2 & 3) |
| Solder balled on lead, not wetting pad | Zero mechanical strength | Flux exhaustion / oxidized pad | Defect (Class 2 & 3) |
| Dull, slightly grainy, smooth fillet (SAC305) | Strong mechanical bond | Normal lead-free crystallization | Acceptable |
Step-by-Step Remediation Protocol
If you have confirmed a cold joint, do not simply reheat it. The original flux is gone, and the solder is likely oxidized. Follow this professional rework procedure:
- Clean the Area: Use 99% isopropyl alcohol (IPA) and a lint-free swab to remove any burnt flux residue.
- Apply Fresh Flux: Dispense a small amount of high-quality tacky flux, such as Amtech NC-559-V2-TF (No-Clean) or Chip Quik SMD291AX, directly onto the joint.
- Select the Right Tip: Switch to a chisel or bevel tip that matches the width of the pad to maximize thermal transfer.
- Re-flow with Fresh Solder: Set your station to 350°C (for SAC305) or 320°C (for Sn63/Pb37). Apply the iron to both the pad and the lead simultaneously for 1 second, then feed a tiny amount of fresh solder wire to introduce new flux and alloy.
- Hold Still: Remove the iron and solder wire. Hold the component perfectly still for 3-4 seconds until the solder fully solidifies.
Expert Insight: Never use a 'cold joint' as an excuse to crank your soldering iron to 400°C+. Excessive heat destroys PCB pad adhesion and delaminates internal vias. Fix the thermal mass issue by changing your tip geometry, not by increasing the temperature.
Equipment Calibration & Buyer's Guide for Prevention
Preventing cold joint soldering starts with investing in a soldering station that offers rapid thermal recovery. Cheap, unregulated $20 irons suffer from massive temperature drops the moment they touch a copper ground plane, practically guaranteeing cold joints on complex boards.
Top Stations for Thermal Stability (2026 Market)
- Hakko FX-888D (~$110): The industry workhorse. Its 70W ceramic heater provides excellent thermal recovery for through-hole and basic SMD work. Pair it with a Hakko T18-D16 (1.6mm chisel) tip for optimal heat transfer.
- Weller WE1010NA (~$135): Features a 70W iron with a digital interface and rapid menu navigation. The ET series tips offer massive thermal mass for heavy ground plane soldering.
- Pinecil V2 (~$26): A disruptive budget option. Powered by a RISC-V chip and capable of running off USB-C PD (up to 65W) or DC barrels. Its algorithmic temperature control rivals stations costing four times as much, making it an incredible tool for preventing cold joints on a budget.
For comprehensive foundational techniques on maintaining these tools, the Adafruit Guide to Excellent Soldering remains an essential, up-to-date resource for makers and engineers alike.
FAQ: Cold Joint Troubleshooting
Can a multimeter detect a cold solder joint?
A standard multimeter might show continuity (0 ohms) on a cold joint because the solder is physically touching the pad and lead. However, under a microscopic view, the IMC layer is missing. The failure manifests under load: the high resistance causes localized heating, eventually leading to an open circuit. A milliohm meter or thermal camera under load is required to accurately detect the resistance anomaly of a cold joint.
Does adding more solder fix a cold joint?
No. Adding more solder without adding fresh flux simply creates a larger, uglier cold joint. The new solder will not wet the pad if the underlying oxidation is not removed by flux. You must chemically clean the joint with flux before re-flowing.
Why do my SMD drag-soldered joints keep looking cold?
Drag soldering requires a delicate balance of flux volume and tip wetting. If your joints look balled up and disconnected (cold), you are likely using a dry tip or insufficient flux. Flood the pins with liquid or tacky flux, ensure your chisel tip has a small 'bead' of solder on it to act as a thermal bridge, and drag slowly. The flux will break the surface tension and pull the solder into the pads.