
The Commercial Standard: Why the Hose Bib Soldered Connection Endures
In commercial plumbing and high-end residential construction, the exterior water supply point is a critical vulnerability. While push-to-connect fittings and PEX crimp systems have accelerated interior rough-in timelines, the hose bib soldered connection remains the undisputed industry standard for exterior sillcocks. As of 2026, property management firms and commercial contractors continue to specify sweat-soldered brass hose bibs due to their superior tensile strength, UV resistance, and predictable behavior during extreme freeze-thaw cycles.
When a copper pipe is properly sweated to a brass hose bib, the resulting metallurgical bond actually exceeds the burst pressure of the copper pipe itself. This guide breaks down the technical specifications, code compliance requirements, and buyer considerations for professional-grade soldered hose bib installations.
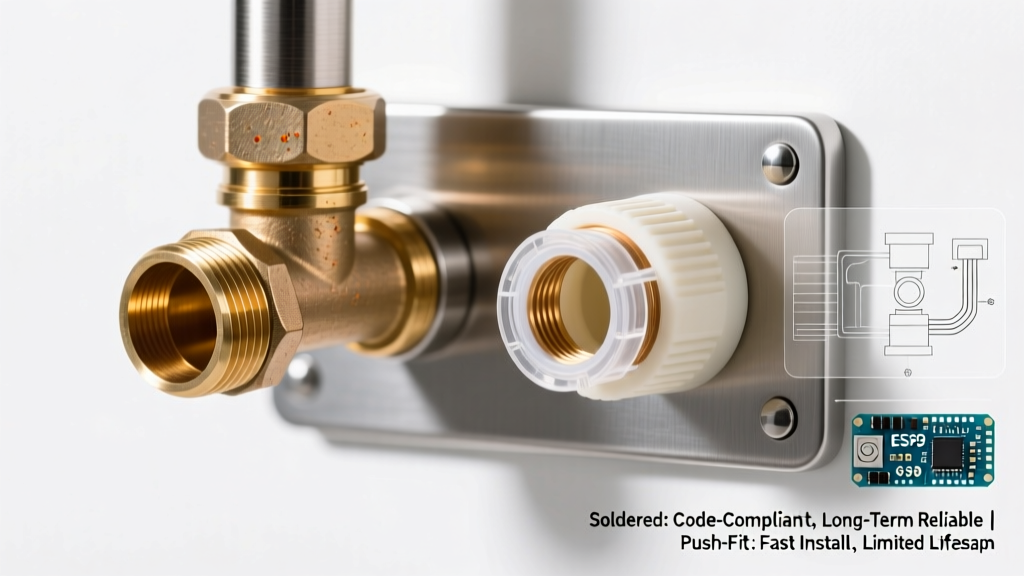
Connection Method Matrix: Soldered vs. Push-to-Connect vs. PEX
Choosing the right connection method impacts long-term maintenance budgets and code compliance. Below is a comparative analysis of exterior connection methodologies used by modern plumbing contractors.
| Feature | Hose Bib Soldered (Sweat) | Push-to-Connect (e.g., SharkBite) | PEX Crimp/Clamp to Threaded Bib |
|---|---|---|---|
| Material Cost (per fitting) | $3.50 - $6.00 (Solder/Flux) | $12.00 - $18.00 | $8.00 - $12.00 (Fitting + Ring) |
| Estimated Lifespan | 50+ Years | 15 - 25 Years (O-ring degradation) | 30 - 40 Years |
| Freeze/Thaw Resilience | Excellent (Metallurgical bond) | Poor (O-rings brittle in cold) | Good (PEX expands, but threaded brass joint is rigid) |
| UPC/IPC Exterior Code | Universally Approved | Restricted in many freeze-zone municipalities | Approved (with proper transition) |
| UV Degradation Risk | None | High (Plastic collars degrade) | High (Exposed PEX degrades) |
Critical E-E-A-T Insight: Preventing Thermal Stem Damage
The most common failure mode in amateur and rushed commercial soldering jobs is the destruction of the hose bib's internal rubber stem washer. When a torch is applied to the brass body of the sillcock, thermal conductivity transfers heat rapidly into the valve seat. If the internal assembly remains in place, the rubber washer will melt, vulcanize to the brass, or warp, resulting in a permanent drip the moment the water is turned on.
Pro-Tip: Always disassemble the hose bib before applying heat. Use an adjustable wrench to remove the packing nut, pull the stem assembly completely out of the brass body, and set the rubber washers aside. Reassemble only after the soldered joint has cooled to ambient temperature.
Code Compliance and Industry Regulations
Commercial buyers and facility managers must ensure that exterior plumbing meets both local municipal codes and federal safety standards. The EPA's Reduction of Lead in Drinking Water Act mandates that all wetted surfaces of pipes and fittings intended for potable water must contain a weighted average of no more than 0.25% lead. This means buyers must exclusively source 'Lead-Free' stamped brass hose bibs and use 95/5 lead-free solder.
Furthermore, the Uniform Plumbing Code (UPC) published by IAPMO places strict limitations on the use of push-to-connect fittings in concealed spaces and exterior walls subject to freezing. Because the O-rings in push-fittings can become brittle and fail when subjected to repeated sub-zero temperatures, many commercial inspectors will fail an exterior rough-in if a hose bib is not properly sweat-soldered or transitioned via a rigid, code-approved method.
Pro Buyer’s Guide: Selecting the Right Materials
To execute a flawless hose bib soldered connection, professionals rely on specific, high-grade materials. Here is the 2026 buyer's checklist for commercial-grade sillcock installations:
1. The Hose Bib (Sillcock)
- Woodford Model 17 Freezeless Hose Bib ($75 - $95): The gold standard for cold-climate commercial applications. Features a heavy-duty forged brass body and an integrated vacuum breaker.
- Watts LF104XL Lead-Free Sillcock ($60 - $80): Ideal for standard exterior walls where the shut-off valve is located inside the conditioned space.
2. Solder and Flux
Never use 50/50 tin-lead solder on potable water lines. According to Oatey's technical specifications, professionals should use a 95/5 Tin-Antimony or 95/5 Tin-Copper alloy. These lead-free solders melt at approximately 450°F (232°C) and provide the necessary capillary draw and structural rigidity for exterior pressure applications. Expect to pay around $35 to $45 per pound for premium 95/5 wire solder.
3. Heat Application (Torches)
Standard blue propane torches often lack the BTU output required to quickly heat a 3/4-inch brass hose bib body, leading to flux burn-off and dry joints. Professionals invest in MAP-Pro (yellow cylinder) torches.
- Bernzomatic TS8000 ($75): Features a swirl combustion chamber that concentrates heat, reducing soldering time and minimizing thermal spread to surrounding framing.
- TurboTorch Extreme ($160+): The premium choice for high-volume commercial plumbing crews, offering superior fuel efficiency and wind resistance.
Step-by-Step Professional Soldering Protocol
Achieving a watertight, code-compliant joint requires strict adherence to the following sequence:
- Surface Preparation: Cut the Type L copper pipe square using a tubing cutter. Remove the internal burr with a reaming tool. Use 120-grit sandpaper or a copper fitting brush to polish the outside of the pipe and the inside of the hose bib socket until it shines brightly. Oxidation is the enemy of capillary action.
- Flux Application: Apply a thin, even layer of water-soluble paste flux (e.g., Oatey No. 95) to both the pipe and the fitting socket. Do not over-apply; excess flux will boil and create voids in the solder joint.
- Assembly and Disassembly: Push the pipe fully into the hose bib socket and give it a quarter-turn to distribute the flux. Crucial Step: Disassemble the hose bib stem and remove all rubber components.
- Heating: Apply the MAP-Pro torch flame to the brass body of the hose bib, not the copper pipe. Brass has a higher thermal mass and requires more heat. Touch the solder wire to the opposite side of the joint. When the brass reaches the correct temperature (approx. 500°F), the solder will instantly melt and be drawn into the joint via capillary action.
- The Solder Ring: Feed solder until a continuous, shiny silver ring appears completely around the edge of the socket. Remove the heat immediately to prevent burning the flux.
- Cooling and Reassembly: Wipe the joint with a damp rag to remove residual flux (which is mildly corrosive). Allow the brass to cool naturally before reinstalling the stem assembly and rubber washers.
Frequently Asked Questions (FAQ)
Can I solder a hose bib while it is attached to PEX piping?
No. The heat required to sweat a brass hose bib will easily travel down a copper stub-out and melt adjacent PEX tubing or push-fit O-rings. Always solder the hose bib to a 12-to-18-inch copper stub-out before transitioning to PEX or connecting it to the main supply line. Use a wet rag or a specialized heat-sink paste to protect nearby components if working in tight retrofits.
Why is my soldered joint leaking after the water was turned on?
Leaks in a hose bib soldered connection are almost always caused by 'cold joints.' This occurs when the pipe or fitting was not heated sufficiently before applying the solder, causing the alloy to smear over the surface rather than drawing deep into the socket via capillary action. The joint must be completely disassembled, cleaned, re-fluxed, and re-soldered.
Do I need a vacuum breaker on a soldered commercial hose bib?
Yes. The IPC and UPC require atmospheric vacuum breakers (AVBs) on all exterior hose bibs to prevent back-siphonage of contaminated water (e.g., from a garden hose left in a puddle of fertilizer) into the potable water supply. Many premium commercial hose bibs, like the Woodford Model 17, feature integrated, factory-sealed vacuum breakers to ensure compliance.