
The Evolution of DIY Soldering in 2026
The landscape of DIY soldering has undergone a massive paradigm shift. Gone are the days when hobbyists had to settle for sluggish, unregulated ceramic heaters or invest hundreds of dollars into benchtop transformer stations just to get reliable thermal recovery. Today, the DIY soldering ecosystem is defined by RISC-V powered smart irons, advanced USB-C Power Delivery (PD) protocols, and highly engineered no-clean flux chemistries. Whether you are assembling bespoke mechanical keyboards, repairing drone flight controllers, or prototyping ESP32 sensor arrays, selecting the right thermal and metallurgical tools is the difference between a reliable joint and a latent field failure.
This comprehensive guide dissects the exact hardware, alloys, and chemical fluxes required to build a professional-grade DIY soldering bench, complete with real-world pricing, metallurgical data, and failure-mode troubleshooting.
The Heat Source Debate: Smart Irons vs. Traditional Stations
Choosing your primary heat delivery system is the most critical capital decision for your bench. We categorize the current market into two distinct architectures: USB-C Smart Irons and Traditional ESD-Safe Stations.
1. USB-C Smart Irons (The Portable Powerhouses)
Smart irons utilize direct-current (DC) resistive heating paired with microcontroller-driven PID algorithms. They poll the thermocouple embedded in the tip hundreds of times per second, adjusting PWM output to maintain thermal equilibrium.
- Pinecil V2 ($26 - $32): The undisputed king of budget DIY soldering. Powered by a RISC-V BL706 chip, it supports USB-C PD 3.1 (up to 65W with a 20V/3.25A laptop charger) and DC barrel inputs (12-24V). It features a 1.3-inch IPS display, customizable boot logos, and compatibility with standard Hakko T18 tips. Best for: Portable labs, drone repair in the field, and budget-conscious makers.
- Miniware TS101 ($55 - $65): The premium alternative to the Pinecil, featuring an OLED screen, slightly better build quality, and native USB-C PD negotiation up to 65W. It uses proprietary TS tips, which offer marginally faster thermal recovery but limit cross-brand compatibility.
2. Traditional Benchtop Stations (The Thermal Anchors)
For heavy ground planes, thick copper pours, and continuous 8-hour assembly sessions, traditional stations still hold an edge in raw thermal mass and ESD (Electrostatic Discharge) safety compliance.
- Hakko FX-888D ($110 - $125): The industry-standard workhorse. It outputs 70W via a traditional transformer and uses the ubiquitous T18 tip series. It features a digital interface with a CHIPS password lock to prevent unauthorized temperature adjustments in shared lab environments. The primary drawback is its large physical footprint and reliance on proprietary AC connectors.
- Weller WE1010NA ($115 - $130): Boasting 70W of power and a rapid-heat ceramic core, the WE1010NA heats up 30% faster than the Hakko FX-888D. It is fully ESD-safe (crucial when handling bare MOSFETs or raw ICs) and utilizes the Weller ET tip series. The silicone cable is highly flexible, reducing hand fatigue during intricate SMD (Surface Mount Device) work.
Pro-Tip on Tip Selection: Never use a chisel tip for 0402 SMD components. Switch to a micro-pencil (e.g., T18-IL or ET-LL) with a 0.2mm apex. The reduced thermal mass prevents accidental bridging and flux burn-off on microscopic pads.
Metallurgy Matters: Selecting the Right Solder Alloy
The alloy you choose dictates your temperature profile, joint reliability, and compliance with environmental regulations. For DIY electronics, two alloys dominate the bench.
Leaded Eutectic: Sn63/Pb37 (Tin/Lead)
Despite the global push toward RoHS compliance in commercial manufacturing, Sn63/Pb37 remains the gold standard for DIY soldering and prototyping. The '63/37' ratio is eutectic, meaning it transitions directly from solid to liquid at a single temperature: 183°C (361°F). There is no 'plastic' (semi-solid) phase, which virtually eliminates cold joints caused by micro-vibrations during cooling.
- Recommended Product: Kester 245 (63/37) with a 331 flux core.
- Wire Diameter: 0.031" (0.80mm) for general through-hole and 0805 SMD; 0.015" (0.40mm) for 0402 and fine-pitch QFPs.
- Cost: ~$40 - $50 per 1lb spool.
Lead-Free: SAC305 (Sn96.5/Ag3.0/Cu0.5)
If you are building devices for commercial sale or operating in strict RoHS environments, SAC305 is the standard. It melts at 217°C (423°F) and requires an iron temperature of 350°C - 380°C. SAC305 has a higher surface tension, meaning it does not wet pads as easily as leaded solder, requiring more aggressive fluxes and longer dwell times.
- Recommended Product: MG Chemicals SAC305 No-Clean Wire.
- Cost: ~$45 - $60 per 1lb spool (Silver content drives the price).
The Unsung Hero: Flux Chemistry
Solder does not stick to oxidized copper; flux removes the oxidation. Relying solely on the rosin core inside your solder wire is a common beginner mistake that leads to tombstoning and micro-bridges. You must supplement with external flux.
- No-Clean Tacky Flux (Amtech NC-559-V2-TF): Dispensed via a 10cc syringe with an 18-gauge blunt needle. Ideal for SMD drag-soldering and BGA rework. It stays localized under heat and leaves a clear, non-conductive residue that does not require washing. (~$28 per syringe).
- Liquid Rosin Mildly Activated (Kester 951): Applied via a flux pen. Best for through-hole components and tinning stranded wires. The mild activators clean heavy oxidation but require isopropyl alcohol (IPA) cleanup to prevent long-term dendritic growth in high-humidity environments.
2026 DIY Soldering Buyer Matrix
| Category | Product Model | Est. Price (USD) | Primary Use Case | Thermal Recovery |
|---|---|---|---|---|
| Smart Iron | Pinecil V2 (65W PD) | $26 - $32 | Portable repair, SMD, General DIY | Excellent (PID driven) |
| Bench Station | Hakko FX-888D | $110 - $125 | Heavy ground planes, continuous lab use | Good (Sensor feedback) |
| Leaded Solder | Kester 245 (0.031") | $42 - $48 | Prototyping, through-hole, general SMD | N/A (Melts at 183°C) |
| Tacky Flux | Amtech NC-559-V2 | $25 - $30 | Drag soldering, QFP, BGA rework | N/A |
| Fume Extractor | Hakko FA-400 | $60 - $75 | Benchtop lead/colophony fume mitigation | N/A |
Environmental, Health, and Safety Compliance
Soldering generates hazardous particulates and volatile organic compounds (VOCs). The vaporized flux (colophony) is a known respiratory sensitizer, and handling leaded solder requires strict hygiene protocols.
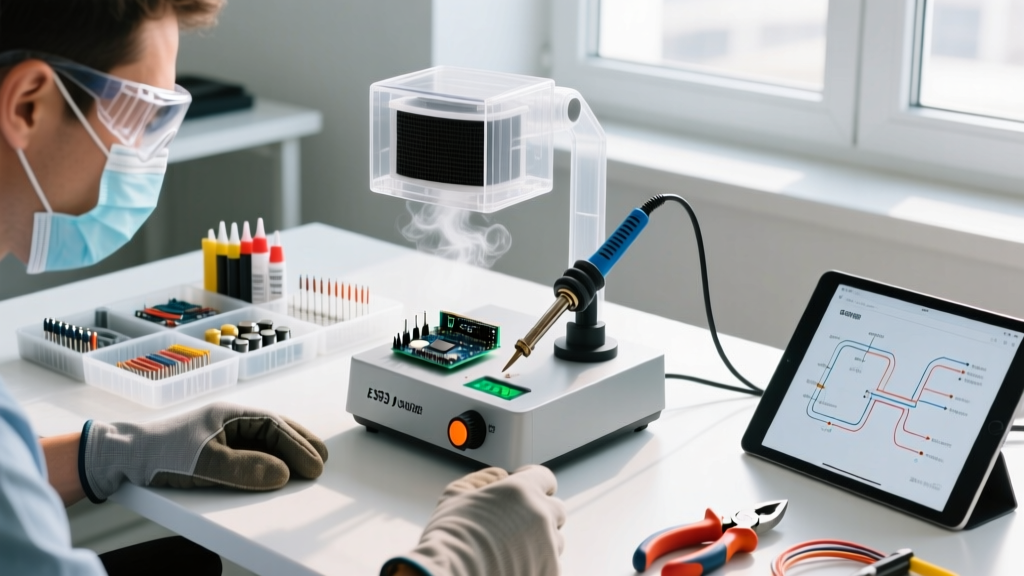
According to the Occupational Safety and Health Administration (OSHA), lead cannot be absorbed through intact skin, but it easily transfers from hands to the mouth via food, drinks, or face-touching. Always wash hands with cold water and lead-specific soap (like D-Lead) after handling Sn63/Pb37 alloys. Furthermore, localized fume extraction is non-negotiable. A benchtop HEPA/Carbon extractor like the Hakko FA-400 or a BOFA AD Qube 4 must be positioned within 6 inches of the solder joint to capture the plume before it reaches your breathing zone.
Troubleshooting Common Metallurgical Failures
Even with premium gear, improper technique yields defective joints. The NASA Electronic Parts and Packaging (NEPP) Program outlines stringent visual inspection criteria for solder joints (NASA-STD-8739.3). Below are common DIY failures and their metallurgical root causes.
1. Cold Solder Joints (Dull, Grainy, or Bulbous)
Root Cause: The iron temperature was too low, or the component lead was moved before the solder fully crystallized. In non-eutectic alloys, movement during the plastic phase causes micro-fractures.
Fix: Increase iron temp by 15°C. Apply fresh tacky flux, reflow the joint for 2-3 seconds, and hold the component completely still until the solder loses its liquid sheen.
2. Tombstoning (SMD Components Standing Upright)
Root Cause: Uneven heating of the two pads. If one pad reaches reflow temperature before the other, the surface tension of the molten solder on the wetted pad pulls the component upright.
Fix: Use a micro-pencil tip to heat both pads simultaneously. Apply a microscopic dab of tacky flux to anchor the component via surface tension before introducing the solder wire.
3. Pad Lift and Thermal Damage
Root Cause: Excessive dwell time. Holding a 350°C iron on a PCB pad for more than 4-5 seconds degrades the FR4 epoxy resin and breaks the copper-to-substrate bond.
Fix: Adhere to the IPC standards for rework, which generally recommend a maximum dwell time of 3 seconds per joint. If the joint doesn't flow in 3 seconds, remove the iron, add more flux, and try again. Never use excessive downward pressure to force heat transfer.
Final Bench Setup Recommendations
To complete your DIY soldering ecosystem, invest in a high-quality silicone soldering mat (rated to 500°C) with integrated compartments for screws and small SMD reels. Pair this with a brass wire sponge for tip cleaning—wet sponges cause thermal shock that micro-fractures the iron plating on your tips, drastically reducing their lifespan. By combining a precision smart iron like the Pinecil V2, eutectic Kester 245 alloy, and Amtech no-clean flux, you will achieve commercial-grade reliability on your very first DIY PCB assembly.