
The Hidden Hazards of Arduino Soldering
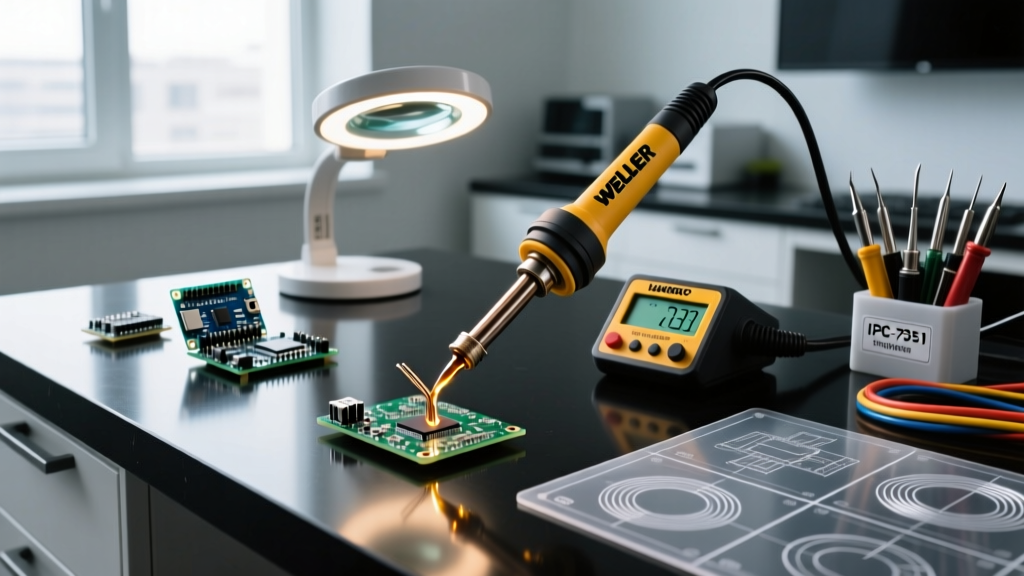
Whether you are assembling a custom shield for an Arduino Uno R4 WiFi or prototyping sensor arrays on a Nano ESP32, arduino soldering is a foundational skill for any maker. However, the hobbyist electronics space often glosses over the occupational hazards of soldering. In 2026, with the proliferation of high-density maker boards like the Arduino Portenta H7 and Opta, understanding the thermal and chemical risks of your workstation is no longer optional—it is critical for long-term health.
According to the UK Health and Safety Executive (HSE), exposure to rosin-based solder fumes (colophony) is a leading cause of occupational asthma in electronics assembly. When flux core solder reaches typical iron tip temperatures of 350°C (662°F), it vaporizes into a complex aerosol of aliphatic aldehydes and acidic gases. Inhaling these plumes repeatedly without extraction can lead to chronic respiratory sensitization.
Workstation Setup: Ventilation and Ergonomics
A common misconception in the maker community is that opening a window or using a standard desk fan is sufficient for fume management. Desk fans merely dilute and redirect the plume, often blowing unfiltered rosin and flux particulates directly across your face or onto nearby food and drink surfaces. Proper Arduino soldering safety requires localized exhaust ventilation (LEV) or active carbon filtration.
Fume Extractor Comparison for Maker Spaces
Choosing the right extraction unit depends on your volume of work and budget. Below is a comparison of popular 2026 workstation solutions:
| Model | Filtration Type | Avg. Price (2026) | Best Use Case |
|---|---|---|---|
| Hakko FA-400 | Activated Carbon | $75 - $85 | Light hobbyist use; occasional Arduino shield assembly. |
| Weller WSA350S | HEPA + Carbon | $110 - $130 | Daily prototyping; captures both particulates and VOCs. |
| DIY PC Fan + Carbon Mat | Basic Carbon Mesh | $20 - $30 | Emergency/low-budget; inadequate for continuous use. |
| Metcal BVX-200 | Multi-stage HEPA/Gas | $650+ | Professional labs; high-volume commercial Arduino integration. |
Thermal Safety: Managing Iron Temperatures
Arduino boards feature heavy copper ground planes and thick FR4 substrates, particularly around the main power jacks and USB-C connectors. Beginners often react to the slow heat transfer of these high-thermal-mass joints by cranking their soldering iron up to 400°C (752°F) or higher. This is a severe safety and quality hazard.
- Flux Burn-off: Exceeding 380°C destroys the chemical activators in rosin flux, leaving corrosive residues that can short-circuit your Arduino's microcontroller pins over time.
- Thermal Shock: Extreme heat can delaminate the copper pads on your Arduino Nano or Uno, permanently ruining the board.
- Toxic Off-Gassing: Overheating PTFE (Teflon) iron tip coatings or burning the plastic housing of female stacking headers releases highly toxic fluorocarbon gases.
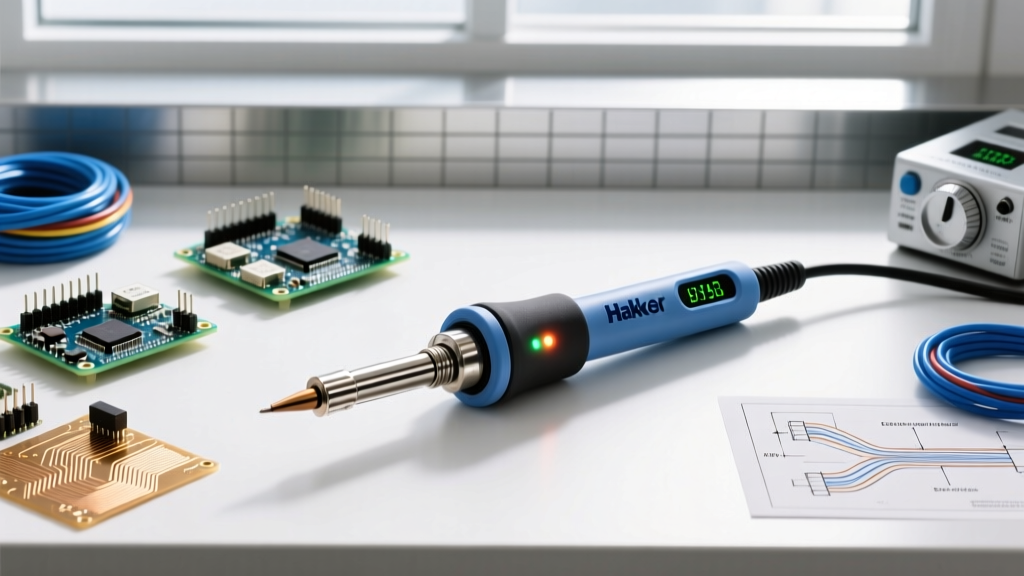
Expert Tip: For standard 63/37 Sn/Pb (leaded) solder, keep your station set between 320°C and 350°C. If you are using SAC305 (lead-free) solder, which melts at 217°C, set your iron to 350°C–380°C and use a chisel tip to maximize surface area contact rather than relying on extreme heat. Always reference MIT Environment, Health and Safety (EHS) guidelines for thermal tool management in shared spaces.
Step-by-Step Safe Soldering Flow for Arduino Shields
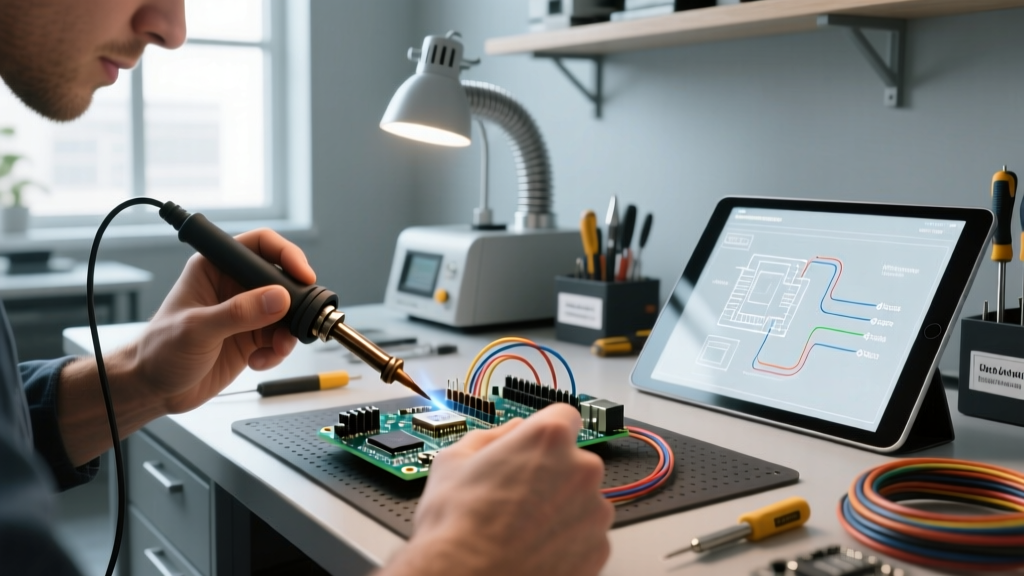
When soldering stacking headers or prototyping shields, follow this structured safety workflow to minimize burn risks and chemical exposure:
- Prep and Secure: Place the Arduino board on a high-temperature silicone mat (e.g., Hakko B2000). Use a 'helping hands' tool or a PCB vise to hold the shield. Never hold the board in your bare hand while soldering.
- Don PPE: Put on ANSI Z87.1-rated safety glasses. Solder splatter is a common cause of corneal burns, especially when trimming thick header pins with flush cutters.
- Position Extractor: Place the fume extractor nozzle exactly 2 to 4 inches from the solder joint. The capture velocity drops exponentially beyond 6 inches.
- Tin and Heat: Apply the iron to the pad and pin simultaneously for 1-2 seconds, then feed the solder. Remove the solder, then the iron. Total dwell time should not exceed 4 seconds per pin to protect the Arduino's plastic connectors.
- Clean and Inspect: Use 99% isopropyl alcohol (IPA) and an ESD-safe brush to clean no-clean or rosin flux residues. Ensure the IPA is kept away from the hot iron tip to prevent flash ignition.
PPE and Post-Soldering Hygiene
While the maker community has largely shifted toward lead-free solders for environmental compliance, many hobbyists still prefer 63/37 eutectic leaded solder for its superior wetting characteristics and lower melting point (183°C). If you use leaded solder for your Arduino projects, strict hygiene protocols are mandatory.
The Adafruit Industries Safety Guide emphasizes that lead is not absorbed through intact skin; the primary ingestion risk comes from hand-to-mouth transfer. Never eat, drink, or bite your nails at your soldering bench. Always wash your hands with cold water and heavy-duty soap immediately after handling leaded solder or bare PCBs. Furthermore, store your solder wire in a sealed container to prevent oxidation and limit environmental dust contamination.
Frequently Asked Questions (FAQ)
Is it safe to solder Arduino boards in a small, unventilated bedroom?
No. Soldering in a small, enclosed space without active carbon filtration or an open window with cross-ventilation will quickly concentrate rosin flux VOCs in the air. Over time, this can trigger respiratory sensitization and asthma. Always use a localized HEPA/Carbon extractor in small rooms.
Do I need safety glasses if I am just soldering standard 0.1-inch Arduino headers?
Yes. Trimming the excess length off standard 2.54mm (0.1-inch) male header pins with flush cutters frequently causes the clipped metal ends to fly outward at high velocity. ANSI Z87.1 safety glasses are a non-negotiable requirement for any PCB trimming or soldering task.
What should I do if I accidentally burn my finger on the soldering iron?
Immediately run the burn under cool (not ice-cold) running water for at least 10 to 15 minutes. Do not apply ice, butter, or adhesive bandages directly to a fresh thermal burn, as this traps heat and damages the tissue further. Seek medical attention if the burn blisters or covers a large area.