
The Art and Science of Decorative Soldering for Stained Glass
While standard copper foil construction focuses on creating flat, structurally sound seams, decorative soldering for stained glass transforms those seams into sculptural elements. Whether you are building a pronounced rounded bead, adding intricate wire overlays, or creating 3D structural hinges, decorative soldering requires a fundamental shift in how you approach heat, metallurgy, and tool selection.
In 2026, the market is flooded with variable-temperature stations and lead-free alternatives, but the core physics of stained glass soldering remain unchanged. This comprehensive buyer and technique guide breaks down the exact tools, alloys, and methodologies required to master decorative glasswork.
The Metallurgy of the Bead: Why 60/40 is Mandatory
To understand decorative soldering, you must understand the phase diagram of tin-lead alloys. Many beginners mistakenly purchase 63/37 (eutectic) solder because it is the standard for electronics. This is a critical error for glasswork.
- 63/37 (Eutectic): Melts and freezes instantly at 361°F (183°C). It has zero plastic range, making it impossible to sculpt or smooth a bead before it hardens.
- 60/40 (Non-Eutectic): Melts at 361°F but remains in a 'plastic' or 'mushy' state until 374°F (190°C). This 13°F window is the secret to decorative beading. It allows the surface tension of the molten solder to form a perfect, smooth dome as you pull the iron away.
- 50/50: Has a wider plastic range but lacks the structural rigidity and bright shine of 60/40, often resulting in dull, easily dented beads.
Note on Lead-Free Alloys: While environmental regulations have pushed lead-free alloys (like 97% Tin / 3% Copper) in commercial manufacturing, these alloys melt above 430°F (221°C) and freeze almost instantly. They are notoriously difficult to use for decorative beading and require specialized, high-wattage irons to prevent cold joints. For studio art glass, 60/40 remains the undisputed king of decorative work.
Iron Selection: Thermal Recovery vs. Precision
Decorative soldering demands high thermal mass. When you lay down a thick bead, the molten solder acts as a heat sink, rapidly pulling thermal energy from your iron's tip. If your iron cannot recover heat within 2 to 3 seconds, your bead will become lumpy and scalloped.
Top Tier Irons for Decorative Work
| Model | Wattage | Tip Type | Best For | Est. Price (2026) |
|---|---|---|---|---|
| Grobet P-700 | 100W | Massive Copper Chisel | Heavy 3D beading, large panels | $175 - $195 |
| Weller W100PG | 100W | 1/4" or 3/8" Chisel | Standard beading, structural seams | $120 - $140 |
| Hakko FX-601 | 67W | Ceramic Heater / Chisel | Delicate wire overlays, tinning | $65 - $80 |
The Hakko FX-601 is a phenomenal, lightweight tool for tinning foil and executing delicate wire overlays. However, for building high-domed decorative beads on long seams, the sheer thermal mass of the Grobet P-700 or the Weller W100PG is required to maintain a consistent melt pool.
Flux Chemistry: The Unsung Hero of the Dome
Flux does more than clean oxidation; it dictates the surface tension of your solder bead. For decorative work, you need a flux that leaves a protective, slightly viscous film as it heats.
Expert Recommendation: Use an oleic acid-based flux, such as Novacan Super Stained Glass Flux. Unlike water-soluble or purely zinc-chloride fluxes that boil off and spatter at high temperatures, oleic acid fluxes maintain a stable barrier over the molten bead, preventing oxidation and allowing the solder to 'ball up' into a perfect dome via surface tension. You can view the full chemistry lineup at Novacan's official site.
Step-by-Step: Executing the Perfect Decorative Bead
Building a decorative bead is a two-pass process. Never attempt to build a high dome on raw copper foil.
- Pass 1: The Flat Seam. Using a standard 1/4" chisel tip and a moderate temperature (around 380°F), run a flat, continuous seam over the copper foil. This anchors the solder to the foil and provides a base for the bead.
- Pass 2: Flux and Re-Flow. Allow the panel to cool for 3 minutes. Apply a generous, even coat of oleic acid flux over the flat seam.
- Pass 3: Building the Dome. Increase your iron temperature by 20°F to 30°F. Use a wider tip (3/8" or 1/2"). Hold the iron at a 45-degree angle. Feed the solder directly onto the iron's tip, not onto the glass. Let the molten pool transfer to the flat seam.
- Pass 4: The Pull. Move the iron at a steady pace of roughly 1 inch per second. As you lift the iron at the end of the seam, pull it straight up to allow surface tension to snap the bead into a smooth, rounded finish.
Advanced Technique: Wire Overlays and 3D Elements
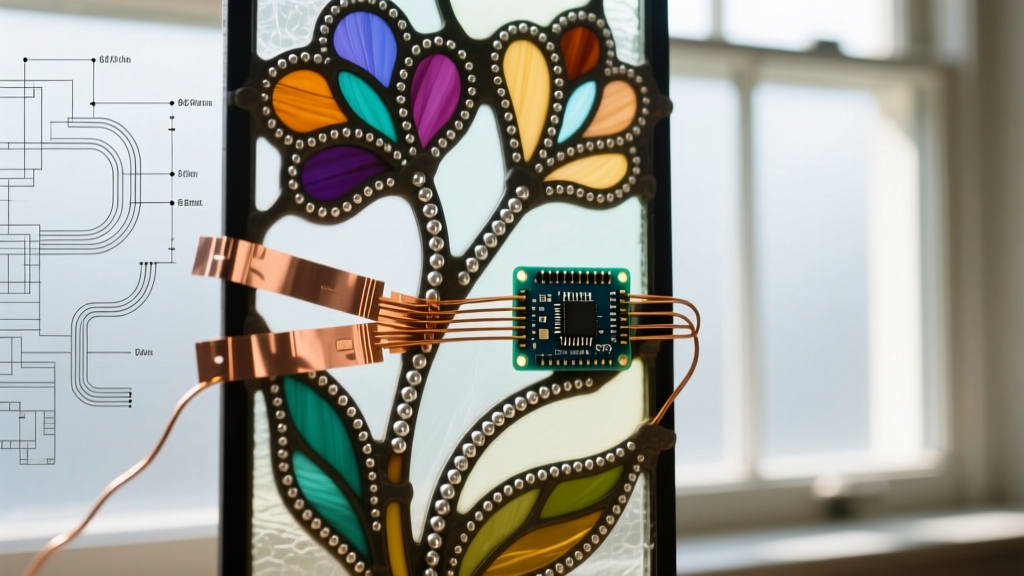
Decorative soldering extends beyond seams. Adding copper or brass wire overlays creates vines, geometric borders, and structural reinforcement. According to preservation guidelines outlined by the American Glass Guild, structural integrity must always precede aesthetic additions.
The Wire Overlay Workflow
- Material: Use 18-gauge or 16-gauge solid copper wire. Avoid brass unless you plan to patina it, as brass requires much higher heat to tin and can easily crack adjacent glass.
- Tinning: Coat the wire in flux and drag a tinned iron tip down its length until it is fully silver-coated.
- Bending: Shape the wire using nylon-jaw pliers to avoid marring the tinned surface.
- Tacking: Apply flux to the base seam. Hold the wire in place with a wooden clothespin or a specialized glass picking tool. Touch the iron to the wire and the base seam simultaneously, feeding a tiny amount of solder to 'tack' it. Repeat every 2 inches.
- Integration: Run a small bead of solder over the tacks to seamlessly blend the wire into the underlying decorative seam.
Troubleshooting Matrix: Diagnosing Bead Failure Modes
Even experienced glass artists encounter metallurgical anomalies. Use this diagnostic matrix to correct your technique.
| Visual Defect | Root Cause | Actionable Solution |
|---|---|---|
| Pitted / Porous Bead | Flux boiling and trapping gas bubbles in the cooling solder. | Lower iron temp by 15°F. Apply less flux; ensure it is brushed on thinly, not pooled. |
| Flat / Spreading Bead | Iron temperature too high, breaking the surface tension of the molten alloy. | Drop temperature by 20°F. Increase your travel speed. Ensure glass is perfectly level. |
| Lumpy / Scalloped Bead | Poor thermal recovery; iron tip losing heat faster than the heater can replace it. | Upgrade to a higher wattage iron (100W+). Increase tip surface area. Slow down your feed rate. |
| Dull / Frosty Finish | Oxidation occurring during the cooling phase due to inadequate flux coverage. | Switch to an oleic-acid flux. Do not use a fan to cool the glass; let it air-cool naturally. |
Patina, Finishing, and 2026 Safety Standards
A decorative bead is only as good as its finish. Once the panel is washed with a pH-neutral stained glass cleaner to remove acidic flux residue, apply your patina. Novacan Black Patina (selenium dioxide based) reacts with the tin and lead to create a deep, uniform black finish. For a copper or antique bronze look, ensure your decorative bead has a high copper content (using 50/50 solder for the final pass) before applying copper patina.
A Note on Studio Safety: As of 2026, OSHA and international studio safety standards heavily emphasize the mitigation of particulate and fume exposure during soldering. While the primary risk in stained glass soldering is not lead inhalation (lead does not vaporize at 400°F), the vaporized flux contains corrosive acids and fine particulates. Always utilize a localized HEPA fume extractor, such as the Hakko FA-400, positioned exactly 6 inches from your work surface, and wear nitrile gloves when handling raw lead solder and selenium-based patinas.
Mastering decorative soldering for stained glass is a marriage of patience, thermal dynamics, and material science. By respecting the plastic range of 60/40 solder, investing in high-thermal-mass tools, and controlling your flux chemistry, you will elevate your glasswork from simple construction to true sculptural art.