
The Critical Intersection of Audio Quality and Electrical Safety
In professional audio environments, the XLR connector is the undisputed standard for balanced analog and digital signals. However, soldering XLR connectors is not merely a test of signal integrity; it is a critical exercise in electrical and thermal safety. A poorly soldered XLR can result in catastrophic equipment failure, signal degradation, or even physical injury. As of 2026, with the widespread adoption of high-current digital audio protocols and standard 48V phantom power, the margin for error has never been smaller.
This guide details the exact safety best practices, thermal management techniques, and wiring standards required to assemble reliable, safe XLR cables using industry-standard connectors like the Neutrik XX Series and Switchcraft Q-G Series.
Thermal and Electrical Hazards in XLR Assembly
When soldering XLR connectors, technicians face two primary hazard categories: thermal transfer and electrical shorting.
Thermal Transfer to PBT Inserts
Premium XLR connectors, such as the Neutrik NC3MXX, utilize zinc die-cast shells and polybutylene terephthalate (PBT) insulator inserts. PBT is highly heat-resistant but will deform if subjected to prolonged thermal abuse. If a technician uses an oversized soldering iron tip or dwells on the pin for more than 3 seconds, the heat travels down the brass pin and melts the surrounding PBT insert. This structural failure can cause pins to shift, leading to intermittent connections or internal shorting when the cable is under tension.
Phantom Power and Preamp Destruction
Critical Safety Warning: Modern audio interfaces and mixing consoles supply +48V DC phantom power through Pins 2 and 3, referenced to Pin 1 (Ground). If a stray strand of shield wire bridges Pin 1 and Pin 2 during assembly, the resulting dead short can instantly blow the output transformers or solid-state drivers in high-end preamps (e.g., Rupert Neve Designs or API), resulting in thousands of dollars in repairs.
Workspace Safety and Fume Management
Soldering safety extends beyond the workpiece to the technician's environment. The rosin (colophony) flux used in 99% of audio-grade solder wires is a known respiratory sensitizer. Prolonged exposure without extraction can lead to occupational asthma.
- Fume Extraction: Never rely on passive ventilation. Use a localized HEPA and activated carbon fume extractor, such as the Hakko FA-400 or the Weller WSA800, positioned exactly 2 to 4 inches from the solder joint.
- ESD Protection: While analog audio cables are less sensitive to Electrostatic Discharge (ESD) than microchips, digital AES/EBU XLR cables interface with sensitive DSPs. Use an ESD-safe silicone mat and a grounded wrist strap when terminating cables destined for digital stage boxes.
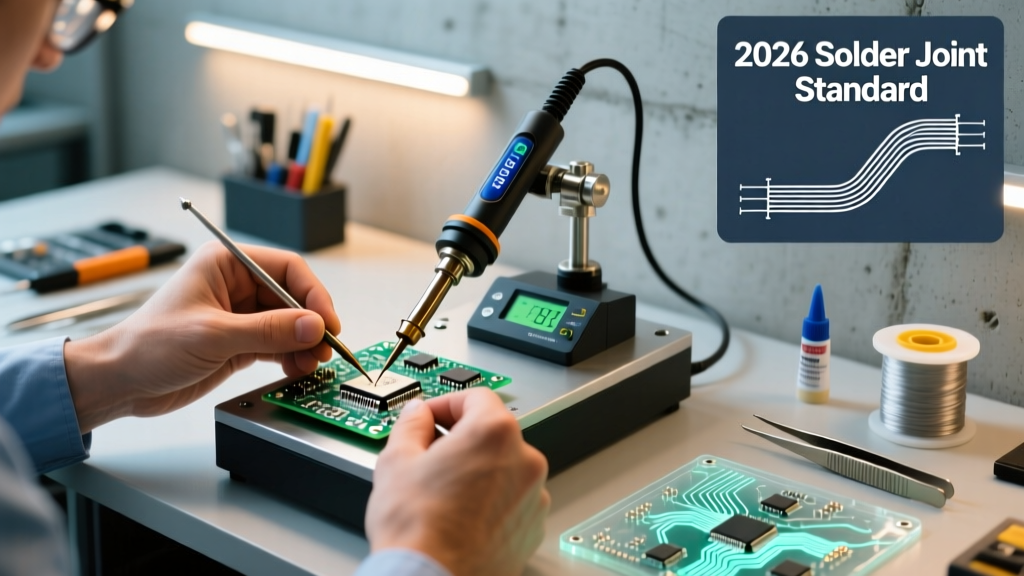
- Temperature Control: Ditch unregulated irons. Use a temperature-controlled station like the Weller WE1010NA or Hakko FX-888D (priced around $115-$130 in 2026) to maintain precise thermal profiles, preventing the need to 'overheat' joints to compensate for thermal droop.
The AES14 Pinout Standard and Wiring Matrix
Adhering to the Audio Engineering Society (AES14) standard is non-negotiable for safety and interoperability. Reversing the hot and cold pins will cause phase cancellation in multi-mic setups, while misrouting the shield creates dangerous ground loops.
| XLR Pin | Function | Standard Wire Color (Belden/Canare) | Safety / Signal Role |
|---|---|---|---|
| Pin 1 | Ground / Shield | Bare / Drain Wire | Provides shielding and phantom power return. Must be terminated cleanly to avoid shorts. |
| Pin 2 | Hot (+) | White / Clear | Carries positive phase signal and +48V DC. High short-circuit risk. |
| Pin 3 | Cold (-) | Black / Red | Carries negative phase signal and +48V DC. Must be kept physically separated from Pin 2. |
Step-by-Step Safe Soldering Procedure
Follow this exact workflow to ensure mechanical strength, electrical safety, and optimal signal transfer. This procedure assumes the use of 20 AWG to 24 AWG stranded audio wire and 63/37 eutectic rosin-core solder (e.g., Kester 245, 0.040" diameter).
- Cable Preparation: Strip the outer jacket using a precision stripper like the Jonard UST-4. Leave at least 1.5 inches of inner conductor exposed. Crucial: Always slide the XLR boot and strain relief collet onto the cable before soldering.
- Shield Management: Twist the bare shield/drain wire tightly. Apply a small piece of 3M EPS300 adhesive-lined heat shrink over the twisted shield to insulate it entirely, leaving only a tiny gap for Pin 1. This physical barrier prevents stray shield strands from shorting against Pins 2 or 3.
- Tinning the Conductors: Set your iron to 350°C (662°F) for 63/37 leaded solder, or 380°C (716°F) for SAC305 lead-free. Apply a small amount of solder to the stripped ends of the inner conductors and the Pin 1 cup. Keep the tinning process under 2 seconds per wire.
- Pre-Tinning the Connector Pins: Secure the XLR insert in a 'helping hands' fixture or Panavise. Apply a microscopic amount of flux and tin the inside of the solder cups. Do not overfill the cups; excess solder will blob outward and cause a short when the wire is inserted.
- The Final Joint: Insert the tinned wire into the tinned cup. Apply the iron to the outside of the cup for 1.5 to 2 seconds until the solder flows smoothly. Remove the iron, then hold the wire perfectly still for 3 seconds while the eutectic solder transitions from plastic to solid state. Movement during this phase causes a 'cold joint' fracture.
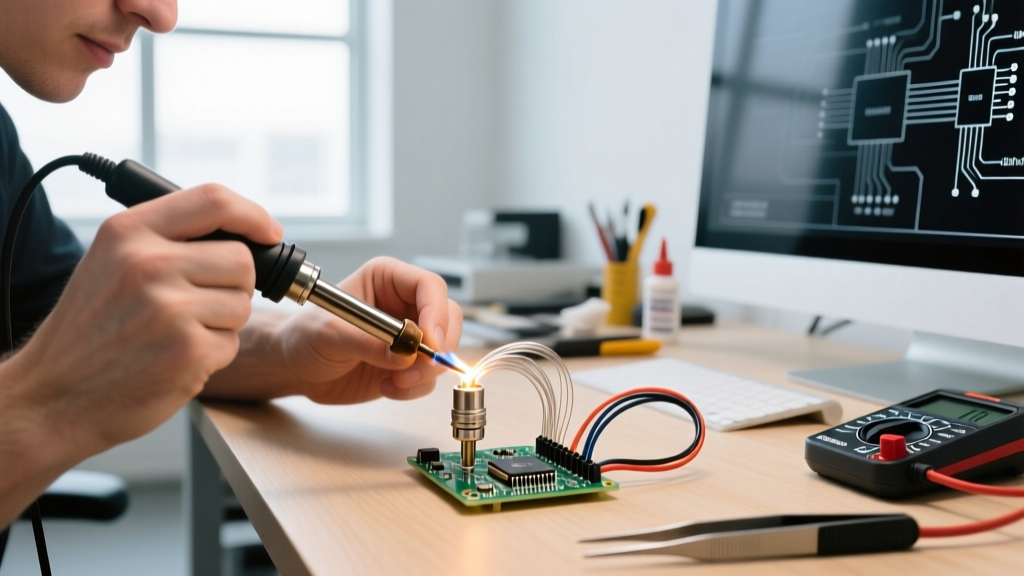
- Insulation Verification: Before reassembling the shell, visually inspect the gaps between Pins 1, 2, and 3. Use a multimeter in continuity mode to verify there is zero resistance between the shield and the signal pins.
Troubleshooting Matrix: Failure Modes and Fixes
Even experienced technicians encounter issues. The IPC J-STD-001 standard provides the benchmark for acceptable solder joints. Below is a diagnostic matrix for common XLR soldering failures.
| Failure Mode | Root Cause | Safety / Signal Impact | Corrective Action |
|---|---|---|---|
| Cold / Disturbed Joint | Moving the wire before solder solidifies; insufficient heat. | Intermittent signal; crackling audio; eventual mechanical break. | Reflow the joint with fresh flux. Ensure iron tip is clean and tinned for maximum thermal transfer. |
| Solder Bridging (Short) | Excessive solder volume; frayed shield strands. | Phantom power short; potential destruction of console preamps. | Use solder wick (desoldering braid) to remove excess. Trim shield strands and apply heat shrink. |
| Melted PBT Insert | Dwell time exceeding 3-4 seconds; iron temp too high. | Pins become loose; high risk of internal shorting under physical strain. | Discard the insert. Connector is structurally compromised and unsafe for pro use. |
| Flux Trapping | Solder flowing over the top of the wire, sealing flux inside the cup. | Long-term corrosion; increased contact resistance. | Always insert wire into the cup before applying heat; allow flux to boil out through the top. |
Final Assembly and Strain Relief Safety
The soldering process is only half the battle. If the mechanical strain relief fails, the physical tension of a heavy cable will yank the solder joints, potentially pulling Pin 2 (Hot) into contact with the zinc shell (Ground). This creates an immediate short circuit the moment phantom power is engaged.
For Neutrik XX series connectors, ensure the cable jacket extends just past the inner clamp. When tightening the chuck assembly, the collet must bite firmly into the outer jacket of the cable, not the inner insulated wires. Tighten the boot until it clicks or seats firmly against the shell. A properly assembled XLR should withstand over 40 lbs of pull force without transferring any tension to the solder cups.
Final Thoughts
Soldering XLR connectors safely requires a blend of precise thermal control, strict adherence to the AES14 pinout, and rigorous mechanical strain relief. By treating every cable build as a critical safety procedure—rather than a mundane chore—you protect expensive audio equipment from catastrophic phantom power shorts and ensure pristine signal integrity for years to come. Invest in proper fume extraction, use high-quality eutectic solder, and always verify your joints with a multimeter before applying power.