
The Anatomy of a Perfect Rework: Understanding De Soldering Wick
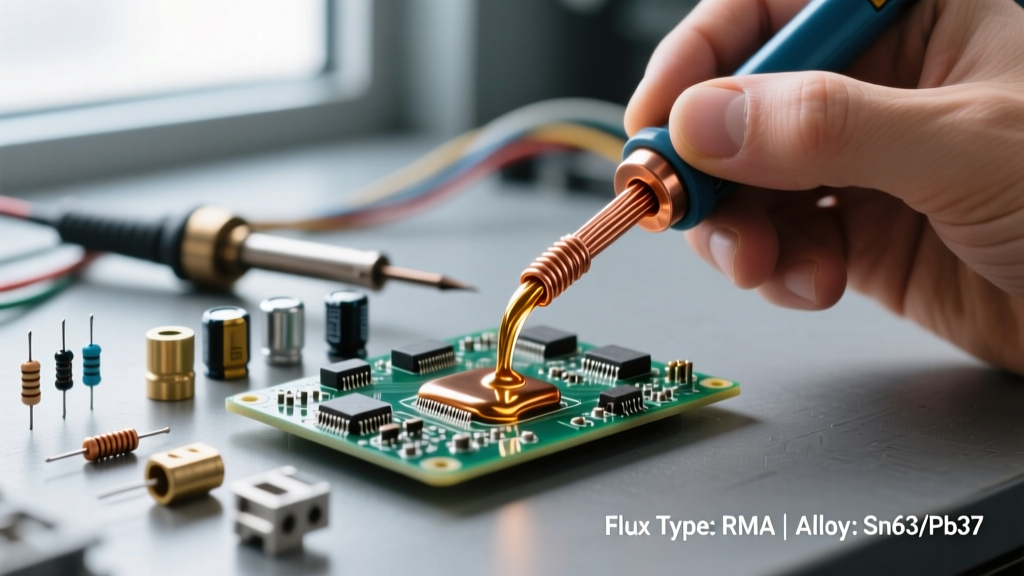
In the intricate world of printed circuit board (PCB) rework and repair, few tools are as universally relied upon—and frequently misunderstood—as the de soldering wick (often referred to as desoldering braid). Whether you are removing a defective surface-mount device (SMD), cleaning up a bridged through-hole pad, or prepping a board for a BGA reballing, the copper braid relies on the fundamental physics of capillary action and surface tension to draw molten solder away from component leads.
However, grabbing any spool from your toolbox and applying a hot iron is a recipe for lifted pads and thermal damage. As we navigate the 2026 electronics repair landscape, where lead-free SAC305 alloys and high-density interconnect (HDI) boards dominate, selecting the correct wick width, flux chemistry, and thermal profile is critical. This comprehensive guide breaks down the exact specifications, brand comparisons, and pro-level techniques required to master the de soldering wick.
Decoding De Soldering Wick Sizes and Widths
Wick is categorized by a numerical color-coded system that corresponds to its physical width. Using a wick that is too narrow will leave solder behind, while a wick that is too wide acts as a massive heat sink, pulling thermal energy away from the joint and increasing your dwell time.
| Size / Color Code | Width (mm) | Primary Use Case | Target Components |
|---|---|---|---|
| #00 (White/Grey) | 0.5mm | Micro-soldering, ultra-fine pitch | 0201, 0402 passives, 0.3mm pitch QFNs |
| #1 (Yellow) | 0.8mm - 1.0mm | Fine pitch SMD cleanup | 0603, 0805, SOIC-8, TSSOP |
| #2 (Green) | 1.5mm | General purpose SMD & small PTH | 1206, SOT-23, standard DIP IC pins |
| #3 (Blue) | 2.0mm - 2.5mm | Through-hole and ground planes | Large DIPs, TO-220, multi-layer PTH |
| #4 (Brown) | 3.0mm - 3.5mm | Heavy thermal mass joints | Power connectors, large ground vias |
| #5 (Red) | 4.0mm+ | Extreme heat sink applications | RF shields, heavy power lugs |
The Capillary Action Factor
The woven copper strands create thousands of microscopic channels. When flux lowers the surface tension of the molten solder, the solder is aggressively pulled into these channels. According to guidelines published by the IPC (Association Connecting Electronics Industries), matching the wick width to the pad geometry ensures that the solder is removed in a single pass, minimizing thermal stress on the FR4 substrate.
Flux Chemistry: Rosin vs. No-Clean vs. Unfluxed
The copper braid itself is only half of the equation; the flux coating dictates the flow dynamics and post-rework cleaning requirements.
- Rosin (R/RA/RMA): The industry standard. Rosin-based fluxes provide aggressive oxide removal and excellent wetting. However, they leave a sticky, amber residue that must be cleaned with isopropyl alcohol (IPA) or a dedicated PCB cleaner to prevent long-term dendritic growth.
- No-Clean: Formulated to leave a minimal, clear residue that is generally non-corrosive. Ideal for tight-pitch BGA pads where cleaning underneath is impossible. Note that "no-clean" does not mean "no-residue," and the residue can sometimes interfere with sensitive RF circuits or conformal coating adhesion.
- Unfluxed (Bare Copper): Used exclusively when the board already has excessive flux, or when working with highly sensitive components where introducing foreign chemicals is prohibited. You must manually apply liquid or tacky flux to the joint before using unfluxed wick.
2026 Market Leaders: Top De Soldering Wick Brands
Not all copper is created equal. Premium wicks use high-purity, oxygen-free copper with precise weave patterns to maximize thermal transfer. Here is how the top contenders stack up in the current market.
1. Goot Wick (Model: CP-2060 / CP-3060)
Price Range: $8.50 - $11.00 per 1.5m spool
Verdict: Widely considered the gold standard by professional rework technicians. Goot Wick features a proprietary corrugated weave that increases surface area, resulting in incredibly fast solder uptake. The CP-2060 (rosin) and CP-3060 (no-clean) are exceptionally forgiving, reducing the risk of pad lifting even on older, brittle boards.
2. Chemtronics (Model: 80-6-5 Soder-Wick)
Price Range: $5.50 - $7.00 per 5ft spool
Verdict: A reliable, cost-effective workhorse. Chemtronics offers excellent consistency and is widely available. Their standard rosin flux is highly active, making it a great choice for oxidized legacy boards. The Chemtronics technical documentation highlights their precise flux-to-copper ratio, which prevents the wick from becoming stiff and unmanageable.
3. MG Chemicals (Model: 424 Series)
Price Range: $4.50 - $6.00 per spool
Verdict: Excellent for budget-conscious labs and hobbyists. MG Chemicals provides a solid no-clean option (424-NC) that performs admirably on modern lead-free assemblies, though it may require a slightly longer dwell time compared to Goot Wick on heavy ground planes.
Step-by-Step Pro Technique for Flawless Rework
Executing a perfect desoldering sequence requires strict adherence to thermal management. The NASA Electronic Parts and Packaging (NEPP) program emphasizes strict temperature and time limits to prevent internal delamination of PCB layers.
- Prep the Iron: Set your soldering station to the appropriate temperature. For leaded (Sn63/Pb37) solder, target 300°C - 330°C. For lead-free (SAC305), target 350°C - 380°C. Use a bevel or chisel tip to maximize surface contact.
- Tin the Tip: Always apply a small amount of fresh solder to your iron tip before touching the wick. This creates a thermal bridge, transferring heat instantly to the copper braid.
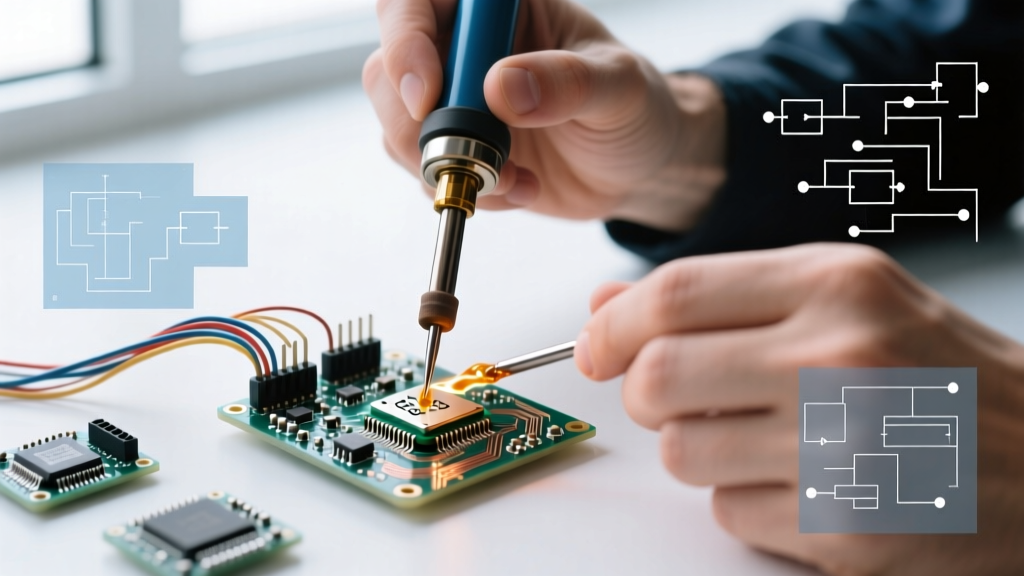
- Position the Wick: Lay the de soldering wick flat over the target pads or joint. Never wrap it around the iron tip.
- Apply Heat: Place the tinned iron tip directly on top of the wick, directly over the solder joint. Apply light, downward pressure.
- Observe the Flow: Wait 1 to 3 seconds. You will see the molten solder wick up into the braid, turning it silver. Once the wick is saturated, lift the iron and the wick away simultaneously.
- Cut and Repeat: Use flush cutters to snip off the saturated portion of the wick. Repeat with fresh braid until the pad is flat and clean.
Pro-Tip: Never drag a bare, hot soldering iron across dry copper wick. This instantly oxidizes the copper strands, destroying the capillary action and ruining the wick. Always ensure your iron tip is tinned, or add a touch of fresh solder to the joint to act as a heat-transfer medium.
Troubleshooting Common Failure Modes
Even experienced technicians encounter issues when the physics of surface tension are disrupted. Here is how to diagnose and fix common wicking failures.
| Failure Mode | Root Cause | Corrective Action |
|---|---|---|
| Lifted Pads | Excessive dwell time (>5s) or pressing too hard, softening the epoxy bond. | Reduce iron temp slightly, use a wider wick to speed up uptake, and let the board cool between passes. |
| Wick Sticking to Pad | Pulling the wick away after the solder has begun to solidify. | Always remove the iron and wick at the exact same time while the solder is fully molten. |
| Solder Bridging Remains | Flux is exhausted, or wick width is too narrow for the solder volume. | Move to a fresh section of wick, add a drop of liquid flux, and ensure the wick spans the entire bridge. |
| Slow Uptake (Cold Wicking) | Iron tip is oxidized, or the joint is connected to a massive ground plane acting as a heat sink. | Use a larger chisel tip, pre-heat the PCB with a hot air gun or bottom preheater to 120°C. |
Storage and Shelf Life: The Hidden Enemy of Copper Braid
Copper oxidizes rapidly when exposed to ambient humidity and oxygen. Oxidized de soldering wick turns dark brown or black and will completely fail to absorb solder. To maximize shelf life, always store your wick spools in an airtight container or a resealable Mylar bag with a silica gel desiccant pack. If you notice the outer layers of a spool have discolored, unspool and cut away the first 6 to 12 inches until you reach the bright, shiny copper underneath.
De Soldering Wick vs. Desoldering Pumps (Solder Suckers)
When should you reach for a mechanical pump versus a copper braid? The answer depends entirely on the joint type and the volume of solder.
- Desoldering Pumps (Manual or Electric): Best for removing large components with heavy through-hole leads where there is a massive volume of solder to evacuate quickly. Pumps can struggle with fine-pitch SMDs and often leave a thin fillet of solder behind in the barrel of the via.
- De Soldering Wick: The undisputed king of SMD rework, pad flattening, and via clearing. Wick removes solder down to the bare substrate, leaving a perfectly flat surface necessary for placing new QFN or BGA components. It is slower and more expensive per use than a pump, but offers vastly superior precision.
Frequently Asked Questions (FAQ)
Can I reuse a section of de soldering wick?
No. Once the copper braid is saturated with solder, the capillary channels are filled, and the flux is depleted. Attempting to reuse saturated wick will only smear solder across your pads and risk creating bridges. Always snip off the used portion with flush cutters.
Do I need to clean the board after using no-clean wick?
While the flux residue from no-clean wick is designed to be benign, it can leave a slight film that may trap moisture or interfere with automated optical inspection (AOI) and conformal coating. For mission-critical or aerospace applications, a post-rework cleaning with IPA or an ultrasonic bath is still highly recommended.
Why is my wick turning black and not absorbing solder?
This is caused by oxidation. If the wick was left exposed to humid air, the copper surface degrades. Additionally, if you accidentally touch the bare wick with a hot, dry iron tip (without a solder bridge), you will instantly burn the flux and oxidize the copper. Cut away the blackened section and ensure you are using a tinned tip for thermal transfer.