
The Hidden Cost of Incorrect Wire Selection
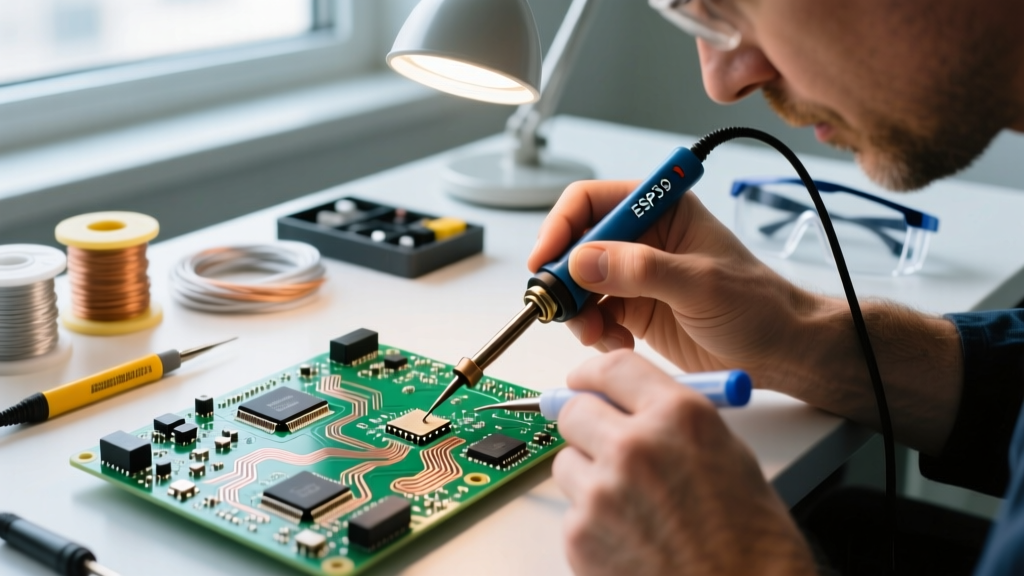
In high-density electronics assembly and DIY prototyping, the wire for soldering circuit board connections is often an afterthought. Engineers and hobbyists frequently default to whatever spool is nearest, leading to catastrophic field failures, thermal damage during assembly, and signal degradation. Choosing the correct conductor and insulation is not merely about electrical continuity; it is a mechanical and thermal engineering decision. This framework provides a rigorous, step-by-step methodology for selecting the optimal wire for your specific PCB application, based on current 2026 market availability and IPC workmanship standards.
The Core Decision Matrix: Solid vs. Stranded Conductors
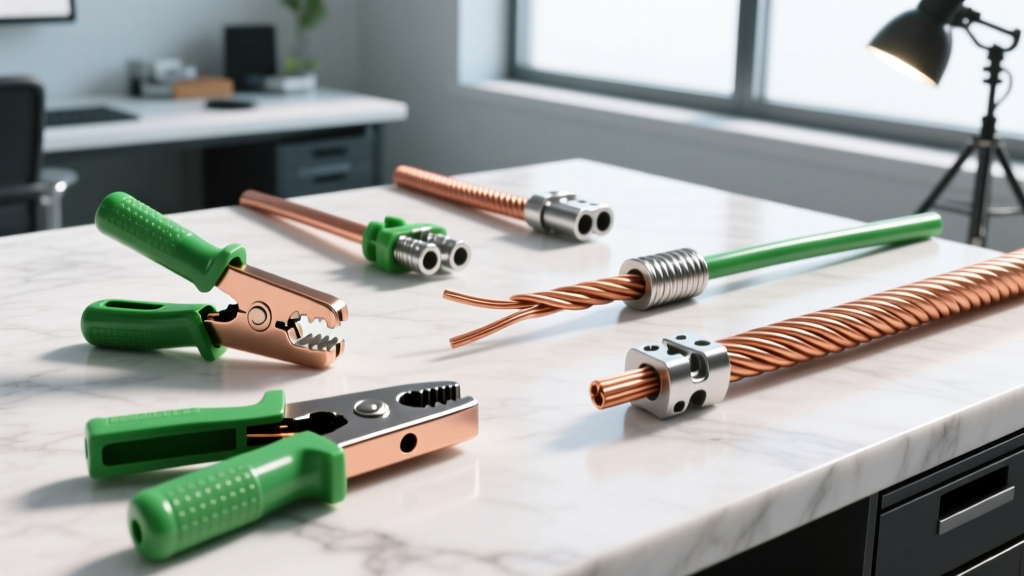
The first branching point in your decision framework is the physical construction of the copper conductor. Both solid core and stranded wires have distinct mechanical profiles that dictate their survival on a printed circuit board.
| Characteristic | Solid Core Wire | Stranded Wire (e.g., 7x32 or 19x34) |
|---|---|---|
| Flex Fatigue Resistance | Poor (snaps after repeated bending) | Excellent (distributes stress across strands) |
| Soldering Ease | High (holds shape, easy to insert in PTH) | Moderate (requires pre-tinning to prevent fraying) |
| High-Frequency Skin Effect | Higher AC resistance at RF frequencies | Lower AC resistance (more surface area) |
| Best PCB Use Case | Jumpers on static boards, wire-wrapping | Board-to-board, moving hinges, test leads |
Expert Verdict: If your circuit board will be subjected to any vibration, thermal cycling, or physical manipulation (such as a hinged enclosure), stranded wire is mandatory. Solid core wire work-hardens and fractures at the solder joint interface under these conditions.
Sizing It Right: AWG Selection and Current Capacity
Selecting the American Wire Gauge (AWG) requires balancing current-carrying capacity against spatial constraints on the PCB. According to the IPC-2221 Generic Standard on Printed Board Design, wire sizing must account for both continuous current and transient spikes, while factoring in the ambient temperature inside the enclosure.
Standard PCB Wire Gauge Recommendations
- 30 AWG to 28 AWG (0.05 to 0.08 A): Ideal for micro-soldering, 0402/0603 component rework, and low-current signal lines on densely populated boards. Often used with Kynar insulation for wire-wrapping.
- 26 AWG to 24 AWG (0.8 to 2.1 A): The workhorse range for general-purpose through-hole soldering, logic-level signals, and low-power sensor connections. Fits perfectly into standard 0.042-inch plated through-holes (PTH).
- 22 AWG to 20 AWG (3.0 to 5.0 A): Reserved for power distribution, motor drivers, and high-current LED arrays. Requires larger PTH pads and careful thermal management during soldering to avoid lifting pads due to the wire's high thermal mass.
- 18 AWG and Thicker (>7.0 A): Rarely soldered directly to standard PCBs. Usually terminated via screw terminals, heavy-duty solder lugs, or direct-to-copper bus bars. For detailed resistance and ampacity tables, refer to the All About Circuits wire sizing reference.
Insulation Materials: Surviving the Soldering Iron
The insulation jacket is the most common point of failure during PCB assembly. A standard 63/37 SnPb soldering iron operates at 350°C (662°F), while lead-free SAC305 profiles require tip temperatures up to 400°C (752°F). If your insulation cannot withstand the thermal transfer, it will melt, shrink back, and expose bare copper, creating a severe short-circuit hazard.
| Insulation Polymer | Max Continuous Temp | Melt/Shrink Behavior | Relative Cost (100ft Spool) |
|---|---|---|---|
| PVC (Standard) | 105°C | Severe shrinkback, melts easily | $8 - $12 |
| Silicone | 200°C | Highly flexible, resists melt-back | $14 - $18 |
| PTFE (Teflon) | 260°C | Zero shrinkback, extremely tough | $35 - $50 |
| Polyimide (Enameled) | 220°C+ | N/A (Requires chemical/thermal stripping) | $10 - $15 |
Pro-Tip for High-Density Boards: When working with tight pad spacing (e.g., QFN or BGA breakout routing), abandon PVC entirely. PTFE-insulated wire allows you to place a 400°C iron directly against the jacket for seconds without any thermal degradation or toxic off-gassing, ensuring pristine, flush solder joints.
The 4-Step Wire Selection Framework
Use this sequential logic flow to finalize your bill of materials (BOM) for any PCB project.
- Calculate Peak Current & Duty Cycle: Determine the absolute maximum amperage. If the load is continuous (e.g., a heater element), derate the wire's ampacity by 20%. Select the baseline AWG.
- Assess Mechanical Environment: Will the wire bridge two separate boards? Will it flex? If yes, mandate a high-strand-count stranded wire (e.g., 19-strand or 40-strand ultra-flex). If it is a static point-to-point jumper on a single board, solid core is acceptable and cheaper.
- Evaluate Thermal Exposure: Will the wire route near power MOSFETs, voltage regulators, or high-power resistors? If ambient board temperatures exceed 80°C, upgrade from PVC to Silicone or PTFE insulation.
- Determine Termination Method: If inserting into 2.54mm header pins or tight PTH vias, choose a wire gauge that physically fits the hole (usually 24 AWG max for standard 0.032" holes). If using surface mount (SMD) anchor pads, flat ribbon or ultra-thin enameled magnet wire is superior.
Real-World Failure Modes and Edge Cases
Even with the correct wire selected, improper preparation leads to field failures. The NASA Workmanship Training and Certification Program outlines several critical defects that plague both amateur and commercial PCB assemblies:
1. Solder Wicking and the 'Stiff Spike'
When pre-tinning stranded wire, capillary action can draw molten solder up under the insulation. This creates a rigid, inflexible section of wire right at the exit point of the jacket. Under vibration, the wire will fatigue and snap exactly at this transition point. Solution: Leave a 1mm to 2mm gap of bare, un-tinned strands between the insulation jacket and the solder joint to maintain a natural flex radius.
2. Enameled Wire Stripping Residue
Using 30 AWG polyurethane or polyimide enameled copper wire (magnet wire) is excellent for micro-soldering SMD pads. However, simply burning off the enamel with a lighter leaves a carbon residue that prevents wetting, resulting in cold, high-resistance joints. Solution: Use a specialized thermal wire stripper set to 380°C to vaporize the coating cleanly, or mechanically scrape the wire with a fiberglass scratch pen before applying RMA flux and tinning.
3. Thermal Pad Lifting
Soldering a heavy 18 AWG solid wire to a small, un-tented SMD pad or a poorly thermally relieved through-hole pad will act as a massive heat sink. The iron will dwell on the pad for too long, degrading the FR4 epoxy and lifting the copper trace. Solution: Pre-tin both the wire and the PCB pad heavily with a low-temperature solder paste or use a localized pre-heater to bring the board to 100°C before applying the iron.
Sourcing and Cost Optimization in 2026
For prototyping labs and small-batch production runs, buying wire in 100-foot to 500-foot spools offers the best ROI. As of 2026, premium silicone-jacketed 24 AWG stranded wire (like those from reputable brands such as Canare or generic high-grade imports) averages $15 per 100 feet. While this is a 40% premium over basic PVC hook-up wire, the reduction in assembly rework, eliminated heat-shrink tubing requirements, and prevention of insulation melt-back easily justifies the cost. For specialized RF or aerospace applications, silver-plated PTFE wire remains the gold standard, though expect to pay upwards of $60 per 100 feet. Always verify that your chosen wire meets UL1007 (PVC) or UL1332 (PTFE) safety listings if your PCB is destined for commercial consumer enclosures.