
The Economics of Battery Interconnections
Building custom battery packs for solar storage, e-bikes, or EV conversions requires meticulous attention to interconnectivity. The mechanical and electrical demands of high-current DC systems mean that a poor connection will rapidly degrade, generate excess heat, or fail catastrophically. While many hobbyists default to soldering a battery terminal due to familiarity with standard electronics work, the financial and safety implications scale drastically when moving from PCB traces to high-capacity lithium cells. This cost analysis breaks down the upfront capital expenditure (CapEx), the hidden operational costs (OpEx), and the yield-loss risks associated with soldering versus crimping and spot welding in 2026.
Upfront Capital Expenditure (CapEx): Tooling and Consumables
The most common mistake beginners make when soldering a battery terminal is attempting to use a standard 40W to 60W electronics soldering iron. Battery terminals and heavy-gauge wires (10 AWG to 4 AWG) act as massive heat sinks. An underpowered iron will linger on the joint, transferring heat into the battery chemistry rather than melting the solder. Therefore, the true cost of a soldering setup requires high-wattage equipment.
Soldering Setup Costs
- Heat Source: A high-thermal-mass iron like the Weller W100PG (100W) costs approximately $95. Alternatively, a butane micro-torch like the Blazer Big Shot GT-8000 costs around $65.
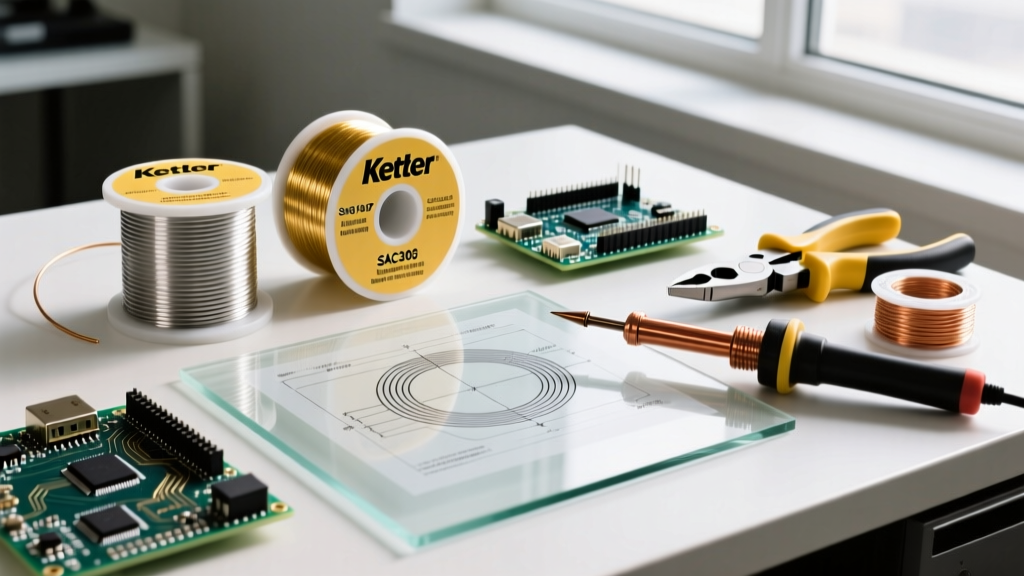
- Solder Alloy: Kester 44 (63/37 Tin/Lead) rosin-core in 18 AWG thickness is the industry standard for high-reliability manual soldering, costing roughly $28 per pound.
- Flux & Prep: Additional No-Clean liquid flux (e.g., MG Chemicals 8341) and fiberglass scratch pens for terminal prep add about $18 to the cart.
- Estimated Total: $140 – $180
Crimping Setup Costs
- Tooling: A manual hex-crimp ratcheting tool (like the IWISS IWS-16 for 16-6 AWG) costs about $45. For larger 4 AWG lugs, a Titan 11477 hydraulic crimper runs $115.
- Consumables: Copper ring terminals and adhesive-lined dual-wall heat shrink (which provides environmental sealing and strain relief) cost roughly $25 for a bulk kit.
- Estimated Total: $70 – $140
Spot Welding Setup Costs
- Equipment: An entry-level pulse spot welder (e.g., Stark 18650) costs $140, while professional pneumatic systems exceed $1,500.
- Consumables: 99.9% pure nickel strips (0.15mm x 10mm) cost $25 per roll. (Note: Nickel-plated steel is cheaper but introduces higher electrical resistance and long-term corrosion costs).
- Estimated Total: $165+ (Hobbyist grade)
| Method | Primary Tool Cost | Consumable Cost | Total CapEx | Skill Floor |
|---|---|---|---|---|
| Soldering | $65 - $120 | $35 - $60 | $100 - $180 | Medium |
| Crimping | $45 - $115 | $20 - $40 | $65 - $155 | Low |
| Spot Welding | $140 - $400 | $25 - $50 | $165 - $450 | High |
The Hidden Costs: Thermal Damage and Yield Loss
While soldering a battery terminal appears cheap on paper, the hidden costs of thermal damage and yield loss frequently make it the most expensive method in practice. Lithium-ion cylindrical cells (18650, 21700) contain internal safety mechanisms: the PTC (Positive Temperature Coefficient) thermistor and the CID (Current Interrupt Device). The CID is designed to permanently sever the electrical connection if internal pressure builds, a reaction often triggered by excessive heat exceeding 85°C to 105°C at the positive terminal cap.
Expert Warning: According to thermal runaway research published by the National Renewable Energy Laboratory (NREL), localized heating on a battery terminal can rapidly propagate through the conductive metal casing into the internal separator. If the separator melts at 130°C, an internal short circuit occurs, leading to catastrophic thermal runaway.
Calculating the Cost of a Ruined Cell
Assume you are building a 52V 14S5P e-bike battery using 70 Samsung 50E cells (priced at $6.00 each, totaling $420 in raw cells). If you are manually soldering a battery terminal and your heat management is imperfect, a conservative 5% CID trip rate means you will permanently kill 3.5 cells. That is $21.00 in direct yield loss. Furthermore, if you are working with prismatic LiFePO4 cells (e.g., EVE 100Ah at $85 each), the terminals are often aluminum. Soldering to aluminum requires highly corrosive organic acid fluxes and immense heat. This frequently delaminates the internal jelly roll or melts the plastic top seal, leading to electrolyte leaks and total cell death—an $85 mistake per joint.
Metallurgical Realities and Long-Term Reliability
Beyond immediate thermal damage, soldering introduces long-term mechanical failure modes that cost money to diagnose and repair. Solder is a soft, ductile metal that is highly susceptible to creep and fatigue under continuous vibration (such as in an e-bike or marine environment). Over time, the solder joint can develop micro-fractures, increasing electrical resistance. This resistance generates localized heat, melting the solder further and eventually causing an open circuit or a fire.
Conversely, a properly executed hex-crimp creates a cold-weld gas-tight seal. The NASA Workmanship Standards for high-reliability aerospace applications heavily favor crimping over soldering for high-vibration, high-current environments precisely because crimping avoids the thermal fatigue cycles inherent to solder alloys.
Decision Framework: Volume vs. Budget
Choosing the right interconnection method requires balancing your production volume against your budget and risk tolerance.
- Choose Crimping When: You are building large prismatic cell banks (LiFePO4 solar walls) or using heavy-gauge wires (4 AWG to 2/0 AWG). Crimping is vastly superior for thick cables, requires the least specialized skill, and eliminates thermal risk to the battery chemistry. The IPC-7711/7721 standards recognize crimping as the premier method for high-strain wire-to-lug terminations.
- Choose Spot Welding When: You are mass-producing cylindrical cell packs (18650/21700) for e-bikes or drones. The upfront cost of a welder is offset by the speed (2 seconds per weld) and the complete elimination of thermal transfer into the cell body.
- Choose Soldering Only When: You are attaching thin sense wires (22 AWG to 18 AWG) to a BMS, or working on low-current, stationary hobby projects where vibration is zero and the financial loss of a ruined cell is acceptable.
Soldering Safely: Minimizing Thermal Debt
If your project dictates that you must be soldering a battery terminal, you must employ strict thermal mitigation strategies to protect your financial investment in the cells.
- Use a Thermal Barrier: Wrap the body of the cell in aluminum tape or hold a damp paper towel against the terminal with hemostats to draw heat away from the cell cap.
- Pre-Tin Everything: Never attempt to heat the wire, the terminal, and the solder simultaneously. Pre-tin the stripped wire and pre-tin the battery terminal separately using aggressive flux. The final joint should only require 1 to 2 seconds of contact to fuse the two pre-tinned surfaces.
- Maximize Power, Minimize Time: Heat transfer is a function of power multiplied by time. A 150W iron applied for 1.5 seconds transfers less total thermal energy into the battery's internal chemistry than a 40W iron applied for 15 seconds. Use the highest wattage iron you can safely control.
- Never Solder the Positive and Negative Terminals Simultaneously: Ensure the circuit is open and the cells are not under load to prevent short-circuiting your high-wattage iron through the cell.
Final Verdict
While the raw materials for soldering are cheap, the true cost of soldering a battery terminal includes the high risk of yield loss, thermal degradation, and long-term vibration fatigue. For modern high-capacity lithium builds, investing in a quality ratcheting crimper or a pulse spot welder is not just a matter of convenience—it is a critical financial safeguard that protects your expensive battery cells from irreversible thermal damage.