
The Hidden Hazards of Copper Pipe Soldering
When DIYers and junior technicians approach soldering plumbing lines, they often underestimate the compounding risks of high-temperature torch work in confined, combustible spaces. Unlike electronics soldering, which operates below 750°F (400°C) on a static bench, plumbing soldering requires sweeping an open flame reaching 3,600°F (1,982°C) inches away from wooden studs, drywall paper, and PVC insulation. According to the National Fire Protection Association (NFPA 51B), hot work operations, including plumbing torch use, are a leading cause of non-residential and residential structural fires, often igniting hours after the work is completed due to smoldering embers in wall cavities.
Beyond thermal hazards, the chemical exposure from vaporized flux and the physical danger of pressurized steam blowouts demand rigorous safety protocols. This guide outlines the exact safety best practices, specialized gear, and procedural fail-safes required for soldering plumbing lines in 2026.
Essential PPE and Gear for Plumbing Soldering
Standard cotton work gloves and safety glasses are insufficient for the thermal radiation and chemical splashes inherent to copper pipe sweating. Upgrading to task-specific Personal Protective Equipment (PPE) is non-negotiable.
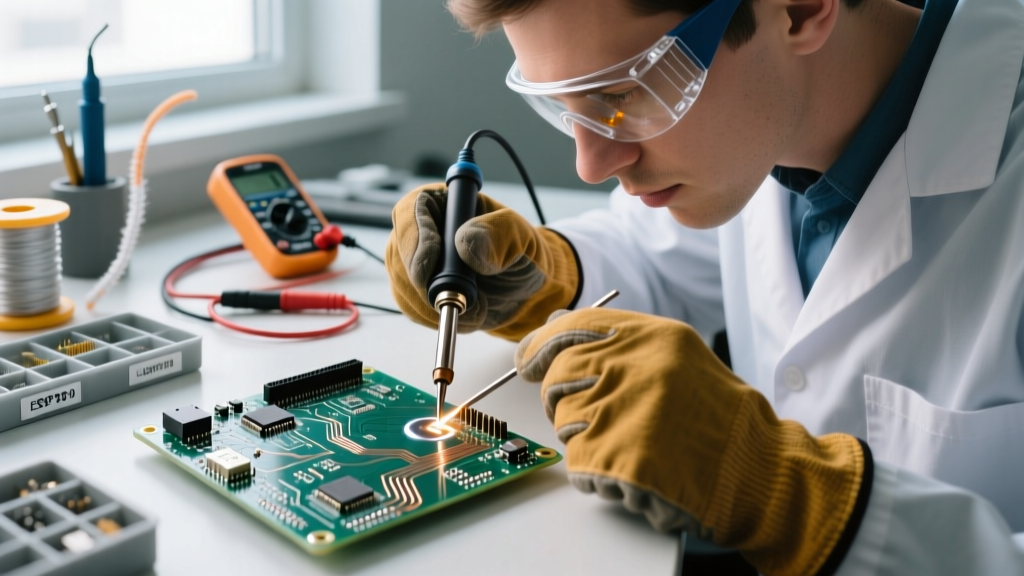
- Thermal Protection: Use split-cowhide welding gloves, such as the Lincoln Electric KH540 (approx. $28). They provide the dexterity needed to hold solder wire while shielding the back of the hand from radiant heat and accidental molten solder drips.
- Respiratory Protection: Vaporized plumbing flux contains zinc chloride and ammonium chloride, which are severe respiratory irritants. When working in unventilated crawlspaces or bathrooms, wear a half-mask respirator like the 3M 6200 equipped with P100/Organic Vapor cartridges (e.g., 3M 60921). Refer to OSHA ventilation guidelines for confined space hot work.
- Ocular Protection: Polycarbonate safety glasses with side shields (ANSI Z87.1 rated) are mandatory. Flux spits when heated, and molten solder can splash if a joint is overheated.
Fire Prevention and Heat Shielding Matrix
The most catastrophic failure mode in soldering plumbing is igniting a wall cavity. Drywall paper ignites at roughly 450°F (232°C), and a propane or MAP-Pro torch will exceed this in a localized area within seconds. Use the following matrix to select the correct shielding tool for your specific environment.
| Shielding Tool | Best Application | Est. Cost | Expert Pro-Tip |
|---|---|---|---|
| H2O Safe Heat Shield Cloth | Tight joist bays, near PVC | $22 | Soak in water before use. The water absorbs latent heat, keeping the shield below 212°F until fully evaporated. |
| Steel Flame Protector Plate | Flat surfaces, behind pipes | $15 | Use a magnet or locking pliers to hold it against steel studs or cast iron drain lines behind the copper. |
| Intumescent Fire Putty | Irregular gaps, tight corners | $18 | Mold it around the pipe where it passes through a wooden bore hole to prevent heat transfer to the framing. |
Step-by-Step Safe Soldering Workflow
Step 1: Draining and the 'Steam Explosion' Fail-Safe
The single most dangerous physical hazard when soldering plumbing is the steam explosion. If even a few drops of water are trapped inside the copper pipe, the torch will flash-boil the water. Water expands approximately 1,700 times its volume when converting to steam. In a sealed or partially sealed pipe, this pressure will violently blow molten solder and superheated steam directly out of the joint and into the operator's face.
Expert Rule: Never trust gravity alone to drain a line. After shutting off the main and opening the lowest valve, use a wet/dry shop vac on the open end of the pipe to pull residual water out. Alternatively, push a tightly wadded piece of white bread into the pipe upstream of the joint to act as a temporary, dissolvable dam. The bread will safely dissolve once the water is turned back on and will pass through standard aerators.
Step 2: Chemical Prep and Flux Application
Copper oxidizes rapidly when heated. Flux removes this oxidation and allows the solder to flow via capillary action. Use a water-soluble, lead-free paste flux like LA-CO Regular Paste Flux or Oatey No. 95 Tinning Flux. Apply a thin, even layer with a flux brush. Warning: Excessive flux will boil and spit violently when the torch is applied, causing chemical burns. Wipe away excess flux from the exterior of the pipe before heating.
Step 3: Controlled Heating with High-BTU Torches
For 3/4-inch and 1-inch copper lines, standard propane (approx. 3,600 BTU) is too slow, causing the entire length of the pipe to heat up and potentially igniting surrounding materials. Upgrade to a Bernzomatic TS8000 trigger-start torch paired with a MAP-Pro cylinder (approx. $15 for the cylinder, $65 for the torch). MAP-Pro burns at 3,730°F, allowing you to heat the fitting in 5 to 8 seconds, drastically reducing the window for heat migration into wall cavities. Always keep the flame moving in a circular motion around the fitting cup, never aiming directly at the solder wire.
Chemical Safety: Managing Flux and Fumes
Traditional plumbing fluxes are highly acidic, typically composed of zinc chloride and ammonium chloride. When heated, they release white, acrid smoke. Prolonged inhalation can cause chemical pneumonitis. If you are soldering plumbing in a finished bathroom or kitchen without active cross-ventilation, you must deploy a localized exhaust fan or open windows to create a draft. Furthermore, all water-soluble flux residues must be wiped clean with a damp rag immediately after the joint cools. Leftover acidic flux will eventually corrode the copper from the outside in, leading to pinhole leaks years down the line.
Troubleshooting Common Safety Failures (Edge Cases)
Edge Case: The 'Cold Joint' Reheat
If the solder fails to draw into the fitting (a 'cold joint'), do not immediately reapply the torch while the flux is still bubbling. The joint is likely contaminated with oxidized, burnt flux. Allow the pipe to cool, disassemble the fitting using a propane torch and channel-lock pliers, clean both the pipe and fitting with emery cloth, re-flux, and start over. Attempting to force solder into a burnt joint results in a structural failure that will burst under standard 60-80 PSI municipal water pressure.
Edge Case: Soldering Near Existing Solder Joints
When adding a new tee-valve inches away from an existing soldered joint, the heat transfer through the copper can melt the previous joint's solder, causing it to collapse. Wrap a heavy, wet rag around the existing joint to act as a heat sink, absorbing the thermal energy before it reaches the melting point of the existing solder (approx. 428°F to 452°F for lead-free alloys).
Frequently Asked Questions (FAQ)
Is it legal to use 50/50 lead-tin solder on plumbing lines?
No. Under the EPA's Lead and Copper Rule and the Safe Drinking Water Act, any solder used on potable water lines must be certified lead-free (containing less than 0.2% lead). You must use 95/5 (Tin/Antimony) or 97/3 (Tin/Copper) alloys, such as Oatey Safe Flo. Using lead solder on drain/waste/vent (DWV) lines is technically unregulated in some older jurisdictions, but it is universally banned by modern building codes and strongly discouraged due to environmental runoff and cross-contamination risks.
How long should I wait before turning the water back on?
Copper is an exceptional thermal conductor. A joint that feels warm on the outside may still have molten solder inside the capillary space. Wait a minimum of 3 to 5 minutes for 1/2-inch lines, and up to 10 minutes for 1-inch lines, before slowly introducing water pressure. Turning the water on too quickly can cause thermal shock, micro-fracturing the newly crystallized solder joint.
What is the post-work fire watch protocol?
Following NFPA guidelines, you must maintain a 'fire watch' for at least 60 minutes after the torch is extinguished. Use an infrared (IR) thermometer to scan the wall cavity, wooden studs, and adjacent drywall. If any surface reads above 150°F (65°C), apply a damp cloth to cool it down and monitor it until it reaches ambient room temperature. Keep a 2.5-gallon pressurized water fire extinguisher (Class A) within 15 feet of the work area at all times.