
The Anatomy of a Perfect Copper Solder Joint
Sweating copper pipes remains the gold standard for residential and commercial plumbing in 2026, offering a mechanical and metallurgical bond that outlasts push-fit alternatives by decades. However, the integrity of a soldered joint relies entirely on capillary action, which is dictated by the quality of your copper pipe soldering equipment. A flawless joint requires precise thermal management, meticulous surface preparation, and code-compliant consumables. Whether you are a journeyman plumber upgrading your rig or a DIYer tackling a whole-house repipe, selecting the right torches, alloys, and prep tools is non-negotiable. This comprehensive buyer guide breaks down the exact equipment needed to achieve leak-free, pressure-tested joints while adhering to modern plumbing codes.
Core Copper Pipe Soldering Equipment: Torches and Fuel
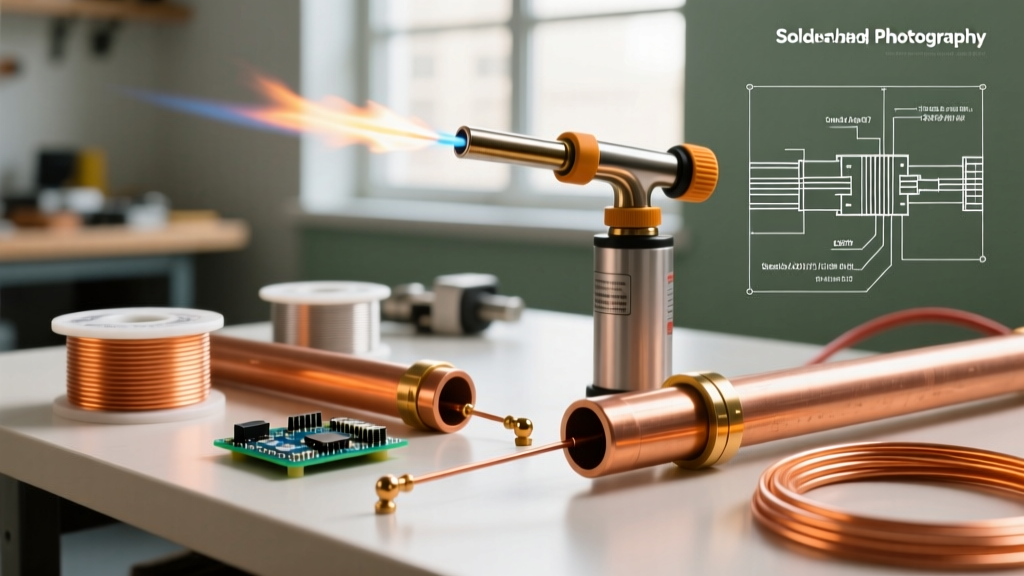
The heat source is the engine of your soldering operation. The goal is to heat the copper fitting to the exact melting point of the solder (typically between 430°F and 500°F) without exceeding 600°F, which carbonizes the flux and ruins capillary draw. In 2026, the market is dominated by three primary fuel categories, each suited for specific pipe diameters and environments.
| Fuel Type | Recommended Torch Model | Flame Temp | Best Use Case | Approx. Cost (2026) |
|---|---|---|---|---|
| MAP-Pro | Bernzomatic TS8000 | 3,730°F | 1/2' to 1-1/4' residential lines | $58.00 |
| Propane | Worthington Pro Grade Brass | 3,600°F | 1/2' lines, tight spaces, low heat | $45.00 |
| Oxy-Acetylene | Victor Journeyman 250 | 5,600°F | 2'+ mains, commercial, fast heat | $285.00 |
Why MAP-Pro Dominates Residential Soldering
For 90% of residential copper pipe soldering equipment setups, a MAP-Pro torch like the Bernzomatic TS8000 is the optimal choice. MAP-Pro (propylene) burns roughly 300°F hotter than standard propane, allowing you to heat a 3/4-inch copper fitting in under 15 seconds. The TS8000 features a swirl combustion chamber that concentrates the flame, reducing the risk of scorching adjacent drywall or wood framing. Standard propane torches often struggle with 1-inch or larger fittings, as the massive thermal mass of the copper and the water inside the pipes dissipates the heat faster than a propane flame can replenish it.
When to Step Up to Oxy-Acetylene
If you are soldering 1-1/2-inch to 3-inch copper mains, MAP-Pro will not suffice. The thermal sink of large-diameter copper requires the aggressive, pinpoint heat of an oxy-acetylene rig. The Victor Journeyman 250 with a #2 or #3 welding tip delivers rapid, localized heating. However, oxy-acetylene requires strict adherence to OSHA welding and brazing safety standards, including the use of flashback arrestors and proper cylinder securing.
Consumables: Selecting the Right Solder and Flux
The consumables you choose dictate both the longevity of the joint and its compliance with the Safe Drinking Water Act. As of 2026, the EPA Lead and Copper Rule strictly enforces lead-free mandates for all potable water systems.
Lead-Free Solder Alloys for Potable Water
Never use 50/50 (tin/lead) solder on potable water lines; it is strictly reserved for DWV (drain, waste, and vent) or non-potable applications. For drinking water lines, you must use 95/5 or 97/3 alloys.
- Oatey Safe Flo (95% Tin, 5% Antimony): Melts at 440°F. This is the industry standard for residential sweating. The antimony adds structural rigidity and prevents the tin from transforming into 'tin pest' in freezing environments. An 8oz spool costs roughly $28.
- Harris Bridgit (95% Tin, 5% Copper): Melts at 490°F. Preferred by commercial plumbers because the higher melting point prevents the joint from failing if exposed to hot water recirculation lines or localized thermal expansion.
Flux Types and Application Limits
Flux is a chemical cleaning agent that removes copper oxide and prevents oxidation while the metal is hot. Without it, the solder will ball up and roll off the fitting.
- Oatey No. 5 Paste Flux: A petroleum-based, water-soluble flux. It is highly active and excellent for general-purpose sweating. However, it must be wiped clean with a damp rag after cooling to prevent long-term external corrosion.
- La-Co Regular Flux: A non-corrosive, rosin-based alternative. It is less aggressive than No. 5, making it ideal for sensitive electronic-adjacent plumbing or when working near finished surfaces where post-solder cleanup is difficult.
Pro Tip: Never apply flux with your bare fingers. The acids and chlorides in plumbing flux can cause severe dermatitis and chemical burns over time. Always use a dedicated flux brush and wipe the excess off the outside of the joint before heating.
Preparation and Cleaning Tools: The Unsung Heroes
A common failure point in copper soldering is poor surface preparation. Solder will not adhere to oxidized copper or burrs left behind by cheap cutters. Your prep kit must include:
- Tubing Cutter: The RIDGID 151 Quick-Acting Tubing Cutter (approx. $42) provides a perfectly square cut on pipes up to 1-1/8'. A square cut ensures the pipe seats fully into the fitting's internal shoulder, maximizing the capillary bonding surface.
- Deburring Tool: A folded pocket knife or a dedicated reamer (like the RIDGID 152) is mandatory. Leaving an internal burr restricts water flow and creates turbulence, which leads to pinhole leaks via erosion-corrosion over time.
- Abrasive Cleaning: Use Hersey Emery Cloth or a wire brush specifically sized for your fittings (e.g., a 1/2' brush for 1/2' fittings). Sand the outside of the pipe until it shines like a new penny, and brush the inside of the fitting until the oxidation is removed.
Common Failure Modes and Troubleshooting Edge Cases
Even with the best copper pipe soldering equipment, environmental and technique variables can cause joint failures. Understanding these edge cases separates novices from professionals.
1. Burnt Flux (Carbonization)
Symptom: The flux turns black and crusty, and the solder refuses to draw into the joint.
Cause: The copper was heated past 500°F before the solder was applied. The petroleum base in the flux burned off, leaving a carbon barrier.
Fix: Remove the heat immediately. Let the fitting cool completely, disassemble if possible, re-sand, and re-flux. Do not attempt to 'burn through' carbonized flux with more heat.
2. The 'Cold Joint'
Symptom: Solder sits on the outside of the joint like a thick ring but hasn't penetrated the fitting.
Cause: The torch was applied directly to the solder rather than the copper fitting. The solder melted on contact with the flame but the copper wasn't hot enough to trigger capillary action.
Fix: Heat the thickest part of the fitting (the hub) until a drop of water sizzles instantly, then apply the solder to the opposite side of the joint.
3. Micro-Leaks from Trapped Water
Symptom: The joint hisses or weeps water immediately after soldering.
Cause: Even a single drop of water trapped inside the pipe will turn to steam when heated. The expanding steam blows the molten solder out of the capillary gap before it can solidify.
Fix: Always drain lines completely. If a low spot holds water, use shop-vac suction on an open valve downstream, or stuff a piece of white bread into the pipe upstream to absorb the water (the bread will dissolve harmlessly when the water is turned back on).
Safety Protocols and Workspace Management
Soldering involves open flames, toxic fumes, and molten metals. According to the Occupational Safety and Health Administration (OSHA), proper ventilation and fire prevention are critical. Always use a flame protector cloth (like the Oatey Fire Shield) when soldering within 18 inches of wood framing or drywall. Furthermore, vaporized flux contains zinc chloride and rosin fumes, which can cause occupational asthma. When working in confined spaces like crawlspaces or utility closets, use an inline duct fan to exhaust fumes to the exterior, and always wear ANSI-rated safety glasses to protect against molten solder splatter.
Frequently Asked Questions
Can I use a heat gun instead of a torch for copper pipes?
No. Standard heat guns max out around 1,100°F but lack the concentrated BTU output required to overcome the thermal mass of copper and the water inside it. The joint will cool faster than the heat gun can heat it, resulting in a failed capillary draw.
How long should I wait before turning the water on after soldering?
Allow the joint to cool naturally for at least 3 to 5 minutes. Quenching a hot copper joint with a wet rag or cold water causes thermal shock, which can micro-fracture the solder alloy and create immediate pinhole leaks.
Is it necessary to use flux on pre-soldered (sweat-ring) fittings?
Yes. While pre-soldered fittings have a ring of solder inside, you still must apply flux to the outside of the pipe and the inside of the fitting hub to clean the copper and allow the pre-loaded solder to melt and flow evenly through the joint.