
The Metallurgical Reality of Brass Copper Soldering
Joining brass to copper is a fundamental skill for custom liquid cooling loops, HVAC capillary lines, RF shielding enclosures, and musical instrument repair. However, treating these two metals as identical is the primary reason DIY joints fail. Pure copper (C110) and brass (an alloy of copper and zinc, typically C260 or C360) possess vastly different thermal conductivities and oxidation behaviors. When performing brass copper soldering, the zinc content in brass introduces a hidden variable that can ruin capillary action and structural integrity if not managed correctly.
According to data from the Engineering Toolbox, pure copper conducts heat at roughly 398 W/m·K, while standard cartridge brass (C260) drops to about 120 W/m·K. This means heat dissipates through copper three times faster than brass. If you apply a torch or iron evenly to a brass-to-copper fitting, the copper will remain below soldering temperature while the brass overheats, potentially causing zinc fuming and joint degradation.
Material Comparison Matrix
| Property | Pure Copper (C110) | Cartridge Brass (C260) | Free-Machining Brass (C360) |
|---|---|---|---|
| Thermal Conductivity | ~398 W/m·K | ~120 W/m·K | ~115 W/m·K |
| Primary Oxide Barrier | Copper Oxide (CuO) | Zinc Oxide (ZnO) | Zinc Oxide + Lead Segregation |
| Solderability Rating | Excellent | Fair (Requires Active Flux) | Poor (Avoid for sealed joints) |
| Overheating Risk | Low | Moderate (Zinc Fuming) | High (Lead Leaching/Fuming) |
Frequently Asked Questions (FAQ)
1. Can I use standard electronics rosin-core solder for brass copper soldering?
No. Standard RMA (Rosin Mildly Activated) flux is designed to dissolve copper oxide. It is chemically incapable of breaking down the tough zinc oxide layer that forms on brass when heated. If you attempt to use rosin flux, the solder will bead up and roll off the brass surface. You must use an inorganic acid flux, specifically Zinc Chloride (ZnCl2) based, or a specialized brazing flux like Harris Stay-Clean.
2. What is the best solder alloy for joining brass and copper?
For high-strength, leak-proof capillary joints (like plumbing or liquid cooling), silver-bearing tin alloys are the 2026 industry standard. Harris Stay-Brite 8 (8% Silver, 92% Tin) is exceptional, melting at 288°C (550°F) and providing a tensile strength of 14,000 PSI. For electronics or low-stress RF enclosures, SAC305 (96.5% Sn, 3.0% Ag, 0.5% Cu) is preferred, though 2026 market pricing places SAC305 wire at roughly $65 to $80 per pound due to silver spot fluctuations. Avoid standard 60/40 Sn/Pb for structural brass joints, as it lacks the shear strength required for dissimilar metal expansion rates.
3. Why is C360 Free-Machining Brass bad for soldering?
C360 contains up to 3% lead to improve machinability. During heating, lead segregates at the grain boundaries and melts at a much lower temperature (327°C) than the brass matrix. This creates micro-porosities and prevents the solder from forming a continuous metallurgical bond. Always source C260 (Cartridge Brass) or C270 (Yellow Brass) for soldered assemblies.
Troubleshooting Matrix: Why Your Joints Fail
Even experienced technicians encounter issues when transitioning from pure copper to brass components. Use this diagnostic matrix to identify and correct common failure modes.
| Symptom | Root Cause | Actionable Fix |
|---|---|---|
| Solder balls up and refuses to wet the brass surface. | Zinc oxide barrier is intact; flux is too weak (e.g., rosin) or burned off. | Switch to a Zinc Chloride (ZnCl2) liquid flux. Mechanically abrade the brass with 400-grit sandpaper immediately before fluxing. |
| Joint turns dull grey, brittle, and crumbles under stress. | Zinc fuming / dezincification. The brass was overheated past 400°C, boiling the zinc and leaving a porous copper sponge. | Use a temperature-controlled iron (e.g., Weller WE1010NA set to 380°C) or a MAP-Pro torch with a sweeping motion. Never hold the flame in one spot. |
| Solder flows into the joint but leaks under pressure testing. | Thermal imbalance. The copper absorbed heat too fast, causing the solder to freeze before completing the capillary draw. | Pre-heat the copper side 2 inches away from the joint, then move the heat to the brass fitting. Apply solder to the copper side of the seam. |
| White/green powdery corrosion appears weeks after soldering. | Acidic flux residue (ZnCl2) was not neutralized, causing rapid galvanic corrosion. | Quench the joint in a baking soda (NaHCO3) and water solution immediately after cooling, then scrub with a nylon brush. |
Step-by-Step Capillary Joint Procedure
To achieve a hermetic seal when soldering a brass compression fitting to a copper tube, follow this exact thermal and chemical sequence.
- Mechanical Preparation: Use a Scotch-Brite pad or 400-grit aluminum oxide sandpaper to clean both the outside of the copper tube and the inside of the brass fitting. Wipe with 99% isopropyl alcohol to remove machining oils.
- Flux Application: Apply a thin, even layer of Harris Stay-Clean liquid flux or Oatey #5 paste flux to both mating surfaces. Do not over-apply; excess flux boils and creates voids in the capillary space.
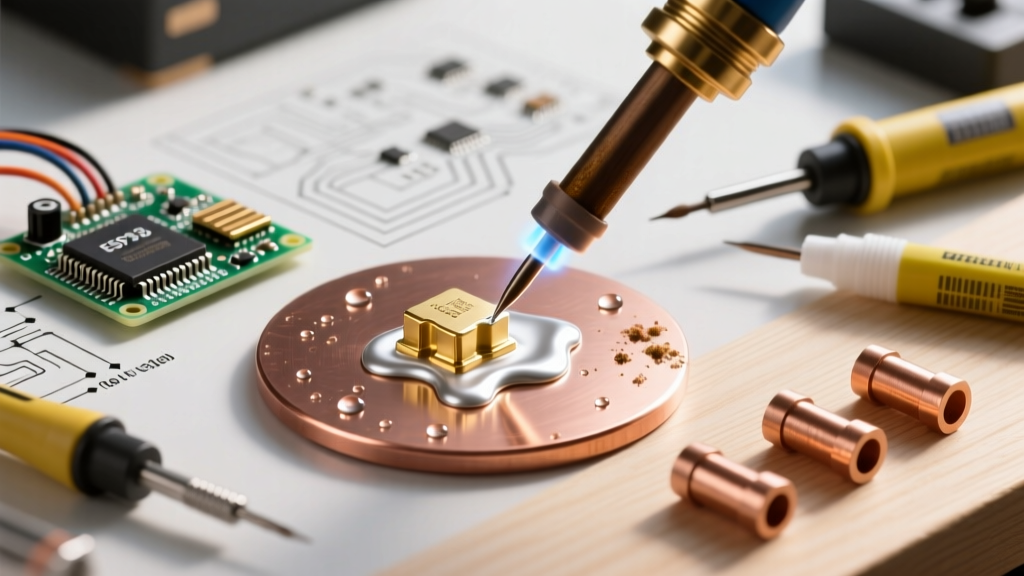
- Thermal Staging: Assemble the joint. If using a torch (like the Bernzomatic TS8000 with MAP-Pro), apply the flame to the copper tube first, about an inch back from the joint. The copper's high thermal conductivity will pull the heat into the brass fitting evenly.
- Temperature Verification: Touch the solder wire (e.g., Stay-Brite 8) to the joint. When it reaches 288°C, the solder will instantly melt and be drawn into the fluxed capillary gap by surface tension.
- Capillary Draw: Apply solder to the opposite side of the flame. When a continuous silver ring appears entirely around the seam, remove the heat immediately.
- Neutralization: Allow the joint to cool below 150°C, then wipe with a damp rag and neutralize the acidic flux residue with a baking soda solution to prevent long-term galvanic corrosion.
⚠️ Safety Warning: Zinc Fuming and Metal Fume Fever
When brass is heated beyond 450°C (842°F), the zinc begins to oxidize and vaporize, releasing zinc oxide particulates. Inhaling these fumes causes Metal Fume Fever, a condition with flu-like symptoms that can last 48 hours. Always perform brass copper soldering in a well-ventilated area or use a localized fume extractor (e.g., Hakko FA-430) positioned within 6 inches of the workpiece. The Copper Development Association strictly mandates respiratory protection when brazing or soldering zinc-heavy alloys in confined spaces.
Final Verdict: Tooling and Consumables for 2026
Successful brass-to-copper soldering relies entirely on respecting the thermal disparity between the two metals and chemically defeating the zinc oxide barrier. Ditch the rosin flux, invest in a high-silver tin alloy like Stay-Brite 8, and always manage your heat input to protect the brass matrix. By following the troubleshooting matrix and capillary procedures outlined above, you will eliminate micro-leaks and achieve joints that outlast the base metals themselves.