
Why Choose Solderless Connections in 2026?
While soldering remains a foundational skill for PCB assembly and delicate electronics, it is often the wrong choice for wire-to-wire splicing in high-vibration, high-current, or field-serviceable environments. When you learn how to connect wires together without soldering, you are not just taking a shortcut; you are often engineering a more reliable joint. Solder creates a brittle intermetallic compound (IMC) layer that is highly susceptible to fatigue cracking under mechanical vibration. Modern solderless methods rely on gas-tight cold welding or constant-force spring pressure, offering superior longevity in automotive, marine, aerospace, and residential wiring.
In this comprehensive guide, we break down the most reliable solderless wire connection methods, complete with specific product recommendations, tooling requirements, and National Electrical Code (NEC) compliance parameters.
1. WAGO 221 Lever Nuts: The Modern Junction Standard
For residential and commercial junction boxes, the WAGO 221 Series Compact Splicing Connectors have entirely disrupted the traditional wire nut market. Utilizing a spring-pressure clamp, these lever nuts maintain a gas-tight connection that automatically compensates for thermal expansion and contraction.
Technical Specifications & Application
- Wire Range: 24 to 12 AWG (Solid, Stranded, and Flex).
- Strip Length: Exactly 11mm (0.43 inches). WAGO provides a built-in gauge on the connector housing.
- Current/Voltage Rating: Up to 32A / 400V (depending on regional certifications).
- Cost: Approximately $0.35 to $0.55 per unit in bulk.
Pro-Tip: Always use the WAGO 221-412 (2-conductor) or 221-413 (3-conductor) for standard splices. Unlike older 222 series, the 221 series is 41% smaller, saving crucial cubic inch space in crowded junction boxes, which helps comply with NEC box-fill calculations.
2. Ratcheting Crimp Terminals: Automotive & Marine Grade
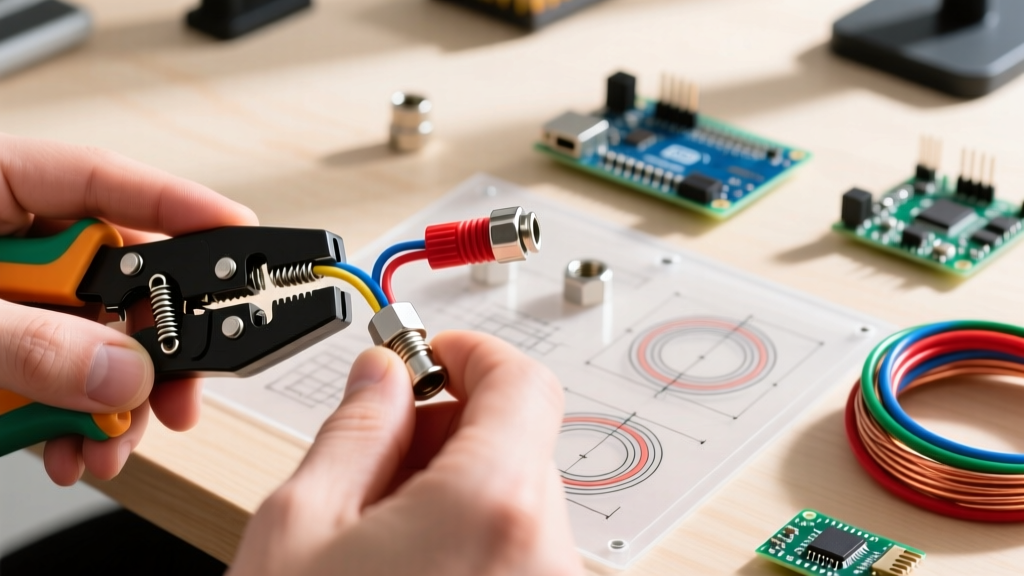
Crimping is the undisputed king of high-vibration environments. A proper crimp deforms the terminal barrel around the wire strands, creating a cold weld that is actually stronger than the tensile strength of the wire itself. However, this requires abandoning cheap plier-style crimpers in favor of precision ratcheting tools.
The Tooling and Material Stack
To achieve a mil-spec or marine-grade crimp, you need a ratcheting crimper like the IWISS SN-48B or Knoweasy Ratchet Crimper (typically $45 to $65). These tools feature a ratcheting mechanism that prevents the handles from opening until the exact target compression pressure is reached, eliminating 'cold crimps' caused by premature release.
- Select the Terminal: Use dual-wall, adhesive-lined heat shrink terminals (e.g., Ancor Marine Grade). The 3:1 shrink ratio and inner polyamide adhesive liner melt at roughly 120°C, creating a waterproof environmental seal.
- Strip the Wire: Strip exactly to the base of the insulation barrel. No bare copper should be visible between the insulation and the metal crimp barrel.
- Crimp: Place the terminal in the correct color-coded die (Red for 22-16 AWG, Blue for 16-14 AWG, Yellow for 12-10 AWG). Squeeze until the ratchet releases.
- Heat: Apply heat from the center outward using a heat gun (not a lighter) until the adhesive extrudes slightly from the ends.
3. Twist-On Connectors (Wire Nuts): The Traditional Workhorse
Despite the rise of lever nuts, twist-on wire connectors remain ubiquitous. The Ideal Industries 341 Orange Wire-Nut is a staple for 14 and 12 AWG solid copper branch circuits. Modern wire nuts feature a coiled steel spring that bites into the copper, maintaining high torque over decades.
The Pre-Twisting Debate
A common point of contention among electricians is whether to pre-twist wires before applying the nut. UL listings for most modern Ideal and Gardner Bender wire nuts explicitly state that pre-twisting is not required for solid wires. However, when mixing solid and stranded wire, pre-twisting the stranded wire around the solid wire prevents the strands from splaying and breaking during the application of the nut.
4. Comparative Analysis Matrix
Choosing the right method depends on your specific environmental and mechanical constraints. Below is a direct comparison of the primary solderless methods.
| Connection Method | Ideal Application | Vibration Resistance | Tensile Strength | Avg Cost / Joint |
|---|---|---|---|---|
| WAGO 221 Lever Nut | Residential/Commercial Junction Boxes | High | Moderate (Spring Tension) | $0.40 |
| Adhesive Heat Shrink Crimp | Marine, Automotive, Off-Road | Extreme | Exceeds Wire Tensile Strength | $0.85 |
| Twist-On Wire Nut | Standard Branch Circuit Splicing | Low to Moderate | High (Spring Bite) | $0.15 |
| DIN Rail Push-In Block | Industrial Control Panels | Extreme | High (Cage Clamp) | $2.50+ |
NEC Compliance and Safety Standards
When executing solderless connections in permanent structures, adherence to the National Electrical Code is non-negotiable. According to the National Fire Protection Association (NFPA) NEC guidelines, specifically Article 110.14(B), splices must be mechanically and electrically secure. The code notes that soldering is only permitted after a mechanically secure splice is made, effectively validating that properly listed mechanical-only (solderless) connections are fully code-compliant.
Furthermore, NEC Article 300.15 dictates that all wire splices must be contained within an approved junction box, enclosure, or conduit body. You cannot legally bury a WAGO lever nut or a wire nut inside a wall cavity without an accessible cover plate.
Common Failure Modes and Edge Cases
Even the best solderless methods will fail if executed poorly. Understanding these edge cases separates amateur DIYers from master technicians.
Cold Crimps and Strand Clipping
When crimping, using non-ratcheting pliers often results in a 'cold crimp'—a connection that looks secure but leaves microscopic air gaps. Over time, moisture enters these gaps, causing galvanic corrosion and high-resistance heating. Additionally, stripping wires with dull or improperly sized strippers often nicks the copper strands. Under a crimp, these clipped strands act as stress concentrators, leading to wire fatigue and eventual open-circuit failure.
Spring Relaxation in Substandard Lever Nuts
The market is currently flooded with cheap, counterfeit lever nuts that mimic the WAGO design but use inferior spring steel. These knock-offs suffer from spring relaxation under continuous thermal cycling (the heating and cooling of wires under load). Always source connectors from authorized distributors like Grainger, McMaster-Carr, or direct from the manufacturer to ensure the metallurgy of the internal clamping spring meets NASA-STD-8739.4 and IPC/WHMA-A-620 workmanship standards for mechanical retention.
Final Verdict
Knowing how to connect wires together without soldering is about matching the connection technology to the environmental stress profile. For indoor junction boxes, WAGO 221 lever nuts offer unmatched speed and reliability. For automotive and marine applications, ratcheting crimps with dual-wall heat shrink are mandatory. By abandoning the soldering iron for these mechanical alternatives, you ensure your wiring harnesses and branch circuits survive the physical realities of the real world.