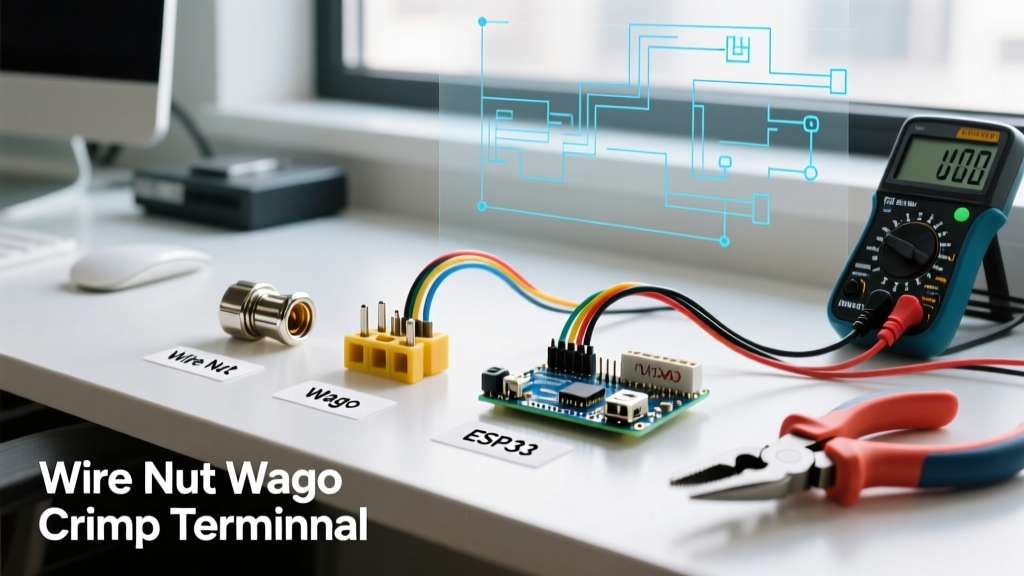

When planning an electrical project, automotive repair, or DIY electronics build, figuring out how to connect two wires without soldering is often a matter of convenience, field conditions, or skill limitations. Soldering creates a metallurgical bond that is highly reliable, but it requires a heat source, flux, ventilation, and significant practice. For many modern applications, solderless connectors have become the industry standard. However, choosing the right method is rarely just about the upfront price of the connector itself.
In this comprehensive cost analysis, we break down the true Total Cost of Ownership (TCO) for the three most popular solderless connection methods: twist-on wire nuts, push-in lever connectors, and crimp splices. By factoring in material costs, tool amortization, labor time, and long-term failure risks, we will determine which method offers the best ROI for your specific project scale in 2026.
Method 1: Twist-On Wire Connectors (Wire Nuts)
The traditional twist-on wire nut has been the backbone of North American residential wiring for decades. They rely on a tapered internal steel coil to bite into the copper conductors as they are twisted together.
Material & Tool Costs
- Specific Model: Ideal Industries Ideal-Twister 33 (Orange, 14-16 AWG range).
- Upfront Tool Cost: $0.00 (requires only bare hands or standard lineman pliers).
- Material Cost (Bulk): Approximately $0.05 to $0.08 per unit when purchased in boxes of 1,000.
- Prep Requirements: Stripping exactly 3/4 inch of insulation. No pre-twisting required by the manufacturer, though many electricians still do it.
Labor & Failure Economics
According to Ideal Industries wire termination specifications, a properly installed wire nut must withstand a specific pull-force test. However, the hidden cost of wire nuts lies in labor and rework. Twisting a wire nut securely onto two 14 AWG solid copper wires takes an average of 12 to 15 seconds. Furthermore, wire nuts are highly susceptible to thermal cycling loosening and vibration fatigue. If a connection loosens inside a junction box, the resulting high-resistance joint can cause arcing, leading to a catastrophic failure that costs hundreds of dollars in drywall repair and troubleshooting.
Method 2: Push-In / Lever Connectors (WAGO Style)
Lever-nut connectors have revolutionized both commercial electrical rough-ins and DIY electronics. By lifting a lever, a spring-clamp mechanism is opened, allowing the stripped wire to slide in. Pushing the lever down clamps the wire with constant, maintenance-free pressure.
Material & Tool Costs
- Specific Model: WAGO 221 Series (221-412, 2-conductor lever nut, rated for 12-24 AWG).
- Upfront Tool Cost: $0.00.
- Material Cost (Bulk): Approximately $0.35 to $0.45 per unit in quantities of 100.
- Prep Requirements: Stripping exactly 11mm (7/16 inch) of insulation. The connector features a built-in strip-length gauge on the side.
Labor & Failure Economics
While the WAGO 221 is roughly 600% more expensive per unit than an Ideal 33 wire nut, the labor savings are massive. As noted in WAGO's official connection technology guidelines, the spring-pressure mechanism eliminates the human error variable of under-twisting. Installation takes roughly 5 to 7 seconds per joint. For a DIYer valuing their time at $25/hour, or a professional electrician billing at $85/hour, the 10-second time savings per connection pays for the $0.30 price premium after just three connections. Additionally, WAGOs are transparent, allowing for immediate visual inspection, and feature test ports for multimeter probes, reducing diagnostic time if a circuit fails.
Method 3: Crimp Connectors (Butt Splices)
Crimping is the undisputed king of automotive, marine, and aerospace wiring. A properly executed crimp creates a cold-weld that is actually stronger than the wire itself, entirely impervious to vibration and thermal expansion.
Material & Tool Costs
- Specific Model: TE Connectivity PIDG (Pre-Insulated Diamond Grip) Vinyl Butt Splice, 16-14 AWG.
- Material Cost (Bulk): Approximately $0.18 to $0.25 per unit.
- Upfront Tool Cost: $35.00 to $85.00 for a high-quality ratcheting crimper (e.g., IWISS IWS-3220M or Titan 11477). Never use cheap non-ratcheting pliers for critical circuits.
Labor & Failure Economics
Crimping is the most labor-intensive solderless method. You must strip the wire (usually 1/4 to 5/16 inch), insert it into the barrel, align the crimping die perfectly with the barrel indent, and squeeze until the ratchet releases. This takes 20 to 30 seconds per joint. The failure economics here are tied entirely to tool quality. A $12 non-ratcheting crimper from a discount hardware store will frequently yield under-crimped joints that pull apart, or over-crimped joints that shear the copper strands. According to Underwriters Laboratories (UL) electrical safety standards, a crimped connection must pass rigorous thermal and mechanical cycling tests to be certified; this certification relies on the use of matched, ratcheting tooling. If you are doing fewer than 50 crimps a year, the high tool amortization makes crimping the most expensive option. If you are wiring an entire vehicle, it becomes highly cost-effective.
The Ultimate Cost & Labor Matrix
The table below synthesizes the direct and indirect costs for a standard 14 AWG copper wire joint, assuming a baseline labor valuation of $25.00 per hour ($0.41 per minute) for a skilled DIYer or junior technician.
| Metric | Twist-On (Ideal 33) | Lever (WAGO 221) | Crimp (TE PIDG) |
|---|---|---|---|
| Material Cost / Joint | $0.06 | $0.40 | $0.22 |
| Required Tooling Cost | $0.00 | $0.00 | $45.00 (Ratcheting) |
| Avg. Install Time | 15 seconds | 6 seconds | 25 seconds |
| Labor Cost / Joint | $0.10 | $0.04 | $0.17 |
| Total Direct Cost / Joint | $0.16 | $0.44 | $0.39 |
| Vibration Resistance | Poor | Excellent | Superior (Cold Weld) |
| Rework / Diagnostic Ease | Low (Opaque) | High (Test Ports) | Zero (Destructive) |
Hidden Costs: Code Compliance and Fire Hazards
When calculating the cost of wire connections, you must factor in the cost of non-compliance. The National Electrical Code (NEC) strictly governs how splices are made and enclosed. For example, NEC Article 110.14 and 300.15 dictate that all splices must be made in approved junction boxes and that the connectors must be identified for the specific use (e.g., solid vs. stranded, aluminum vs. copper).
Expert Warning: Using a standard twist-on wire nut on stranded wire without a specific manufacturer rating (like the Ideal Twister Al/Cu or specific stranded-rated nuts) is a frequent code violation. Stranded wires can splay and escape the coil, creating a high-resistance arc fault. The cost of an electrical fire far outweighs the $0.35 savings of using a cheaper connector.
If you are working in high-vibration environments (automotive, marine, or HVAC compressors), wire nuts are strictly prohibited by best practices and often by local codes. In these scenarios, the "cheap" wire nut carries a 100% failure risk, making the TE Connectivity PIDG crimp or a marine-grade heat-shrink adhesive crimp the only financially logical choice.
Verdict: Which Method Wins the Cost Analysis?
- For High-Volume Residential / Commercial Wiring: The WAGO 221 Lever Nut wins. The 600% premium in material cost is entirely eclipsed by the 60% reduction in labor time, zero tooling costs, and near-zero rework rate. It is the ultimate ROI for junction box splicing.
- For Low-Budget, Low-Vibration DIY Repairs: The Ideal 33 Twist-On Wire Nut remains viable. If you are replacing a single light fixture and already have a box of wire nuts in your drawer, the sunk cost makes this the cheapest immediate option.
- For Automotive, Marine, and DC Power Systems: The TE PIDG Ratcheting Crimp is the only acceptable choice. Once the $45 tooling cost is amortized over 100+ connections, the per-joint cost drops below the WAGO, while providing a metallurgical cold-weld that survives the harsh, high-vibration environments where solderless connections are tested most severely.
Ultimately, learning how to connect two wires without soldering is not about avoiding the soldering iron; it is about selecting the engineered mechanical connection that best balances your upfront budget, labor constraints, and the environmental demands of the final installation.