
Is Soldering Hard? The Short Answer from the Pros
If you have ever stared at a breadboard, a bare PCB, and a smoking iron, you have likely asked yourself: is soldering hard? The short answer from industry veterans is a resounding no—but with a major caveat. Basic through-hole soldering takes roughly 45 minutes to learn and a weekend to feel comfortable with. However, mastering surface-mount devices (SMD), avoiding cold joints, and consistently passing visual inspections requires an understanding of thermal dynamics and metallurgy that most beginner tutorials completely skip.
To separate internet myths from professional reality, we synthesized insights from IPC-A-610 certified trainers, aerospace wiring specialists, and veteran electronics engineers. What makes soldering feel "hard" is almost always a symptom of using the wrong tools, misunderstanding thermal mass, or skipping chemical flux. Below is the definitive expert breakdown of the learning curve, the exact failure modes beginners encounter, and the 2026-approved gear matrix to fast-track your competency.
The Soldering Difficulty Matrix: What to Expect
Not all soldering is created equal. The difficulty scales exponentially as component size shrinks and thermal requirements become more complex. Here is how the experts grade the primary soldering disciplines:
| Technique | Difficulty (1-10) | Time to Basic Competency | Primary Failure Mode | Recommended Starter Tool |
|---|---|---|---|---|
| Through-Hole (THC) | 2/10 | 2–4 Hours | Cold joints, lifted pads | Pinecil V2 (65W) or Hakko FX-888D |
| SMD Passives (0805/0603) | 4/10 | 1–2 Weeks | Tombstoning, bridging | Tweezers iron + Amtech NC-559 Flux |
| Fine Pitch ICs (SOIC/TQFP) | 6/10 | 1–2 Months | Pin bridging, overheating silicon | Drag soldering with Chip Quik No-Clean |
| BGA Rework | 9/10 | 6+ Months | Hidden voiding, thermal warping | Hot air rework station + Pre-heater |
Expert Consensus: The 3 Mistakes That Make Soldering "Hard"
When master technicians evaluate failed beginner projects, they almost always trace the issue back to three fundamental misunderstandings of physics and chemistry.
1. Thermal Mass Mismanagement (Wattage vs. Temperature)
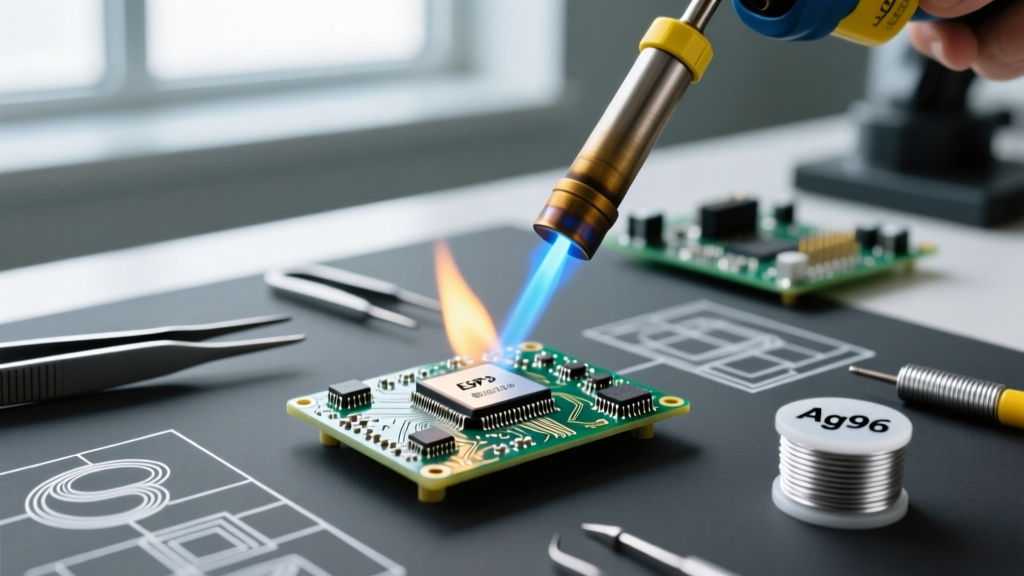
The most common reason beginners declare soldering "too hard" is that they are using an underpowered 15W or 30W pencil iron. They crank the temperature to 400°C to compensate for a lack of power, which instantly oxidizes the tip and burns the flux before the joint reaches melting point. Wattage dictates thermal recovery, not maximum heat. A 65W USB-C PD iron like the Pine64 Pinecil V2 ($26) or a 70W station like the Hakko FX-888D ($115) will maintain a stable 320°C at the tip, even when touching a large ground plane that acts as a heatsink. According to NASA's Electronic Parts and Packaging (NEPP) Program, proper thermal profiling prevents the need for prolonged dwell times that destroy copper pad adhesion.
2. Skipping External Flux
Beginners assume the rosin core inside their solder wire is sufficient. It is not. The internal core vaporizes in milliseconds upon contact with a hot iron. Professional technicians treat flux as the actual "glue" of the process; the solder merely follows where the flux has cleaned the oxidation. For 2026 workbenches, experts mandate keeping a syringe of Amtech NC-559-V2-TF (tack flux) or a liquid pen of MG Chemicals 8341 on hand. Applying external flux to a joint before reheating it transforms a grainy, impossible-to-fix cold joint into a shiny, concave fillet in less than two seconds.
3. Disturbed Joints During the Plastic Phase
Alloys do not snap instantly from liquid to solid. Standard Sn63Pb37 (63% Tin / 37% Lead) melts at 183°C, while lead-free SAC305 melts at 217°C. In the milliseconds as the joint cools through the "plastic" or "mushy" phase, any microscopic vibration—breathing heavily, letting go of the component too early, or a desk bump—will fracture the crystalline structure. This results in a disturbed joint, which looks frosty and grainy. The IPC-A-610 standard explicitly flags disturbed joints as defects because they are prone to micro-cracking under thermal cycling. IPC Standards dictate that the board and component must remain entirely immobile until the alloy has fully solidified.
The 2026 Expert-Approved Starter Workbench
You do not need a $500 JBC station to start, but you do need precise metallurgical control. Here is the exact bill of materials (BOM) recommended by lab directors for a high-success-rate beginner kit:
- The Iron: Pine64 Pinecil V2 ($26) running on a 65W USB-C laptop charger. It boots to 320°C in 6 seconds and uses standard T18 tips.
- The Tip: T18-D24 (2.4mm Chisel). Beginners often buy needle-point (conical) tips, which have terrible thermal transfer. A chisel tip maximizes surface area contact.
- The Solder: Kester 24-6337-00276 (63/37 Rosin Core, 0.031" diameter). The 63/37 ratio is eutectic, meaning it has no plastic phase and snaps instantly from liquid to solid, preventing disturbed joints. (~$38/lb).
- The Flux: Chip Quik SMD291AX10 (No-Clean Tacky Flux, 10g syringe) for SMD and general rework ($22).
- The Cleanup: Chemtronics 80-6-5 Desoldering Braid ($8) and a genuine brass wire sponge. Never use a wet cellulose sponge, as the thermal shock degrades the iron's plating.
Expert Insight: "The transition from 'soldering is hard' to 'soldering is easy' happens the exact moment a student stops relying on the solder to transfer heat, and starts using the flux to manage the metallurgy. If your joint looks dull and gray, you didn't fail at soldering; you failed at chemistry. Add flux, reheat for 1.5 seconds, and watch it self-correct." — Senior IPC-A-610 Certified Trainer
Your 48-Hour Action Plan to Mastery
Do not start by trying to solder a microcontroller. Follow this deliberate practice timeline to build muscle memory and thermal intuition.
- Hour 1: Tinning and Scrap Practice. Strip 20 pieces of 22AWG solid core wire. Practice tinning the stripped ends and soldering them into a crude cube. Focus on keeping the iron tip tinned and wiping it on brass wool every 3 joints.
- Hour 2-4: Through-Hole Kits. Buy a basic DIY blinking LED kit (like the MakerFocus DIY Clock or LED badge). Practice the "Heat-Pad-and-Lead" method: touch the iron to the pad and wire simultaneously for 1 second, feed solder to the joint (not the iron tip) for 1 second, remove solder, then remove iron.
- Hour 5-10: Desoldering and Rework. Intentionally make mistakes. Solder a row of headers, then use your Chemtronics braid and a chisel tip to wick the solder away and remove the pins. Mastering desoldering removes the fear of making permanent mistakes.
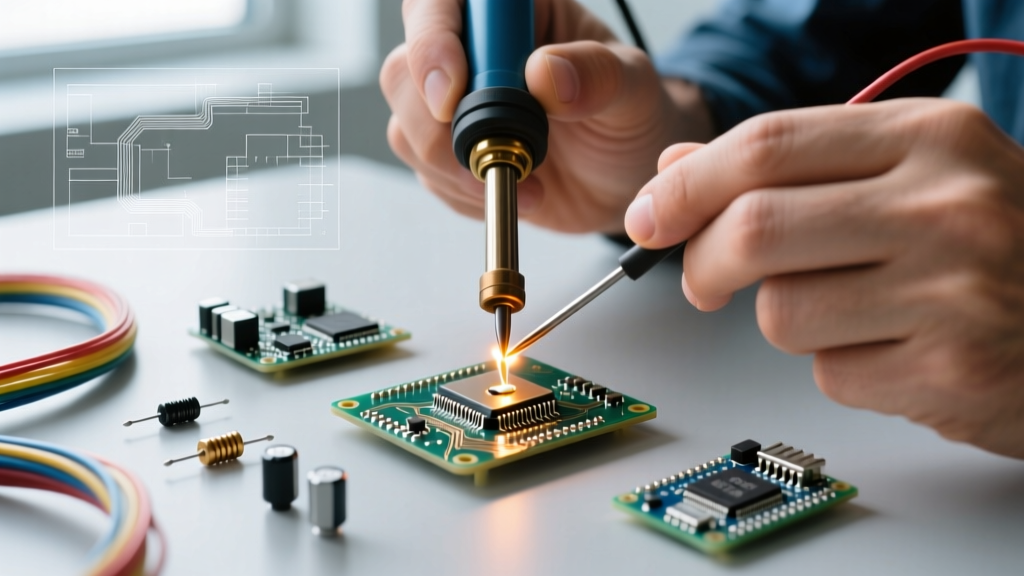
- Hour 11-15: Introduction to SMD. Move to 0805 resistors. Apply a tiny dot of tacky flux to one pad, tin the pad, place the component with tweezers, and reflow. Flip the board and solder the other side. The flux will hold the component in place, eliminating the need for three hands.
Final Verdict
So, is soldering hard? Only if you fight the physics. By upgrading from a bargain-bin pencil iron to a temperature-stable USB-C station, switching to eutectic 63/37 solder, and treating flux as a mandatory consumable rather than an optional accessory, the learning curve flattens dramatically. With the right 2026 workbench setup and a deliberate 48-hour practice plan, anyone can achieve professional-grade, IPC-compliant solder joints in a single weekend.